Tailgating's all about great food, and I've got five grilling recipes that'll impress your friends. First, try Bacon Bourbon BBQ Skewers, wrapping marinated chicken or shrimp in crispy bacon. Then, Maple Sriracha-Glazed Drumsticks bring a sweet and spicy twist—marinate overnight for the best flavor! Beer Can Chicken keeps the meat moist and flavorful. Chipotle-Marinated Pork Tenderloin is quick to prep and packed with smoky goodness. Finally, don't miss the Apple Spiced Baby Backs, perfect for a fall feast. These ideas will surely enhance your tailgate, and stick around for even more delicious grilling tips!
Recipe #1. Bacon Bourbon BBQ Skewers
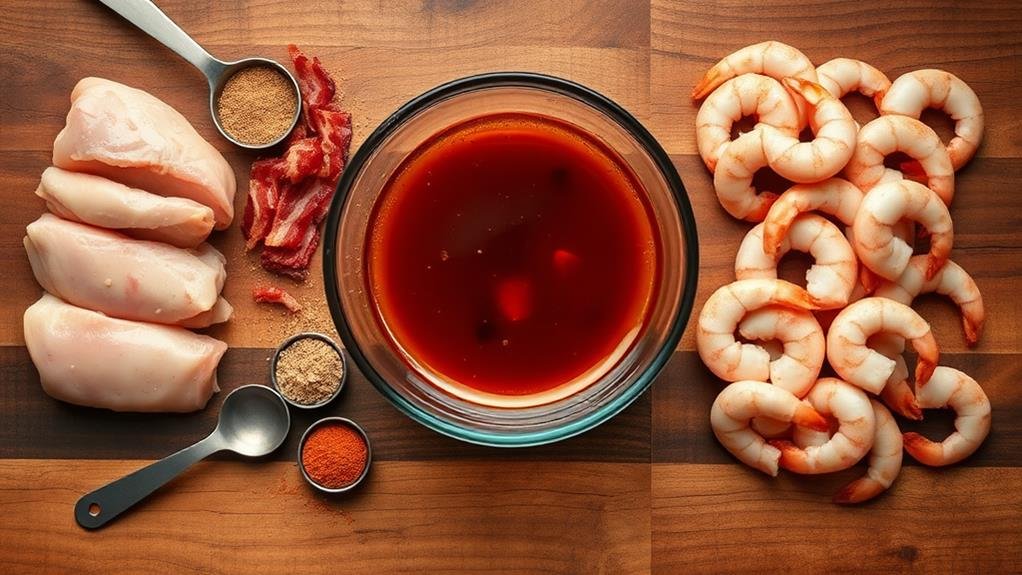
When it comes to tailgating, nothing captures the essence of a good time quite like savory, mouth-watering Bacon Bourbon BBQ Skewers. I love how these skewers perfectly combine the smokiness of bacon with the sweet, rich flavors of bourbon and spices. They're not only delicious but also incredibly easy to prepare ahead of time, making them a go-to choice for any gathering.
Just imagine biting into juicy chicken or succulent shrimp, all wrapped in crispy bacon, with a hint of bourbon-infused flavor. It's a crowd-pleaser that never fails to impress.
To get started, I typically marinate the meat a few hours before I head out to the tailgate. This allows the flavors to meld beautifully. I find that wrapping the marinated meat in bacon isn't only simple, but it also creates a visually stunning dish perfect for sharing.
Fire up the grill, and these skewers will be ready to devour in no time, providing a delightful bite that pairs well with a variety of dipping sauces.
Ingredients:
- 1 lb chicken breast or shrimp, cut into bite-sized pieces
- 1 lb bacon, cut in half
- 1/2 cup bourbon
- 1/4 cup brown sugar
- 2 tablespoons soy sauce
- 1 tablespoon garlic powder
- 1 tablespoon onion powder
- 1 teaspoon smoked paprika
- Salt and pepper to taste
- Skewers (soaked in water if wooden)
To make the Bacon Bourbon BBQ Skewers, I start by mixing bourbon, brown sugar, soy sauce, garlic powder, onion powder, smoked paprika, salt, and pepper in a bowl to create a marinade.
I then add the chicken or shrimp to the marinade, ensuring each piece is well coated, and let it soak for at least one hour (or up to overnight in the fridge for more flavor).
Once marinated, I wrap each piece of meat with a half slice of bacon and thread them onto skewers. I preheat the grill to medium heat and cook the skewers for about 12-15 minutes, turning occasionally, until the bacon is crispy and the meat is cooked through.
One tip I've learned over time is to pay attention to the heat of your grill. Medium heat is crucial to ensure that the bacon crisps up nicely while keeping the meat juicy.
Additionally, I love to serve these skewers with a variety of dipping sauces, like a tangy BBQ or a spicy aioli, to elevate the flavor experience even further.
Recipe #2. Maple Sriracha-Glazed Drumsticks
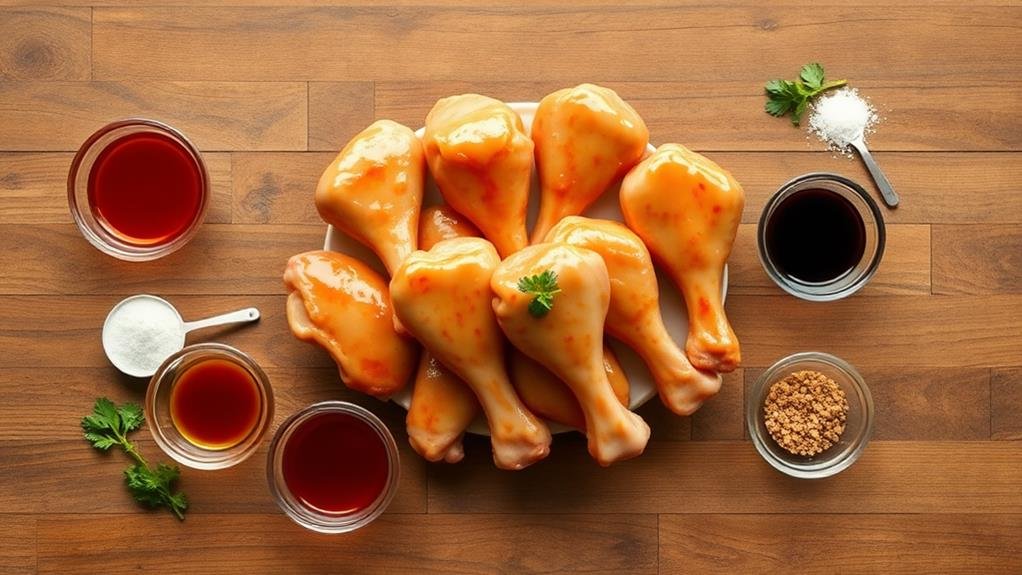
When it comes to tailgating, I always look for recipes that aren't only delicious but also easy to manage and serve. One of my favorite go-to dishes is Maple Sriracha-Glazed Drumsticks. The combination of sweet maple syrup and spicy sriracha creates a mouthwatering glaze that's sure to please both sweet and spicy lovers alike.
These drumsticks are perfect for grilling on-site, allowing everyone to enjoy that freshly cooked flavor while keeping the mess to a minimum. What I love most about this dish is its cost-effectiveness and convenience. Drumsticks are an affordable protein option, making it easy to serve a crowd without breaking the bank.
Plus, they're handheld, which is perfect for a tailgate party where everyone is mingling and socializing. To elevate the flavor even further, I recommend marinating the drumsticks in the glaze for a few hours—or even overnight—before grilling. This step really enhances the taste and ensures each bite is packed with flavor.
Ingredients:
- 2 lbs chicken drumsticks
- 1/2 cup maple syrup
- 1/4 cup sriracha sauce
- 2 tablespoons soy sauce
- 2 tablespoons apple cider vinegar
- 1 teaspoon garlic powder
- 1 teaspoon onion powder
- Salt and pepper to taste
To prepare the drumsticks, start by mixing the maple syrup, sriracha, soy sauce, apple cider vinegar, garlic powder, onion powder, salt, and pepper in a bowl to create the glaze. Reserve a small amount of the glaze for basting later.
Place the drumsticks in a resealable plastic bag or bowl, pour in the remaining glaze, and marinate in the refrigerator for at least a few hours or overnight. When ready to cook, preheat the grill to medium heat and remove the drumsticks from the marinade, discarding any leftover marinade.
Place the drumsticks on the grill and cook for about 25-30 minutes, turning occasionally and basting with the reserved glaze until the chicken reaches an internal temperature of 165°F.
One extra tip I've learned is to monitor the grill temperature closely. Drumsticks can cook quickly, so it's important to avoid burning the outside while ensuring the inside is fully cooked. If you like a bit of char, feel free to sear them for a couple of minutes over high heat at the end, but make sure to keep an eye on them to prevent flare-ups.
Enjoy your tailgate with these delicious drumsticks—they're always a hit!
Recipe #3. Beer Can Chicken
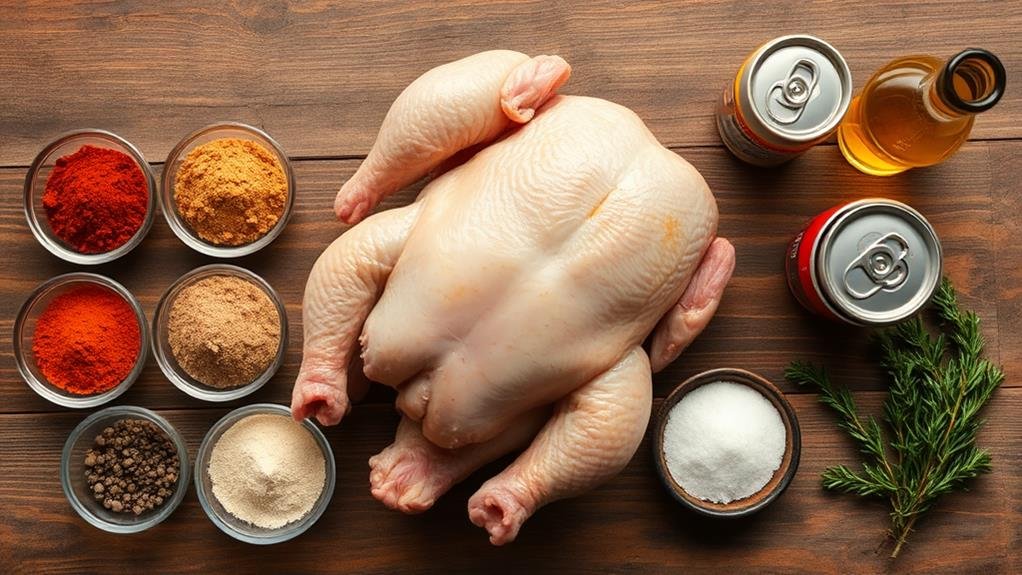
Beer can chicken is one of my favorite recipes when it comes to tailgating. There's something incredibly satisfying about the combination of a perfectly cooked chicken with the unique flavors imparted by the beer. Not only does the beer help keep the chicken moist, but it also infuses it with a delightful taste that makes it a crowd-pleaser.
Plus, it's a fun way to showcase a whole bird on the grill, making it feel like a special event. To make this dish even better, I often marinate the chicken overnight to allow all those delicious flavors to penetrate the meat. A simple dry rub can elevate the outer crust, giving it a nice texture and added flavor.
I love to experiment with different types of beer, whether it's a light lager or a rich stout, to see how they alter the final taste. Regardless of the beer I choose, the process is always enjoyable and the results are consistently delicious.
Ingredients:
- 1 whole chicken (4-5 pounds)
- 1 standard 12-ounce can of beer (lager, stout, or your choice)
- 2 tablespoons olive oil
- 2 tablespoons garlic powder
- 1 tablespoon onion powder
- 1 tablespoon smoked paprika
- 1 tablespoon salt
- 1 tablespoon black pepper
- Optional: herbs like thyme or rosemary for additional flavor
Cooking Instructions:
Start by preheating your grill to a temperature of around 350°F (175°C). While the grill is heating, prepare the chicken by patting it dry with paper towels and rubbing it all over with olive oil.
Then, mix together the garlic powder, onion powder, smoked paprika, salt, and black pepper in a bowl, and generously rub this spice mixture all over the chicken, including inside the cavity. Open the beer can and take a few sips (or pour a bit out) to create some space, then carefully place the chicken over the can, ensuring it's stable.
Once the grill is ready, place the chicken upright on the grill grates and cover, cooking for 1 to 1.5 hours until the internal temperature reaches 165°F (75°C).
Extra Tips:
When cooking beer can chicken, I highly recommend using a vertical roasting rack or a specially designed beer can chicken holder to prevent any tipping and ensure even cooking.
If you're feeling adventurous, try adding some herbs inside the can or even some citrus fruits for an added layer of flavor. Remember to let the chicken rest for about 10 minutes after taking it off the grill; this allows the juices to redistribute and ensures each bite is juicy and flavorful.
Enjoy the compliments from your friends as they savor this delicious dish!
Recipe #4. Chipotle-Marinated Pork Tenderloin
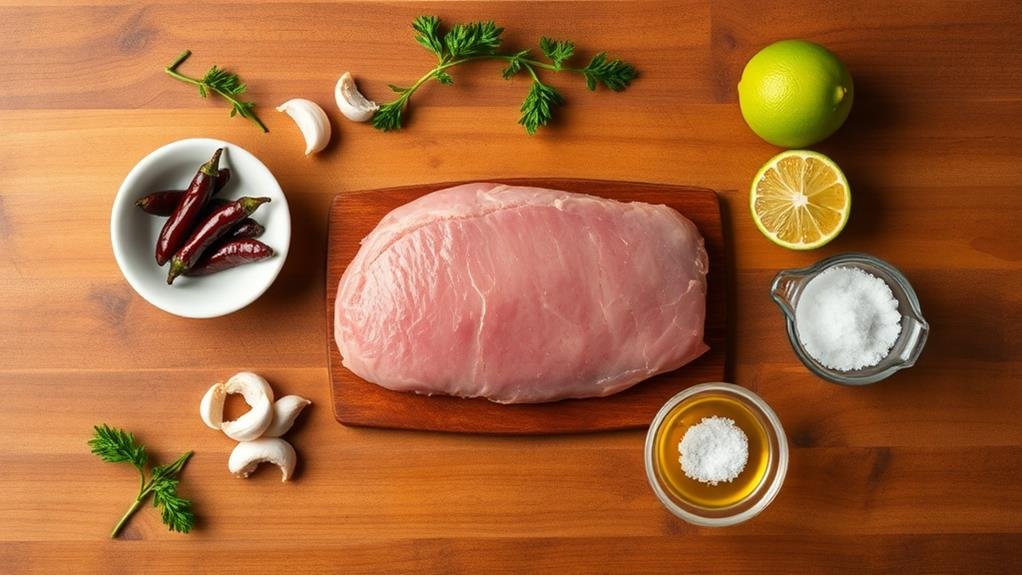
When it comes to tailgating, I always look for dishes that aren't only delicious but also easy to prepare and serve. One of my go-to recipes is the chipotle-marinated pork tenderloin. The combination of smoky chipotle peppers, zesty lime, and fragrant garlic creates an incredibly flavorful marinade that infuses every bite of the pork.
Plus, the tenderloin cooks quickly on the grill, making it a fantastic option for feeding a crowd without spending hours in the kitchen. To get started, I like to marinate the pork tenderloin overnight to really let those flavors soak in. One key step is to remove the silverskin and any excess fat from the tenderloin before marinating; this ensures that the meat not only absorbs the marinade better but also has a better texture when cooked.
When it's time to grill, I simply fire up the grill to medium heat and watch the magic happen.
Ingredients:
- 1 pork tenderloin (about 1.5 lbs)
- 2-3 chipotles in adobo sauce
- 3 cloves garlic, minced
- Juice of 2 limes
- 2 tablespoons olive oil
- Salt and pepper, to taste
To cook the chipotle-marinated pork tenderloin, first, prepare the marinade by blending the chipotles, garlic, lime juice, and olive oil together in a bowl until smooth. Season the tenderloin with salt and pepper, then coat it in the marinade and refrigerate for at least 4 hours or, ideally, overnight.
When you're ready to grill, preheat your grill to medium heat, remove the tenderloin from the marinade, and discard any excess marinade. Grill the tenderloin for about 20-25 minutes, turning occasionally, until it reaches an internal temperature of 145°F. Let it rest for a few minutes before slicing and serving.
One extra tip I've learned over the years is to let the pork tenderloin rest after grilling. This resting period allows the juices to redistribute throughout the meat, making it even more tender and flavorful.
Additionally, I like to serve it alongside a refreshing grilled nopalitos corn salad for a perfect tailgating pairing that balances the richness of the pork. Enjoy your grilling!
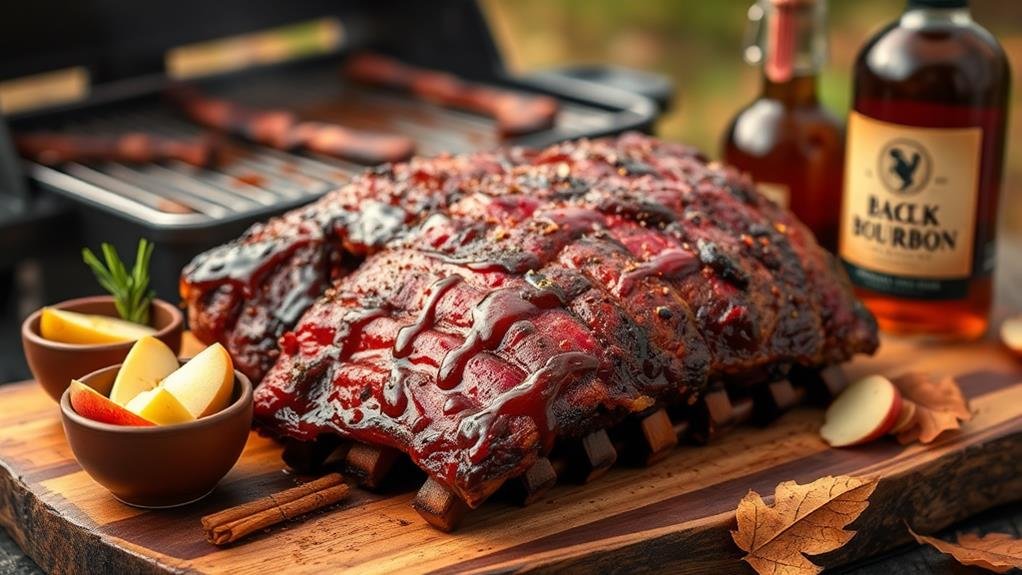
Recipe #5. Apple Spiced Baby Backs
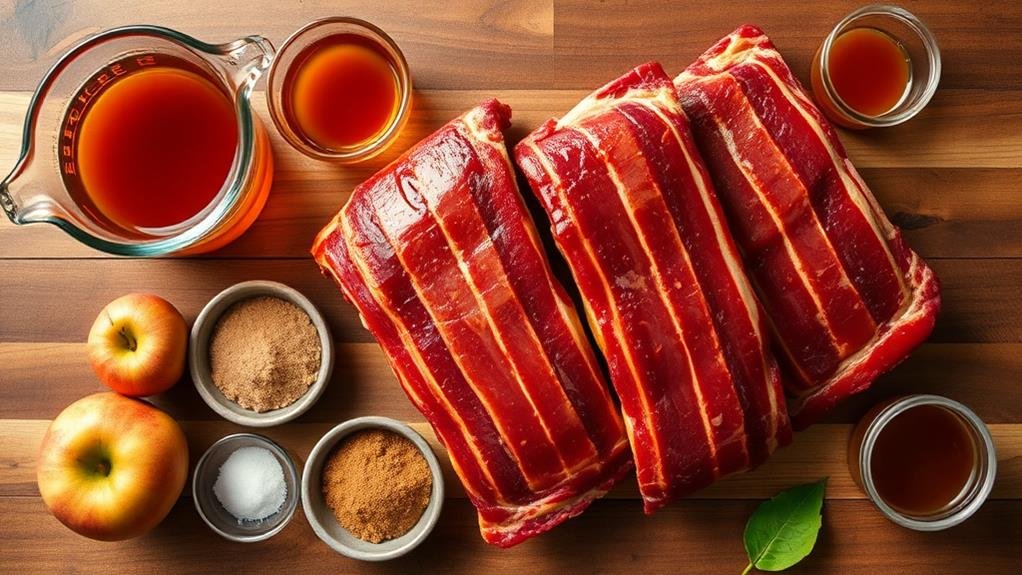
When it comes to tailgating, I always look for recipes that bring big flavors without taking up too much of my time. That's why I love making Apple Spiced Baby Backs. These ribs can be cooked in under two hours, which is perfect for my pre-game festivities. The sweet and savory apple flavors really shine through, making them a fantastic choice for fall-themed gatherings. Plus, they pair beautifully with seasonal drinks like bacon-infused bourbon, creating a cohesive and delicious tailgate spread.
To make the most of my grilling space, I utilize a rib rack. This allows me to cook multiple racks of ribs simultaneously, ensuring that every bite is cooked evenly and to perfection. Individual ribs are easy to serve and share, making them a hit among guests. The combination of tender meat and a hint of apple spice is sure to leave everyone asking for seconds.
Ingredients:
- 2 racks baby back ribs
- 1 cup apple cider
- 1/2 cup apple juice
- 1/4 cup brown sugar
- 1 tablespoon apple pie spice
- 1 teaspoon salt
- 1 teaspoon black pepper
- 1/2 teaspoon garlic powder
- 1/2 teaspoon onion powder
- 1/4 cup barbecue sauce (for glazing)
To start, I prepare the ribs by removing the membrane from the back and patting them dry. Then, I mix the apple cider, apple juice, brown sugar, apple pie spice, salt, black pepper, garlic powder, and onion powder in a bowl to create a marinade. I coat the ribs with this mixture and let them marinate for at least 30 minutes (or longer if I've time) to allow the flavors to really soak in.
I preheat my grill to medium heat and place the ribs in the rib rack, cooking them for about 1.5 hours, basting with barbecue sauce during the last 15 minutes for that sticky finish.
One thing I've learned is that patience is key when cooking ribs. Even though they cook relatively quickly, keeping an eye on the temperature and basting them regularly can make all the difference in achieving a juicy, flavorful result.
Also, don't forget to let the ribs rest for a few minutes after taking them off the grill—this helps the juices redistribute, ensuring that each bite is tender and full of flavor. Enjoy your tailgate!