A bread machine can make homemade bread feel surprisingly manageable. Instead of kneading dough by hand, watching the clock through several rises and wondering whether the kitchen is warm enough, you can place the ingredients in the pan, select the correct program and let the machine handle most of the work. That convenience makes it especially useful for beginners, but successful bread still depends on using the right proportions and paying attention to a few important details.
These easy bread machine recipes offer four different ways to put the appliance to work. Start with the Soft White Bread Machine Loaf when you need a dependable sandwich bread. Choose Honey Whole Wheat Bread for a slightly heartier loaf, or Cinnamon Raisin Bread for a gently sweet breakfast option. The final recipe uses the dough program to prepare Easy Bread Machine Pizza Dough, demonstrating that the machine can knead and proof dough even when the finished food will be shaped and baked elsewhere.
Check the Size of Your Bread Machine
The recipes in this collection are designed primarily for a bread machine with a 1.5-pound loaf capacity. Before beginning, check the manual or markings on your appliance. A recipe that is too large for the pan may rise into the lid or overflow, while a small recipe baked in a very large machine may produce a short, uneven loaf.
A 2-pound machine can usually accommodate a 1.5-pound recipe, but the shape and baking time may differ. Do not simply double a recipe unless the manufacturer confirms that the machine can handle the larger quantity.
Follow Your Machine’s Ingredient Order
Bread machine manufacturers do not all recommend the same loading order. Many machines ask for liquids first, followed by flour and other dry ingredients, with the yeast placed in a small hollow at the top. Some models use a different arrangement. Always follow the order stated in your machine’s manual when it conflicts with a general recipe instruction.
Keeping yeast separate from salt and liquid is particularly important when using a delayed-start program. If the yeast becomes wet several hours too early, it may begin working before the machine starts its scheduled cycle. Do not use the delay timer with ingredients such as fresh milk or eggs unless the manufacturer specifically states that it is safe.
Measure Flour Carefully
Flour is the ingredient most likely to create inconsistent results. Scooping it directly from the bag with a measuring cup can compress it and add considerably more than the recipe needs. A digital kitchen scale provides the most dependable measurement, which is why the recipes include weights as well as cup measurements.
Bread flour is ideal for the white, whole wheat and cinnamon-raisin loaves because its higher protein content helps create a dough that can hold the gas produced by the yeast. All-purpose flour may work in some machines, but the loaf may have a slightly softer structure or rise less dramatically.
Use bread machine yeast or instant yeast unless the recipe or your appliance manual specifies otherwise. Check its expiration date and store an opened package according to the manufacturer’s directions. Old or improperly stored yeast is a frequent cause of short, dense loaves.
Look at the Dough During the First Knead
A bread machine is automatic, but one quick check can prevent many disappointing results. Open the lid approximately 5–10 minutes after kneading begins and observe the dough.
A well-balanced bread dough should gather into a soft, smooth ball that moves around the pan and feels slightly tacky rather than wet. If a layer of batter remains under the paddle or the dough smears heavily against the sides, add bread flour 1 tablespoon at a time. If it looks dry, stiff or breaks into separate pieces, add water 1 teaspoon at a time.
Allow the machine to knead for a minute after each adjustment before adding more. Flour absorbs water differently depending on the brand, humidity and storage conditions, so a small correction is normal and does not mean the recipe has failed.
Handle Add-Ins at the Right Time
Ingredients such as raisins should not usually be added at the beginning of the cycle. Extended kneading can tear them apart and spread their color through the dough. Use the machine’s fruit-and-nut dispenser or add them when the appliance produces its mix-in signal. If your machine has neither feature, consult the manual to identify the final part of the kneading stage.
Cooling Matters Too
When the baking cycle finishes, use oven mitts to remove the hot pan. Turn the loaf onto a wire rack and remove the kneading paddle carefully if it remains inside the bread. Let the loaf cool completely—usually for at least one hour—before slicing. Cutting too soon releases steam and can compress the warm crumb into a damp, gummy band.
The pizza dough is the exception because it leaves the machine after the dough cycle and finishes in a conventional oven. Its recipe includes separate instructions for resting, shaping and baking.
These four easy bread machine recipes are intentionally simple, but each teaches a useful skill: making a reliable basic loaf, working with whole wheat flour, adding fruit at the correct time and using the dough-only program. Once those methods feel familiar, it becomes much easier to adjust flavors and make the bread machine part of an ordinary weekly routine.
1. Soft White Bread Machine Loaf
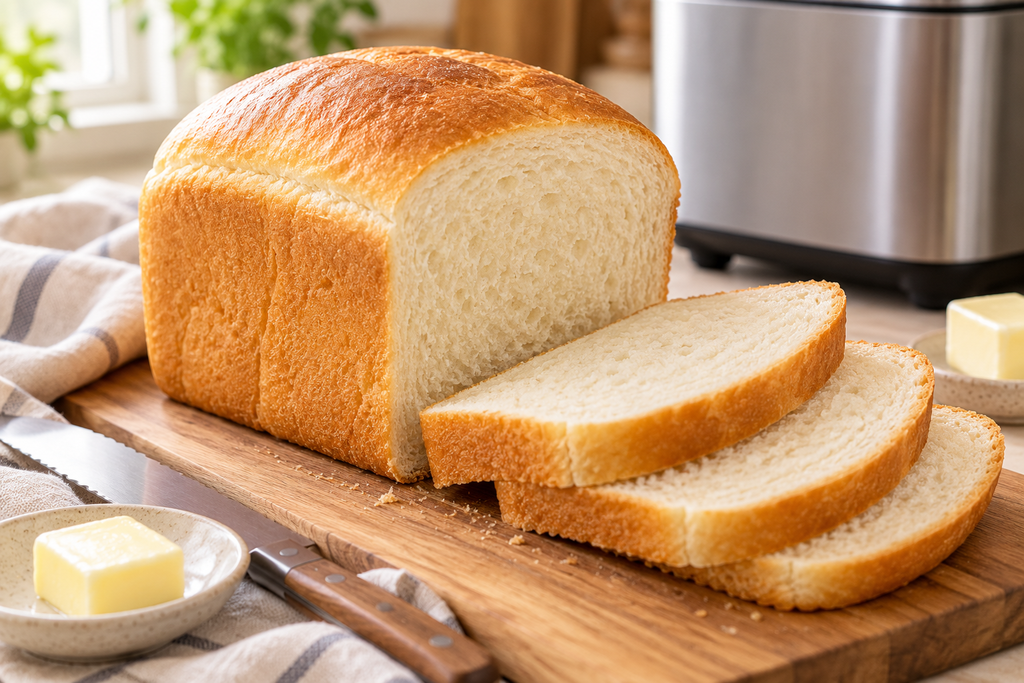
This Soft White Bread Machine Loaf is the best place to begin if you are still learning how your machine behaves. It has a thin golden crust and a soft, even crumb that slices neatly for sandwiches, toast or grilled cheese. The recipe is designed for a bread machine with a 1.5-pound capacity.
Yield: 1 loaf, approximately 1.5 pounds
Preparation time: 10 minutes
Machine time: Approximately 3–4 hours, depending on the model
Program: Basic or White Bread
Loaf size: 1.5 lb
Crust setting: Light or Medium
Ingredients
- 1 cup (240 ml) water, at room temperature
- ¼ cup (60 ml) milk, at room temperature
- 2 tablespoons (28 g) unsalted butter, softened and cut into small pieces
- 2 tablespoons (25 g) granulated sugar
- 1¼ teaspoons (7 g) fine salt
- 3½ cups (420 g) bread flour
- 2 teaspoons (6 g) instant yeast or bread machine yeast
Instructions
- Make sure the kneading paddle is securely fitted inside the bread pan.
- Add the ingredients in the order recommended by the manufacturer of your bread machine. Many models require the water and milk first, followed by the butter, sugar, salt and flour. The yeast is usually placed last in a small hollow made in the flour, where it remains separate from the liquid and salt until mixing begins.
- Return the pan to the machine and select the Basic or White Bread program. Choose the 1.5-pound loaf size and a Light or Medium crust.
- Check the dough approximately 5–10 minutes after kneading begins. It should gather into a soft, smooth ball that clears most of the pan while remaining slightly tacky.
- If the dough smears heavily along the bottom or looks more like thick batter, add bread flour 1 tablespoon at a time. If it appears dry, stiff or breaks into separate pieces, add water 1 teaspoon at a time. Allow the machine to knead for at least one minute after each addition before making another adjustment.
- Close the lid and allow the complete program to finish. Avoid opening the machine repeatedly during the rising and baking stages, as the loss of heat may affect the loaf.
- When the baking cycle ends, put on oven mitts and remove the bread pan. Turn the loaf onto a wire rack immediately. If the kneading paddle remains inside the bottom of the bread, remove it carefully with the supplied hook or a non-scratching utensil.
- Allow the loaf to cool for at least one hour before slicing. The interior is still setting while the bread is hot, and cutting too early can create a compressed or gummy strip through the crumb.
Practical Tips
Weighing the bread flour gives the most consistent result. If you use cups, loosen the flour with a spoon, place it gently into the measuring cup and level the surface without packing it down.
Do not use a delayed-start program with fresh milk unless your bread machine manufacturer specifically confirms that it is safe. For delayed baking, an appropriate recipe using water and milk powder would be a better choice.
Store the completely cooled loaf in an airtight bag or bread container at room temperature for up to three days. Avoid refrigerating it because refrigeration can make bread become stale more quickly. For longer storage, slice the loaf and freeze it for up to two months. The frozen slices can be placed directly into a toaster.
The Soft White Bread Machine Loaf should have a gently domed top and a fine, flexible crumb. If it repeatedly collapses, check that the yeast amount is accurate and that the dough is not too wet. If the loaf remains short and dense, replace old yeast and make sure the dough is not overly stiff during the first kneading stage.
2. Honey Whole Wheat Bread
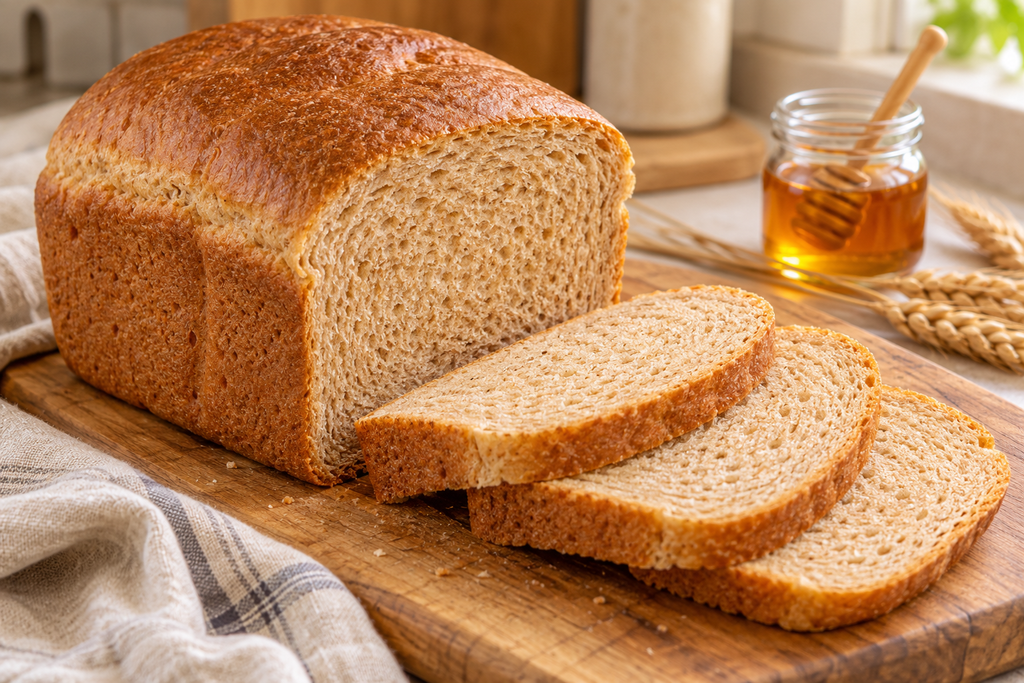
This Honey Whole Wheat Bread has the warm flavor of whole-grain flour without the dry, heavy texture that can discourage new bread-machine users. A combination of whole wheat flour and bread flour gives the loaf more structure and a softer crumb, while honey adds gentle sweetness and helps the bread remain tender. It is especially good for breakfast toast, sandwiches or serving alongside soup.
Yield: 1 loaf, approximately 1.5 pounds
Preparation time: 10 minutes
Machine time: Approximately 3½–4 hours, depending on the model
Program: Whole Wheat, or Basic if unavailable
Loaf size: 1.5 lb
Crust setting: Medium
Ingredients
- 1¼ cups (300 ml) water, at room temperature
- 2 tablespoons (28 g) neutral oil or softened unsalted butter
- 2 tablespoons (42 g) honey
- 1¼ teaspoons (7 g) fine salt
- 2 cups (240 g) whole wheat flour
- 1½ cups (180 g) bread flour
- 2 teaspoons (6 g) instant yeast or bread machine yeast
Instructions
- Check that the kneading paddle is fitted securely inside the bread pan.
- Add the ingredients in the order recommended by your bread machine manufacturer. For machines that require liquids first, add the water, oil and honey before the salt and flours. Place the yeast in a shallow hollow at the top of the flour so that it does not immediately touch the liquid or salt.
- Insert the pan into the machine. Select the Whole Wheat program, the 1.5-pound loaf size and a Medium crust. If your machine does not have a whole wheat cycle, use the Basic or White Bread program, although the finished loaf may rise slightly less.
- Inspect the dough after it has been kneading for approximately 8–10 minutes. Whole wheat flour absorbs liquid more slowly than white flour, so do not make an adjustment during the first few minutes.
- The dough should eventually form a soft, slightly tacky ball. It may cling lightly to the bottom of the pan, but it should not look like batter. If it remains very wet after 10 minutes, add bread flour 1 tablespoon at a time. If it looks stiff, dry or cracked, add water 1 teaspoon at a time.
- Close the lid and allow the cycle to finish without repeatedly opening the machine during rising and baking.
- When the program ends, use oven mitts to remove the hot bread pan. Turn the loaf onto a wire rack and remove the kneading paddle carefully if it remains inside.
- Allow the Honey Whole Wheat Bread to cool completely for at least one hour before slicing. Whole-grain bread continues releasing steam as it cools, and cutting it too soon can compress the interior.
Practical Tips
A loaf made entirely from whole wheat flour is usually denser because the bran interferes with gluten development. Combining whole wheat flour with bread flour gives this recipe a lighter, more flexible crumb without losing its recognizable whole-grain flavor.
Measuring flour by weight is strongly recommended. If using measuring cups, stir the flour before spooning it gently into the cup and levelling the top.
Honey varies in thickness. If some remains stuck to the spoon, coat the spoon lightly with the recipe’s oil before measuring it. The honey will slide off more easily and the measured amount will be more accurate.
The finished loaf should have a gently domed top and a soft tan interior. If the top repeatedly collapses, the dough may be too wet or the yeast quantity may be too high for your machine. If the loaf is short and firm, check the freshness of the yeast and make sure the dough receives enough water.
Store the cooled bread in an airtight bag or bread container at room temperature for up to three days. For longer storage, slice and freeze it for up to two months. Place parchment between the slices if you want to remove them individually for toast.
3. Cinnamon Raisin Bread
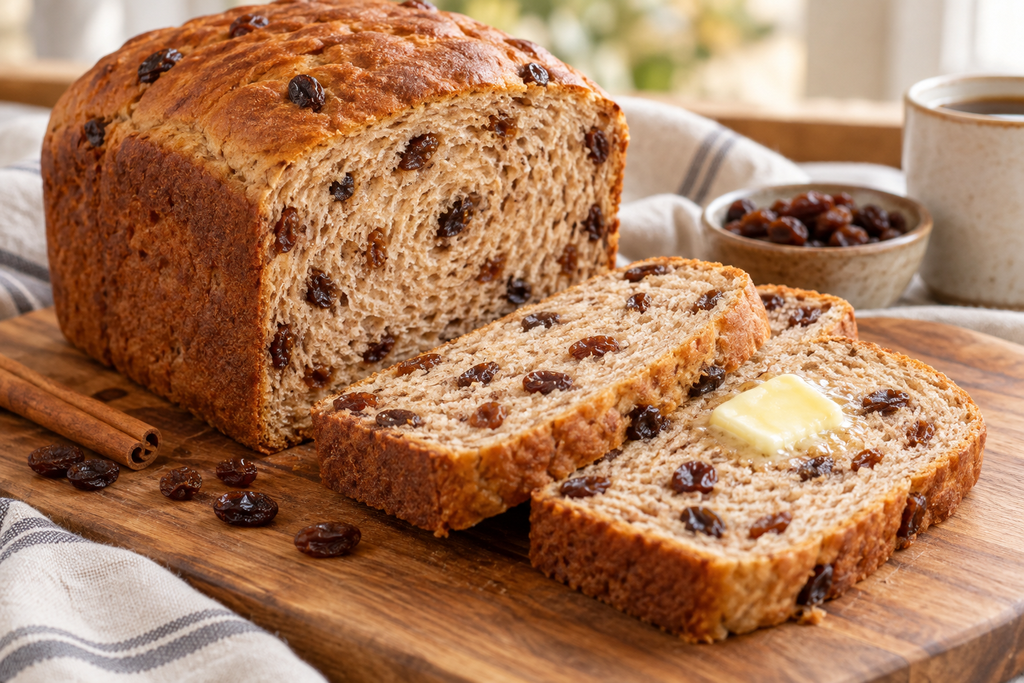
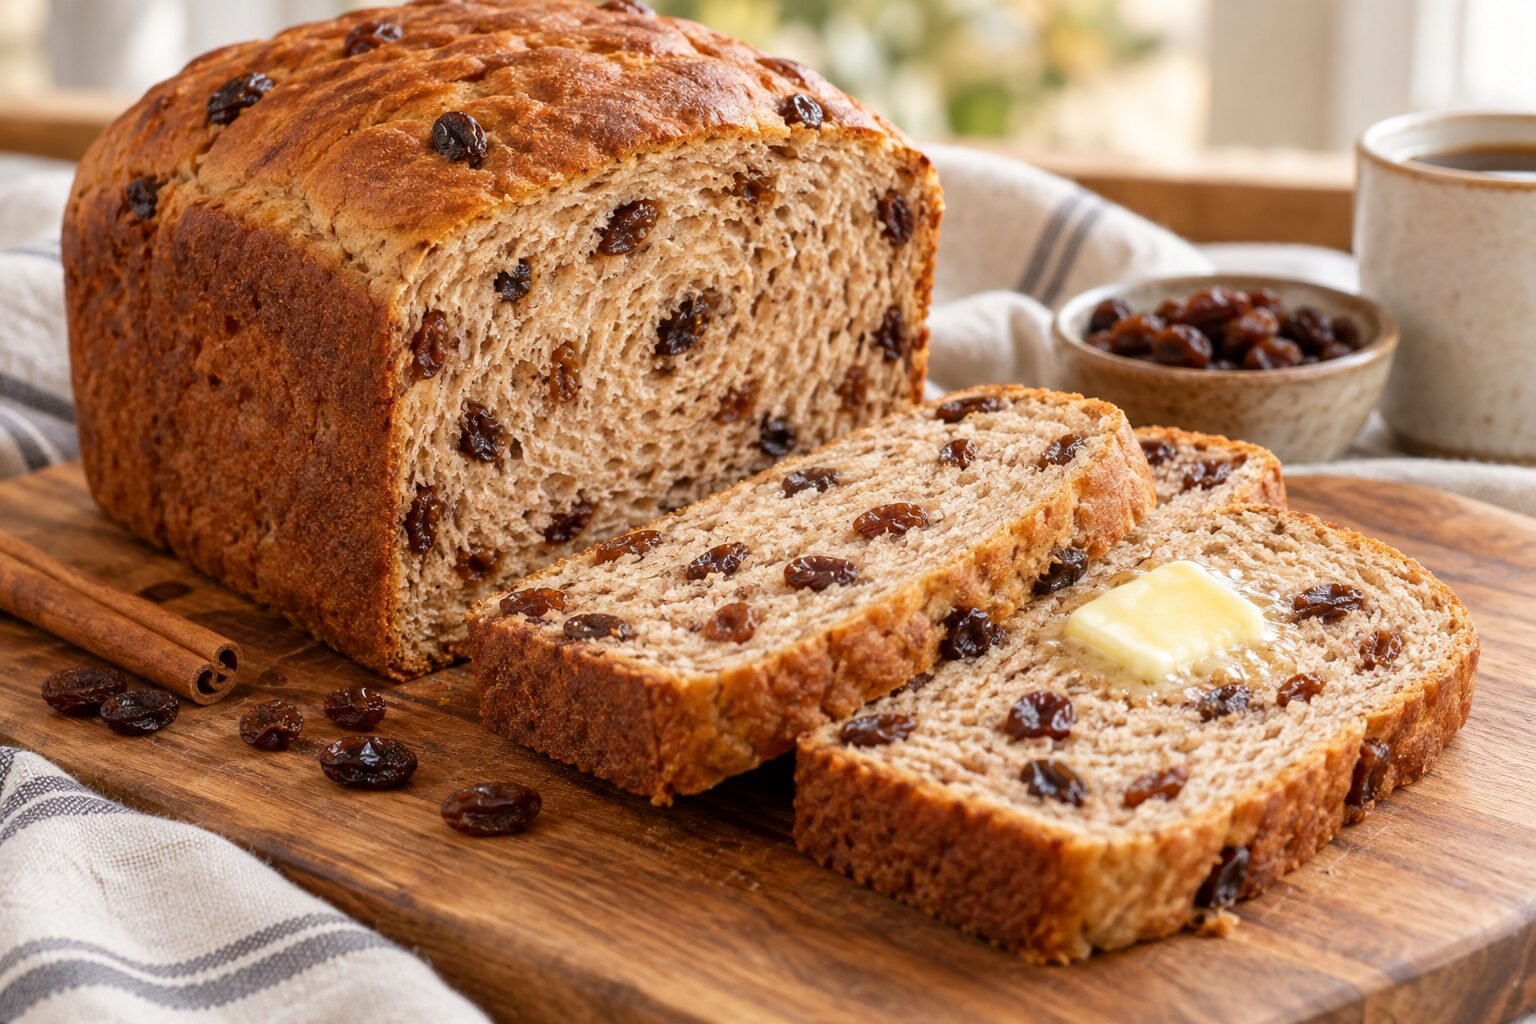
There is something especially comforting about waking up to the smell of cinnamon drifting through the kitchen. This Cinnamon Raisin Bread brings that cozy bakery feeling home without requiring any kneading, shaping, or complicated preparation. The bread machine takes care of the hard work, leaving you with a softly spiced loaf filled with naturally sweet raisins.
The finished bread has a tender, slightly golden crumb and a pleasantly crisp crust. It is delicious on its own, but a warm slice spread with butter makes an especially satisfying breakfast. You can also toast it and serve it with cream cheese, apple butter, or a little honey. If a few slices remain the following day, they make wonderfully fragrant French toast.
Ingredients
- 1 cup (240 ml) water, at room temperature
- 1/4 cup (60 ml) milk, at room temperature
- 3 tablespoons (42 g) unsalted butter, softened
- 1/4 cup (50 g) light brown sugar
- 1 teaspoon fine salt
- 3 1/2 cups (420 g) bread flour
- 1 1/2 teaspoons ground cinnamon
- 2 teaspoons (6–7 g) bread machine or instant yeast
- 3/4 cup (115–120 g) raisins
Instructions
- Remove the bread pan from the machine and make sure the kneading paddle is correctly fitted.
- Add the water and milk to the bread pan. Spoon in the softened butter, followed by the brown sugar and salt.
- Add the bread flour, spreading it evenly so that it completely covers the liquid ingredients.
- Sprinkle the cinnamon over the flour. Make a shallow indentation in the center of the flour without reaching the liquid underneath, then add the yeast to the indentation.
- Return the pan to the bread machine. Select the Sweet Bread cycle if your machine has one. Otherwise, use the Basic or White Bread cycle. Choose the 1.5-pound loaf size and a light or medium crust.
- Start the machine. During the first 5–10 minutes of kneading, check the dough. It should form a soft, smooth ball that feels slightly tacky but does not smear along the sides of the pan. If it looks dry or crumbly, add water one teaspoon at a time. If it looks overly wet and sticky, add bread flour one tablespoon at a time.
- Add the raisins when the machine sounds its fruit-and-nut signal. If your machine has an automatic dispenser, place the raisins in the dispenser before starting the program. Adding them later helps prevent the kneading paddle from crushing them.
- Allow the bread machine to complete the full kneading, rising, and baking cycle. Avoid opening the lid during the final rise and baking stages, as this may cause the loaf to collapse.
- When the cycle ends, carefully lift out the bread pan using oven gloves. Leave the loaf in the pan for about 5 minutes, then turn it out onto a wire rack.
- Let the Cinnamon Raisin Bread cool for at least 60 minutes before slicing. Cutting it too soon can compress the soft interior and make the crumb appear gummy.
Helpful Tips for the Best Result
Use raisins that are soft and plump rather than very dry. If your raisins have hardened, soak them in warm water for 5–10 minutes, drain them thoroughly, and pat them completely dry before adding them. Excess water on the fruit can make the dough sticky and interfere with the loaf’s texture.
Cinnamon can slightly slow down yeast activity, so it is best not to add more than the recipe recommends. If you prefer a stronger cinnamon flavor, sprinkle a little extra cinnamon over the buttered slices rather than increasing it in the dough.
Because flour absorbs liquid differently depending on the brand, storage conditions, and humidity, checking the dough during the first kneading stage is one of the most useful bread-machine habits. A small adjustment at this point can make the difference between a heavy loaf and a soft, evenly risen one.
Do not use the delayed-start setting when preparing this recipe with fresh milk. If you need to schedule the bread for later, replace the milk with the same amount of water and add 2 tablespoons of dry milk powder with the flour.
Serving and Storage
Serve Cinnamon Raisin Bread lightly toasted with butter for an easy breakfast, or pair it with fresh fruit and yogurt for a more complete morning meal. It also works beautifully in a sweet breakfast sandwich filled with cream cheese and thinly sliced apple.
Store the completely cooled loaf in an airtight container or tightly sealed bread bag at room temperature for up to 3 days. For longer storage, slice the bread and freeze it in a freezer-safe bag for up to 2 months. Place small pieces of parchment between the slices so you can remove and toast only what you need.
4. Easy Bread Machine Pizza Dough

Homemade pizza becomes much less intimidating when the bread machine handles the kneading and first rise. This Easy Bread Machine Pizza Dough requires only a few everyday ingredients and produces a soft, elastic dough that is simple to stretch without constantly springing back. You still get the satisfaction of shaping and topping your own pizza, but the most time-consuming part of the process happens automatically.
This recipe is a useful choice for relaxed family dinners, informal get-togethers, or evenings when everyone wants to create a different pizza. Place a few bowls of toppings on the table and let each person assemble their own version. The dough can be divided into two medium pizzas or kept whole for one large, thicker pizza.
Ingredients
- 1 cup (240 ml) water, at room temperature
- 2 tablespoons (30 ml) olive oil
- 1 teaspoon granulated sugar
- 1 1/4 teaspoons fine salt
- 3 1/4 cups (390 g) bread flour
- 2 teaspoons (6–7 g) bread machine or instant yeast
- Extra flour or fine semolina, for shaping
Optional Toppings
- 1/2 to 3/4 cup pizza sauce
- 1 1/2 to 2 cups shredded or torn mozzarella
- Fresh basil leaves
- Sliced mushrooms, bell peppers, onions, olives, or pepperoni
- A little olive oil for brushing the crust
Instructions
- Remove the bread pan from the machine and make sure the kneading paddle is securely fitted.
- Pour the water and olive oil into the pan. Add the sugar and salt.
- Spoon in the bread flour, distributing it evenly so that it covers the liquid. Make a small indentation in the center of the flour without reaching the water, then add the yeast.
- Return the pan to the bread machine and select the Dough or Pizza Dough cycle. This program normally kneads the dough and allows it to complete its first rise without baking it.
- Check the dough after 5–10 minutes of kneading. It should come together into a smooth, soft, slightly tacky ball that pulls away from the sides of the pan. If the mixture looks dry or contains loose flour, add water one teaspoon at a time. If it remains very sticky and spreads across the base of the pan, add bread flour one tablespoon at a time.
- Let the machine finish the complete dough cycle. Depending on the model, this usually takes approximately 60–90 minutes.
- When the program ends, lightly flour your hands and transfer the risen dough to a clean work surface. Divide it into two equal portions for medium pizzas, or leave it whole for one large pizza.
- Shape each portion into a ball, cover loosely with a clean kitchen towel, and let it rest for 15–20 minutes. This short resting period relaxes the gluten and makes the dough easier to stretch.
- While the dough rests, preheat the oven to 475°F (245°C). If using a pizza stone or baking steel, place it in the oven before preheating and allow it to heat for at least 30 minutes. Otherwise, lightly oil a sturdy baking sheet or line it with parchment paper suitable for high temperatures.
- Sprinkle the work surface with a little flour or fine semolina. Gently press one piece of dough into a flat disc. Working from the center outward, stretch it into a 10- to 12-inch circle. Avoid pressing all the air from the outer edge if you want a lighter, puffier crust.
- Transfer the shaped dough to a sheet of parchment, pizza peel, or prepared baking tray. Spread it with a thin layer of pizza sauce, leaving a border around the edge. Add the cheese and your chosen toppings.
- Do not overload the pizza, as too much sauce or too many wet toppings can prevent the center from baking properly.
- Bake for 10–14 minutes, or until the crust is puffed and golden brown, the cheese has melted, and the underside feels firm and lightly crisp. Cooking time may vary depending on the thickness of the dough and the type of baking surface used.
- Remove the pizza from the oven and let it rest for 3–5 minutes before slicing. Add fresh basil or a light drizzle of olive oil just before serving, if desired.
Helpful Tips for Better Homemade Pizza
For the best texture, measure the flour by weight. Scooping flour directly from the bag can pack too much into the cup and produce a dry, difficult-to-stretch dough.
If the dough repeatedly shrinks while you shape it, cover it and let it rest for another 10 minutes. Fighting against tight dough usually leads to tearing, while a brief rest allows it to relax naturally.
Watery toppings are another common source of disappointment. Drain fresh mozzarella thoroughly and precook vegetables that release a large amount of moisture, such as mushrooms. A restrained layer of toppings helps the crust bake evenly and keeps the center from becoming soggy.
A fully preheated oven is essential. The initial burst of heat encourages the rim to rise and gives the base a better texture. A pizza stone or steel can improve browning, but a preheated heavy baking sheet also works well.
Making the Dough Ahead
Easy Bread Machine Pizza Dough can be prepared earlier in the day. Once the machine has completed its cycle, lightly coat the dough with olive oil, place it in a covered container, and refrigerate it for up to 24 hours. Cold fermentation can give the crust a deeper flavor.
Remove refrigerated dough approximately 45–60 minutes before shaping so it can return closer to room temperature. Cold dough is tighter and more likely to shrink.
The dough can also be frozen. After the bread-machine cycle, divide it into portions, lightly oil each one, and place them in separate freezer-safe bags. Freeze for up to 2 months. Defrost the dough overnight in the refrigerator, then bring it to room temperature before shaping and baking.
A Note About the Images
The images featured in this article were created with the assistance of artificial intelligence. Each image was carefully developed to reflect the ingredients, preparation method, and realistically expected appearance of the corresponding recipe. They are intended as helpful visual inspiration rather than photographs of the exact batch you will prepare. Natural variations in ingredient brands, bread machines, ovens, shaping, and baking conditions may cause your finished bread or pizza to look slightly different—and that unique homemade character is part of the pleasure of baking.