Cleaning your oven sounds like a daunting task. Self-cleaning ovens claim to make it easy, but most people don’t know exactly what happens inside that oven door during the cleaning cycle. Learn how it works, the risks involved, and proper safety precautions so you can use this feature without causing avoidable damage.
Self cleaning Oven Guide: Exactly What Happens During Self-clean?
During a self-clean cycle, your oven gets hot enough to burn away leftovers. Rather than washing it out with chemicals and scrubbing, the oven locks itself and produces enough heat to destroy baked-on grime.
Models vary, but cleaning cycles usually take a few hours. When they’re done, you can wipe out the ash left behind with a wet towel. This ease of cleanup is part of why so many people depend on self-clean ovens for maintenance.
Why Do Cleaning Ovens Work Differently?
No two self-cleaning ovens are exactly alike. Learning how your particular model works can prevent damage and shorten cleaning times. For example, some ovens use heat while others spray steam to loosen debris.
- Self-cleaning oven cycles burn away debris using very high heat.
- Steam oven cycles fill the oven with hot steam that loosens grime.
- Many ovens have both features for different cleaning tasks.
- Some cycles are shorter if the oven is less dirty.
- Check your manufacturer’s guidelines to see which racks can stay inside.
If you assume your oven has the same features as your friend’s oven, you might harm finishes or damage racks that aren’t meant to withstand extreme temperatures.
SeLf cLeaning Oven Guide: Preparing Your Oven for Self-clean
Taking a few minutes to prepare your oven can mean the difference between a smooth, clean cycle and a frustrating one. Before you select clean, clear any debris that isn’t attached to the oven walls and wipe down the door seal. Double-check that everything in your oven should be there, too.
You’ll also want to clear anything away from around your oven. Self-cleaning generates a lot of heat, so move dish towels, cookware, and plastic storage containers away from your oven door.
SeLf cLeaning Oven Guide: What Needs to Go?
To be safe, take everything out of your oven unless your owner’s manual specifically instructs you not to. Items you may not realize can cause problems include cookie sheets, rubber items that shouldn’t be heated, and glasses or cups.
- Most manufacturers recommend taking out your broiler pan.
- Remove aluminum foil from racks and pans.
- Detachable thermometers will want to be removed as well.
- Pizza stones should be removed because the heat can cause them to crack.
- Some racks should be removed, especially if they have an enamel coating.
Once everything is out, take a minute to scrape out any spills that have reached the heating elements or vents. Heavy deposits of grease will produce smoke, so removing them can limit messes and allow your oven to clean itself more effectively.
SeLf cLeaning Oven Guide: Length of Cleaning Cycles
Self-cleaning cycles vary by make and model, but most take several hours to complete. Part of that time is spent heating up; your oven will need to cool down before it unlocks.
For this reason, plan to run your self-cleaning cycle when you won’t need to use your oven for a while. Many users clean their ovens overnight or on weekends so they can air out their kitchen and not feel rushed.
Safety Tips for Self Cleaning Ovens
Self-cleaning can be a safety hazard if you don’t take precautions. During the cleaning cycle, your oven can get hot enough to cause smoke or set off alarms. Take these steps to avoid trouble.
- Crack open a window or activate your range ventilation fan.
- Ensure children and pets can’t enter the kitchen while you’re cleaning.
- Your oven will lock during cleaning; don’t try to open it until it unlocks.
- Commercial oven cleaners can damage the interior of your oven.
- If you smell something burning, Open the oven to investigate.
Smoke isn’t always a sign of a problem, but smoke mixed with an electrical smell is. Turn off the oven (if you can reach the controls) and call for service if you smell something burning other than food leftovers.
SeLf cLeaning Oven Guide: When Should I Clean My Oven?
Ideally, you’ll run the self-clean cycle often enough that you never let your oven get too messy. If you must wait until dinner rolls around, try using self-clean sooner rather than later.
Here are some practical cleaning frequency guidelines for when to run the self-clean cycle:
| Frequency | Oven Use Type | Cleaning Intensity | Reason |
| Once a month | Moderate use | Low | Prevents heavy grime buildup |
| Every 3 months | Light use | Moderate | Maintains efficiency |
| Weekly | Heavy use | High | Reduces excessive smoke production |
| After spills | Any usage | Targeted | Prevents permanent stains and odors |
Remember, regular maintenance ensures your oven remains efficient and safe to use.
The longer you wait, the harder your oven works to clean itself, and the more smoke you’ll produce. You may be able to get away with wiping your oven out after each use if you typically have light spills.
Cleaning up After Your Oven Cleans Itself
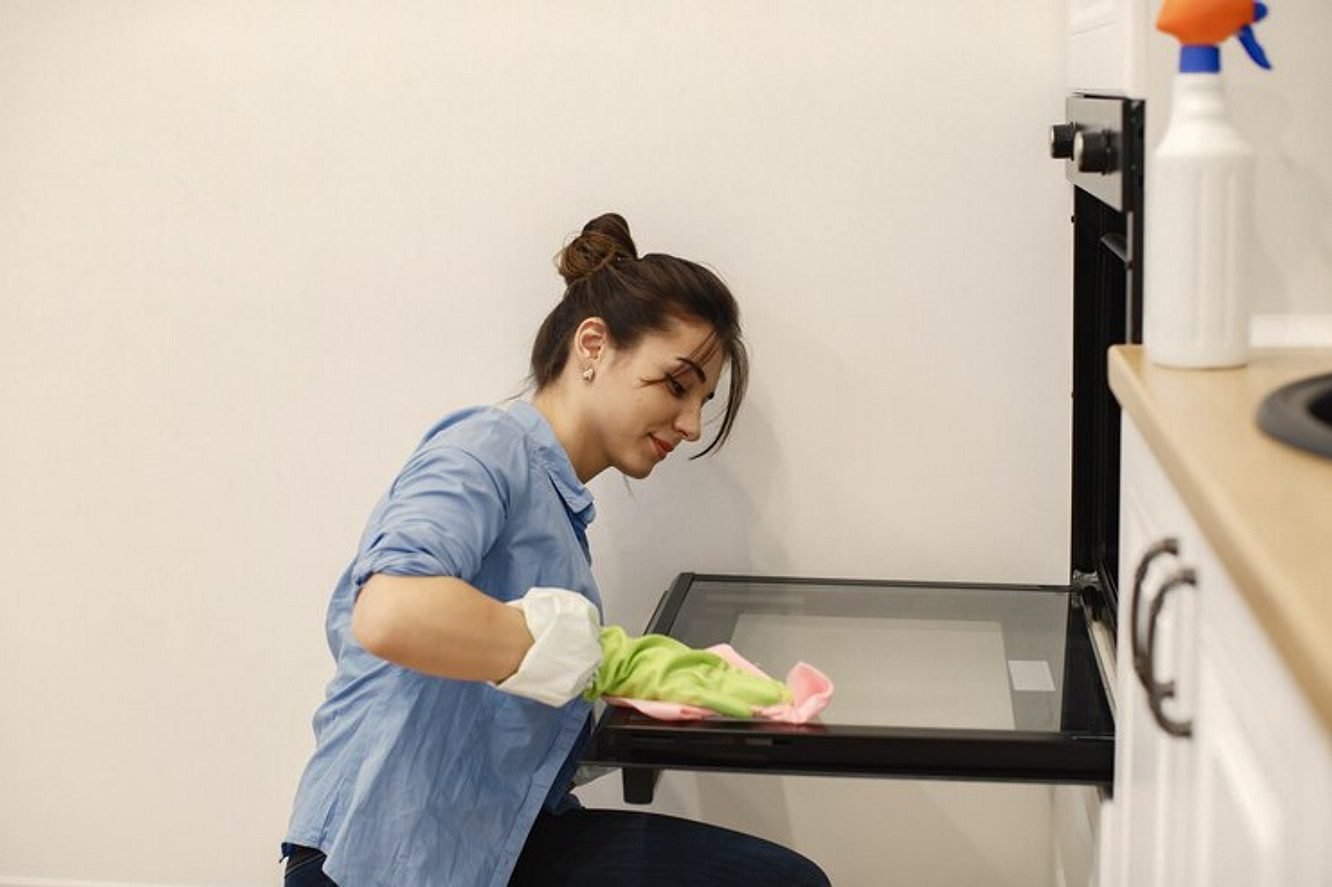
When the self-clean cycle is done, take a few minutes to wipe down the inside of your oven. Ash from self-cleaning can collect on the sides of your oven, around the vent, and inside corners. Wipe the oven down with a damp cloth until all ash is removed.
Now you can put racks, safe storage containers, and any other approved items back in your oven. Spending time after running self-clean prevents you from baking ashes onto the next pan you cook.
Mistakes to Avoid With Self Cleaning Ovens
Self-clean ovens aren’t necessarily difficult to maintain, but problems happen when owners fail to read the owner’s manual. Avoid running your self-clean cycle too often; your oven needs time to cool between cycles.
Extreme heat can cause wear and tear on seals, racks, and internal electronics. Another common problem is leaving items in your oven that aren’t designed to withstand high heat. Use your self-clean feature wisely, and your oven will last longer.