On a hot afternoon, turning on the oven may be the last thing you feel like doing. A few chilled ingredients, a chopping board, and some simple preparation can give you something enjoyable to eat without warming up the kitchen.
These three snacks for hot days offer a choice of sweet and savory flavors: watermelon, cucumber, and feta cups; lemon hummus with crunchy vegetable sticks; and peach and Greek yogurt pots. None requires cooking or freezing, although keeping the ingredients chilled makes preparation and serving easier.
Each recipe includes measured quantities, clear instructions, and tips for getting the texture right. You will find out when to combine the watermelon cups so they do not become too watery, how to adjust the hummus without making it runny, and why crunchy toppings are best added to yogurt just before serving.
You can prepare these snacks for a quiet afternoon at home or portion them into containers for an outing. For picnics, pack them in a cooler with ice packs and keep them chilled until serving. Being suitable for summer does not mean they can sit in the heat all afternoon.
Choose whichever combination appeals to you, use ripe fruit and crisp vegetables, and start with a small batch. There is no need for elaborate presentation: a bowl, a few small cups, or a lidded container will do.
1. Watermelon, Cucumber and Feta Snack Cups
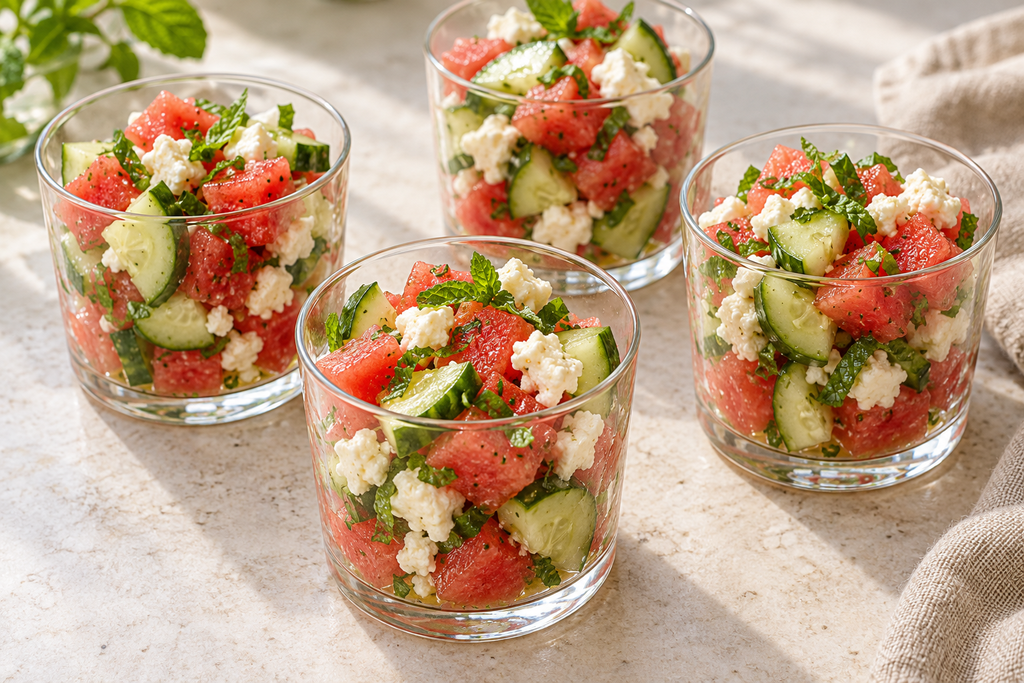
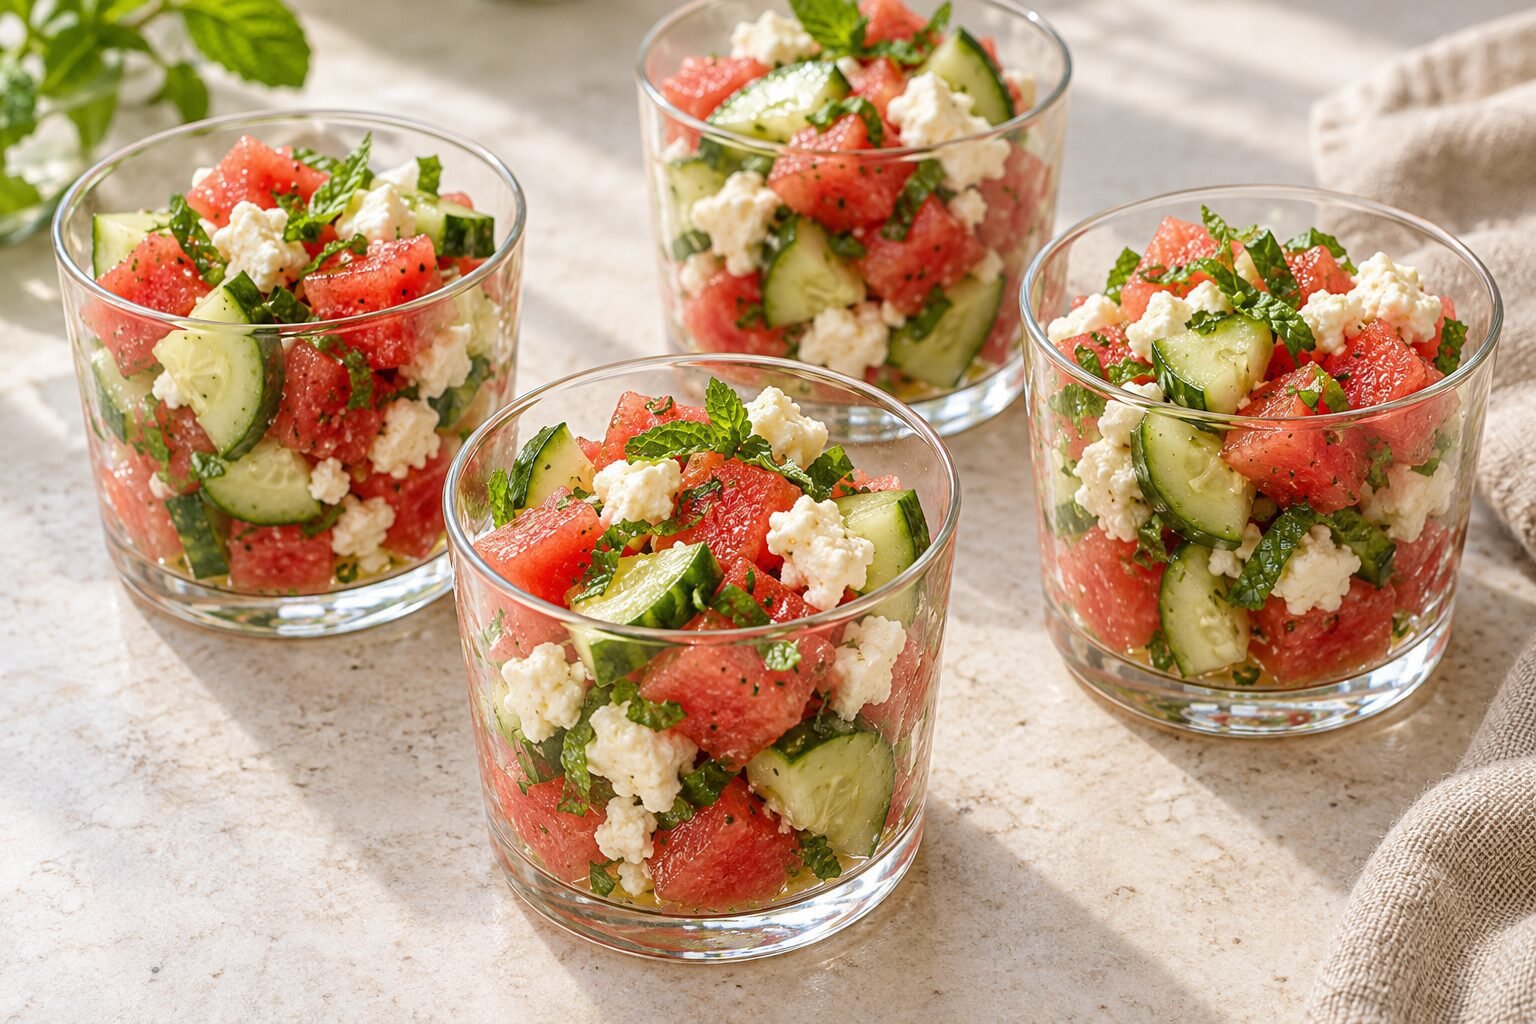
Sweet watermelon, crisp cucumber, and salty feta make a refreshing combination with very little preparation. Mint and a light lime dressing bring the flavors together without overpowering the fruit.
These small cups are an easy starting point for snacks for hot days. The key is to drain excess juice and combine the ingredients shortly before serving, rather than leaving everything dressed for hours.
Servings: 4 small snack portions
Preparation time: 15 minutes
Cooking time: None
Ingredients
- 400 g chilled seedless watermelon flesh, cut into 1.5 cm cubes
- 200 g cucumber, washed and trimmed
- 80 g feta made with pasteurized milk, drained
- 1 tablespoon fresh lime juice (15 ml)
- 1 teaspoon extra-virgin olive oil (5 ml)
- 6–8 fresh mint leaves, washed, dried, and thinly sliced
Equipment: A chopping board, a sharp knife, a sieve, a mixing bowl, and four small serving cups or bowls.
Instructions
- Prepare the watermelon. If cutting a whole melon, wash the rind under running water before slicing into it. Measure 400 g of flesh after removing the rind and any hard seeds. Cut into small cubes and place in a sieve over a bowl while preparing the other ingredients. Let loose juice drain away without pressing the fruit.
- Cut the cucumber. Quarter the cucumber lengthwise, then slice into bite-sized pieces. If the center contains large seeds surrounded by watery flesh, scoop that section out with a teaspoon first. Pat the pieces lightly with a clean paper towel.
- Mix the dressing. Whisk the lime juice and olive oil together in the mixing bowl. No extra salt is needed initially because the feta supplies saltiness.
- Combine gently. Add the drained watermelon and cucumber to the dressing. Fold together with a large spoon, using just a few turns to avoid crushing the fruit.
- Add the finishing ingredients. Crumble the feta into small pieces and fold it through with most of the sliced mint. Keep a little mint for the tops.
- Portion and serve. Divide between four cups or bowls, leaving any excess liquid in the mixing bowl. Finish with the remaining mint and serve promptly, or keep refrigerated until serving.
Make-Ahead and Serving Tips
For preparation earlier the same day, refrigerate the chopped watermelon and cucumber in separate covered containers. Keep the feta, mint, and dressing separate too. Drain any accumulated juice before assembling.
Some liquid will naturally collect after mixing. This does not mean the recipe has failed; simply use a slotted spoon when serving. Avoid freezing the assembled cups, as thawing will soften the cucumber and watermelon.
For an outing, use lidded containers and transport them in a cooler with ice packs. Keep chilled at approximately 4°C (40°F) or below until serving. Do not leave these perishable snacks unrefrigerated for more than two hours, or one hour when temperatures exceed 32°C (90°F).
Allergen note: Feta contains milk.
2. Lemon Hummus with Crunchy Vegetable Sticks
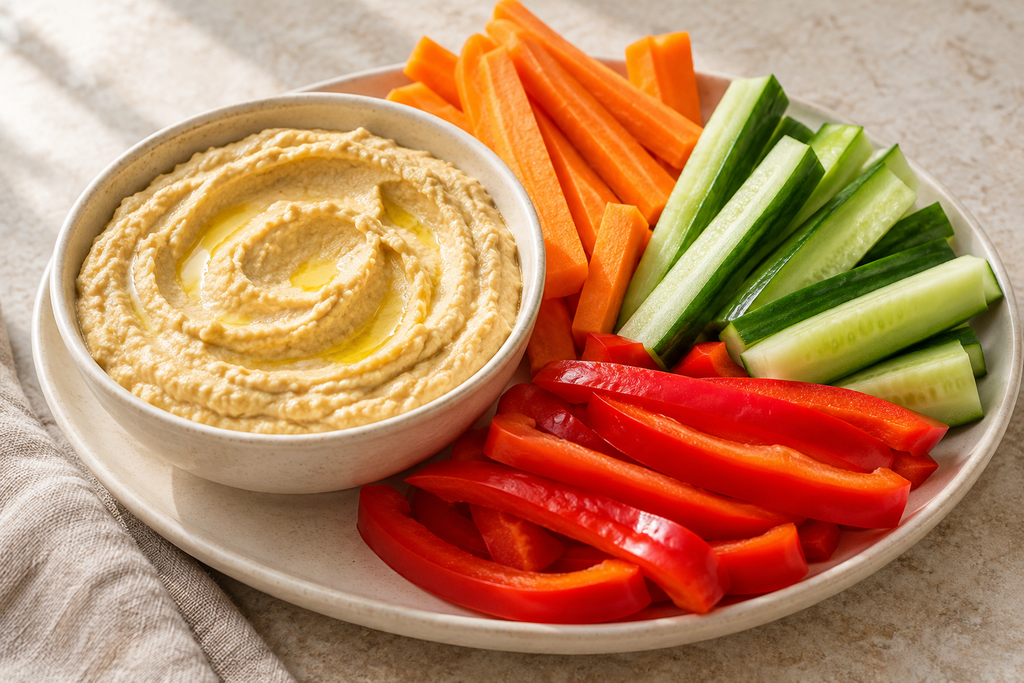
Creamy lemon hummus makes a savory contrast to crisp cucumber, carrots, and sweet bell pepper. Using canned chickpeas keeps the preparation straightforward: drain, rinse, and blend, with no cooking required.
This is a useful choice when you want snacks for hot days that are easy to portion and share. The hummus should be thick enough to stay on a vegetable stick, so add water gradually rather than pouring it in all at once.
Servings: 4 snack portions
Preparation time: 15 minutes
Cooking time: None
Optional chilling time: 30 minutes
Ingredients
For the hummus:
- 1 × 400 g can chickpeas, drained and rinsed, yielding approximately 240 g
- 2 tablespoons tahini (30 g), stirred well before measuring
- 2 tablespoons fresh lemon juice (30 ml)
- 1 small garlic clove, finely grated
- 1 tablespoon extra-virgin olive oil (15 ml), plus 1 teaspoon for serving if desired
- ¼ teaspoon fine salt, or to taste
- 2–4 tablespoons cold water (30–60 ml)
For dipping:
- 200 g cucumber
- 150 g carrots
- 1 red bell pepper, approximately 150 g after trimming
Equipment: A food processor or small blender, a sieve, a spatula, a chopping board, and a sharp knife.
Instructions
- Prepare the vegetables. Wash the cucumber, carrots, and pepper. Peel the carrots if preferred. Cut everything into manageable sticks or strips, removing the pepper’s stem and seeds. Pat dry and refrigerate while making the hummus.
- Drain the chickpeas. Rinse the canned chickpeas under running water and drain thoroughly. Remove any loose skins if convenient, but there is no need to peel every chickpea.
- Start blending. Place the chickpeas, tahini, lemon juice, garlic, olive oil, salt, and 2 tablespoons of water in the food processor. Blend for about 1 minute, then stop and scrape down the sides.
- Adjust the consistency. Blend again, adding the remaining water 1 tablespoon at a time only as needed. Continue until creamy, usually another 1–2 minutes, depending on your machine. The hummus should hold a soft mound on a spoon rather than run off it.
- Taste and finish. Taste before adding more salt, since canned chickpeas vary in saltiness. For a sharper lemon flavor, add a little extra lemon juice, remembering that it will also loosen the mixture.
- Serve or chill. Spoon into a bowl and add the optional teaspoon of olive oil. Serve with the vegetables, or cover and refrigerate for 30 minutes for a colder snack. The hummus may thicken slightly as it chills.
Make-Ahead and Serving Tips
You can prepare this earlier the same day. Store the hummus and vegetables in separate covered containers in the refrigerator so moisture from the vegetables does not collect in the dip.
A small food processor works well for this quantity. If using a large blender, stop and scrape down the sides as needed rather than adding excessive water just to keep the blades moving.
For an outing, pack individual portions in lidded containers and transport in a cooler with ice packs. Keep chilled until serving and follow the hot-weather storage guidance given above.
Allergen note: Tahini contains sesame.
3. Peach and Greek Yogurt Snack Pots
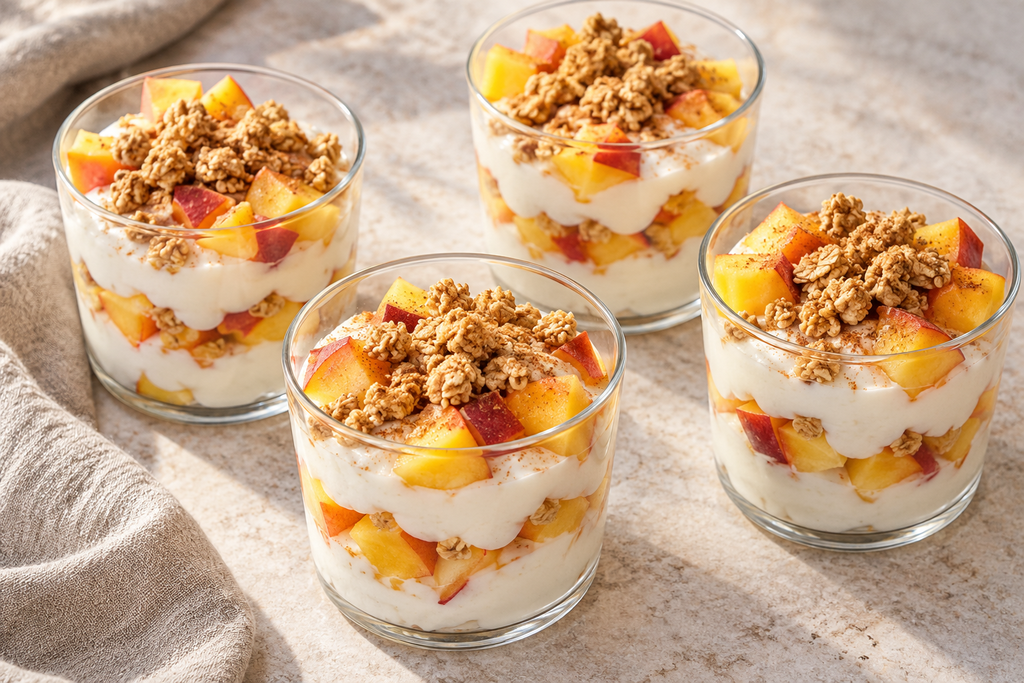
Ripe peaches and thick Greek yogurt make a simple chilled snack with a balance of sweetness and tang. A little cinnamon adds warmth to the flavor, while ready-made oat granola provides crunch without turning on the oven.
These snacks for hot days are easy to assemble in small glasses or lidded containers. Keep the granola separate until you are ready to eat, especially when preparing the yogurt pots ahead.
Servings: 4 small snack portions
Preparation time: 15 minutes
Cooking time: None
Optional chilling time: 30 minutes
Ingredients
- 400 g plain Greek yogurt
- 300 g ripe peach flesh, approximately 2–3 peaches, weighed after removing the stones
- ¼ teaspoon ground cinnamon, plus a little extra for serving if desired
- 1–2 teaspoons honey (5–10 ml), optional
- 40 g ready-to-eat oat granola
Equipment: A chopping board, a sharp knife, a mixing bowl, and four small serving glasses or lidded containers.
Instructions
- Prepare the peaches. Wash the peaches under running water, remove the stones, and cut the flesh into small cubes. Leave the skin on or peel it according to your preference. If the fruit releases a lot of juice, spoon off the excess before assembling.
- Mix the yogurt. Stir the Greek yogurt and cinnamon together in a bowl. Taste a little yogurt with a piece of peach before adding the optional honey. Very ripe peaches and sweetened granola may provide enough sweetness on their own.
- Make the first layer. Divide half the yogurt between four glasses. Add half the diced peaches, distributing them evenly. Use a spoon rather than pouring in the fruit so you can leave excess juice behind.
- Finish the layers. Add the remaining yogurt, followed by the remaining peaches. The layers do not need to be perfectly even; small spoonfuls make assembly easier and keep the fruit distributed throughout each portion.
- Chill if desired. Serve immediately if the ingredients are already cold, or cover and refrigerate for approximately 30 minutes. Leave the granola off during chilling.
- Add the crunch. Just before serving, divide the granola between the pots and add an optional light sprinkle of cinnamon. For immediate serving, you can also scatter a little granola between the layers.
Make-Ahead and Ingredient Tips
Choose peaches that yield slightly to gentle pressure. Very firm fruit will taste less sweet and create a harder contrast with the creamy yogurt. Ripe nectarines also work well, using the same prepared weight.
Thick Greek yogurt helps the layers hold their shape. A thinner yogurt will still taste pleasant, but the fruit may sink and the pots will have a looser consistency.
For preparation earlier the same day, assemble the fruit and yogurt, cover, and refrigerate. Pack the granola separately in a dry container. If taking the pots outdoors, transport them in a cooler with ice packs and keep chilled until serving.
Allergen note: Greek yogurt contains milk. Granola may contain wheat, nuts, sesame, or other allergens; check the packaging. For a gluten-free version, choose granola specifically labelled gluten-free and check the remaining ingredients.
A Small Pause on Hot Days With the Snacks Above
Sometimes, a few minutes in the kitchen are enough to make an ordinary afternoon a little more pleasant. A ripe peach, a bowl of creamy hummus, or the combination of sweet watermelon and salty feta can be something to look forward to when the day feels long and hot.
I hope these snacks for hot days give you a comfortable place to start, even if cooking is not yet something you feel confident about. You do not need matching glasses, perfect layers, or neatly cut vegetables. Use the bowls you already have, choose the flavors you enjoy, and let the presentation be your own.
Perhaps you will share a plate with someone, pack a small pot for a break, or sit down quietly with a snack just for yourself. Each is a good reason to prepare something with a little care.
Keep everything chilled until you are ready to eat, find a comfortable spot, and take a moment to enjoy what you have made.
About These Recipes and Images
These recipes were developed with AI assistance and have not been independently kitchen-tested for this article. Preparation times and yields are estimates; results will vary with your ingredients and equipment.
The images are AI-generated illustrations, not photographs of dishes prepared or tested for this article. Your finished snacks may look different. Check ingredient labels for allergens and follow the refrigeration guidance provided.