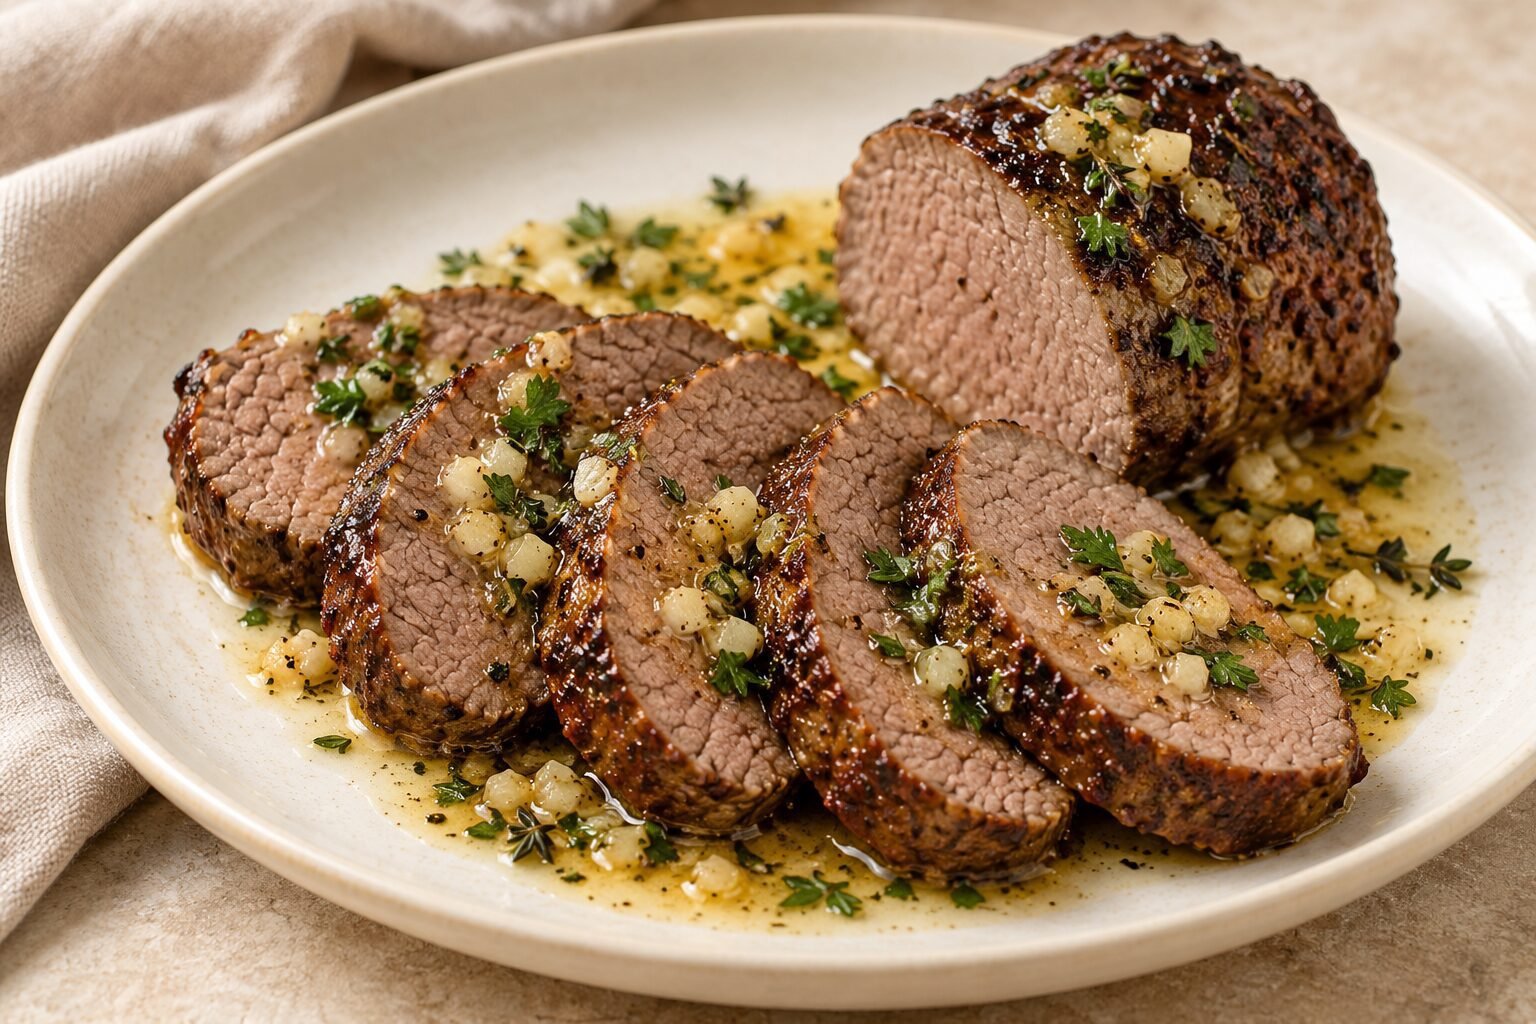
Deer backstrap deserves a little care in the kitchen. This lean cut can become dry if it cooks longer than necessary, so knowing the size of your meat and checking its internal temperature are more useful than relying on a fixed number of minutes.
These three deer backstrap recipes offer different ways to serve it: with garlic herb butter, an onion and mushroom sauce, or a honey mustard sauce over medallions. Each includes measured ingredients, preparation steps, and guidance for checking doneness.
If you are unfamiliar with venison, start by reading the whole recipe and preparing your equipment. A sharp knife, a suitable skillet, and a reliable food thermometer will help you follow the process with more confidence.
What Is Deer Backstrap?
Backstrap is the long loin muscle running along either side of the deer’s backbone, outside the body cavity. It is different from the smaller tenderloin located inside the body cavity.
The recipes below are written for backstrap. Check the cut you have before beginning, since a smaller tenderloin will cook differently.
Remove any remaining silver skin—the thin, silvery connective tissue on the surface—before weighing and portioning the meat. Slide a sharp knife carefully beneath it, keeping the blade angled slightly toward the membrane to avoid removing too much meat.
Preparing and Cooking Venison Safely
Use meat from a reliable source that has been handled and refrigerated correctly. Thaw frozen backstrap in the refrigerator, and keep it refrigerated during any marinating time.
Pat the surface dry before searing. This helps it brown, while leaving space between pieces prevents the skillet from becoming crowded.
For these recipes, follow the FoodSafety.gov recommendation for venison: cook both wild and farm-raised venison to an internal temperature of 160°F (71°C).
Insert the thermometer into the thickest part, avoiding contact with the pan. For medallions, insert it horizontally from the side and check more than one piece. Color alone is not a reliable measure of doneness.
Keeping the Meal Enjoyable
Because backstrap is lean, begin checking the temperature before the estimated cooking time ends. Once the meat reaches the recommended temperature, remove it from the heat rather than continuing to cook it unnecessarily.
The butter and sauces in these recipes add flavor and moisture to each serving. Slice across the grain where visible, serve promptly after the stated resting time, and spoon the accompanying sauce over or alongside the meat.
Cooking times are starting points. The thickness of your backstrap, its starting temperature, and your equipment will determine how long it needs.
1. Garlic Herb Butter Venison Backstrap
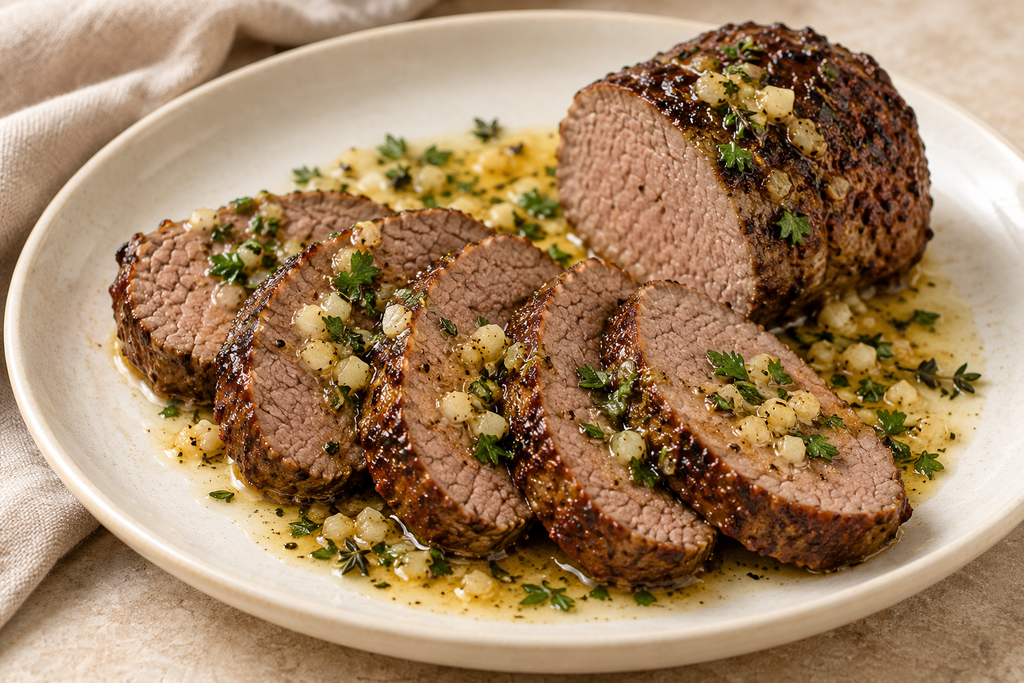
This recipe pairs browned venison backstrap with a simple butter sauce flavored with garlic, thyme, and parsley. The meat starts in a skillet and finishes in the oven, allowing you to develop a crust before cooking the center through.
The garlic butter is prepared separately and spooned over the sliced meat. This keeps the garlic from scorching during searing and adds moisture to each serving.
Servings: 4
Preparation time: Approximately 15 minutes
Cooking time: Approximately 20–30 minutes
Resting time: 5 minutes
Equipment: Oven-safe skillet, small saucepan, tongs, and an instant-read or oven-safe probe thermometer
Ingredients
- 1¼ lb (570 g) venison backstrap, weighed after trimming
- 1 tablespoon (15 ml) neutral cooking oil
- ½ teaspoon fine salt
- ¼ teaspoon ground black pepper
- 30 g unsalted butter
- 2 garlic cloves, finely minced
- 1 teaspoon fresh thyme leaves, or ¼ teaspoon dried thyme
- 1 tablespoon finely chopped fresh parsley
- 1 teaspoon fresh lemon juice
Use a backstrap section approximately 2–2½ inches (5–6 cm) thick. A thinner piece will cook faster. Cut it crosswise into two shorter sections if necessary to fit the skillet, keeping their thickness unchanged.
Instructions
1. Prepare the oven and meat.
Preheat the oven to 350°F (180°C), or 320°F (160°C) fan.
Remove any remaining silver skin from the backstrap. Pat the meat thoroughly dry with paper towels, then season all sides with the salt and pepper.
2. Sear the backstrap.
Heat the oil in an oven-safe skillet over medium-high heat. When the oil shimmers, add the meat.
Brown the two broad sides for approximately 2 minutes each, then turn with tongs to brown the narrower sides briefly. Allow approximately 5–6 minutes in total.
Reduce the heat if the oil begins smoking heavily. The goal is a browned surface; the center will finish cooking in the oven.
3. Finish in the oven.
Transfer the skillet to the oven, using oven gloves. If using an oven-safe probe, position its tip in the center of the thickest part before transferring.
Begin checking after approximately 8–10 minutes. A section of the stated thickness may need around 12–22 minutes in the oven, but use its temperature rather than the clock to decide when it is ready.
Cook until the thickest part reaches 160°F (71°C). If you have two pieces, check both and remove each as it reaches that temperature. Do not remove the meat early assuming that resting will bring it to the recommended minimum.
4. Make the garlic herb butter.
While the venison cooks, melt the butter in a small saucepan over low heat.
Add the garlic and thyme. Cook gently for approximately 1–2 minutes, stirring, until fragrant. Avoid browning the garlic.
Remove from the heat and stir in the parsley and lemon juice. Keep the butter warm; gently rewarm if it begins to solidify.
5. Rest the meat.
Transfer the cooked backstrap to a clean cutting board and let it rest for 5 minutes. Cover loosely with foil if desired.
Remember that the skillet handle will remain hot after it leaves the oven.
6. Slice and serve.
Cut the backstrap across the grain into slices approximately ¼–½ inch (6–12 mm) thick.
Arrange on plates and spoon over the warm garlic herb butter. Serve with mashed potatoes, roasted carrots, or green beans.
Tips for Beginners
- Measure thickness as well as weight. A long, thin piece cooks differently from a short, thick one of the same weight.
- Check the thermometer placement. Its tip should reach the center of the meat without touching the skillet.
- Keep the butter separate from the searing stage. Gentle cooking preserves the garlic’s flavor without scorching it.
- Expect a more fully cooked interior. The recommended venison temperature produces a different result from a rare or medium-rare steak.
Storage
Refrigerate leftovers in a covered container within two hours of cooking. Use within 3–4 days and reheat to 165°F (74°C).
For reheating, cover the slices and add a small splash of stock to help limit drying. The meat will become firmer as it reheats.
Allergens: Contains milk from butter.
Recipe note: This recipe was developed with AI assistance and has not been independently kitchen-tested for this article. Cooking times and yields are estimates; use a food thermometer to check doneness.y two minutes until it’s perfectly medium-rare. This method is not only quick cooking, but it also delivers impressive results with minimal effort. Enjoy!
2. Venison Backstrap with Onion and Mushroom Sauce
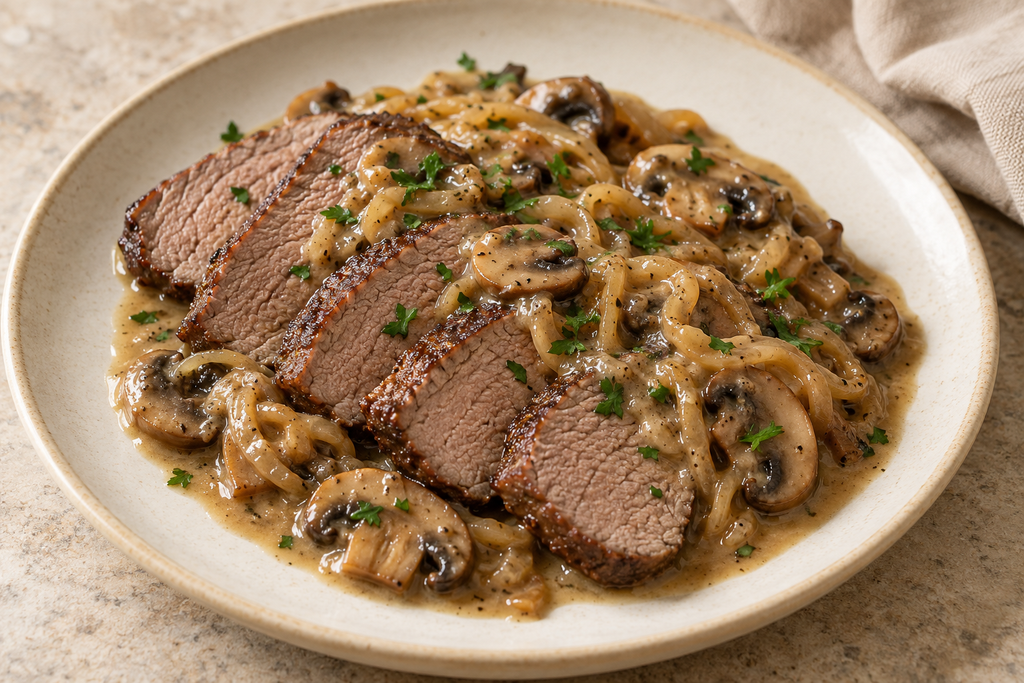
Browned mushrooms, softened onion, and a little Dijon mustard give this sauce a savory flavor that pairs well with venison. A small amount of cream brings the sauce together without making it overly heavy.
The sauce is prepared before the meat and kept warm separately. This lets you finish the backstrap to the recommended temperature without leaving it simmering while the sauce reduces.
Servings: 4
Preparation time: Approximately 15 minutes
Cooking time: Approximately 40–50 minutes
Resting time: 5 minutes
Equipment: Large oven-safe skillet, saucepan, tongs, and a food thermometer
Ingredients
For the venison:
- 1¼ lb (570 g) venison backstrap, weighed after trimming
- 1 tablespoon (15 ml) neutral cooking oil
- ½ teaspoon fine salt
- ¼ teaspoon ground black pepper
For the sauce:
- 250 g cremini or chestnut mushrooms, sliced approximately ¼ inch (5 mm) thick
- 1 medium yellow onion, approximately 150 g, thinly sliced
- 1 tablespoon (15 ml) olive oil
- 1 garlic clove, finely chopped
- ½ teaspoon dried thyme
- ¾ cup (180 ml) low-sodium beef stock
- ¼ cup (60 ml) heavy cream
- 1 teaspoon Dijon mustard
- ⅛ teaspoon ground black pepper
- Salt, to taste
- 1 tablespoon chopped fresh parsley, optional
Use a backstrap section approximately 2–2½ inches (5–6 cm) thick. Cut crosswise into two shorter sections if needed to fit the skillet.
Instructions
1. Brown the mushrooms.
Heat the olive oil in the skillet over medium-high heat. Add the mushrooms and cook for approximately 6–8 minutes, stirring occasionally, until their released liquid has mostly evaporated and some surfaces are browned.
Avoid constantly stirring, which makes browning harder. If your skillet is small, work in batches.
2. Soften the onion.
Reduce the heat to medium and add the onion. Cook for approximately 6–8 minutes, stirring regularly, until softened. Add a tablespoon of the measured stock if the pan becomes dry.
Stir in the garlic and thyme and cook for another 30 seconds.
3. Finish the sauce.
Pour in the remaining stock and scrape up the browned bits from the skillet. Simmer for 3–5 minutes.
Reduce the heat and stir in the cream, Dijon mustard, and pepper. Simmer gently for another 2–3 minutes, until the sauce lightly coats a spoon. Taste before adding salt, as stock and mustard already contribute seasoning.
Transfer the sauce to a saucepan. Keep warm over very low heat, stirring occasionally. If it thickens too much, loosen with a small splash of water.
4. Prepare the venison.
Preheat the oven to 350°F (180°C), or 320°F (160°C) fan.
Remove any remaining silver skin from the backstrap, then pat the meat dry. Season with the measured salt and pepper.
Use a clean oven-safe skillet, or carefully clean and dry the skillet used for the sauce before reheating it.
5. Sear the meat.
Heat the neutral oil over medium-high heat. Add the backstrap and brown the two broad sides for approximately 2 minutes each. Turn with tongs to briefly brown the narrower sides, allowing approximately 5–6 minutes in total.
Reduce the heat if the oil smokes heavily.
6. Finish in the oven.
Transfer the skillet to the oven. Begin checking the center of the thickest part after approximately 8–10 minutes.
The meat may need around 12–22 minutes in the oven, depending on thickness and starting temperature. Cook until it reaches 160°F (71°C) before removing it. Check both pieces separately if the backstrap has been divided.
7. Rest, slice, and serve.
Transfer to a clean board and rest for 5 minutes. Meanwhile, check the sauce and gently rewarm it if necessary.
Slice the venison across the grain. Spoon the sauce over or alongside the slices and sprinkle with parsley if using. Serve with mashed potatoes or rice.
Tips for Beginners
- Let the mushrooms lose their moisture. Adding the stock too early will give you less browning and a thinner sauce.
- Keep the cream at a gentle simmer. Avoid vigorous boiling.
- Measure the meat’s temperature. A browned exterior does not show whether the center is ready.
- Serve the sauce over the finished meat. Prolonged simmering after slicing can dry out the venison.
Storage
Refrigerate leftovers in covered containers within two hours of cooking. Use within 3–4 days.
Reheat gently, covered, until the meat and sauce reach 165°F (74°C). Add a little stock or water if the sauce has thickened.
Allergens: Contains milk and mustard. Check the stock for wheat, celery, or other allergens.
Recipe note: This recipe was developed with AI assistance and has not been independently kitchen-tested for this article. Cooking times and yields are estimates; use a food thermometer to check doneness.
3. Honey Mustard Venison Backstrap Medallions
These venison medallions are served with a warm honey mustard sauce made separately from the meat. Dijon mustard provides tanginess, while a modest amount of honey softens its sharpness.
Cutting the backstrap into evenly sized medallions makes it easier to handle in the skillet. Keep a thermometer nearby and check individual pieces, since smaller ones may finish before the rest.
Servings: 4
Preparation time: Approximately 15 minutes
Cooking time: Approximately 15–25 minutes, depending on batches
Resting time: 5 minutes
Equipment: Large skillet, small saucepan, tongs, and an instant-read thermometer
Ingredients
For the venison:
- 1¼ lb (570 g) venison backstrap, weighed after trimming
- 1 tablespoon (15 ml) neutral cooking oil, divided if cooking in batches
- ½ teaspoon fine salt
- ¼ teaspoon ground black pepper
For the sauce:
- ½ cup (120 ml) low-sodium beef stock
- 1½ tablespoons Dijon mustard
- 1 tablespoon (15 ml) honey
- 10 g unsalted butter
- ½ teaspoon fresh thyme leaves, or a small pinch of dried thyme
- 1 teaspoon apple cider vinegar, optional
- 1 tablespoon chopped fresh parsley, optional, for serving
Instructions
1. Prepare the medallions.
Remove any remaining silver skin from the backstrap. Cut crosswise into medallions approximately 1 inch (2.5 cm) thick.
Pat dry with paper towels, then season both sides with the salt and pepper. Keep the thickness consistent rather than trying to make every piece weigh exactly the same.
2. Start the sauce.
Combine the stock, Dijon mustard, honey, and thyme in a small saucepan. Whisk over medium-low heat until smooth.
Bring to a gentle simmer and cook for approximately 4–6 minutes, stirring occasionally, until slightly reduced. This should be a spoonable sauce rather than a thick glaze.
Remove from the heat and stir in the butter. Taste, adding the optional vinegar only if you want a sharper finish. Keep warm over very low heat, loosening with a little water if necessary.
3. Sear the venison.
Heat the oil in a large skillet over medium-high heat. Add the medallions in a single layer, leaving space between them. Work in batches if necessary, dividing the oil accordingly.
Cook the first side for approximately 2–3 minutes, until browned. Turn and cook the second side for another 2–3 minutes.
4. Finish cooking gently.
Reduce the heat to medium-low. Continue cooking, turning every minute or so, until the center of each medallion reaches 160°F (71°C). This may take another 2–5 minutes or longer, depending on thickness and starting temperature.
Insert the thermometer horizontally from the side so its tip reaches the center without touching the skillet. Check each piece and remove it as soon as it reaches the required temperature.
If the pan becomes dry and the browned residue starts scorching, lower the heat further and carefully add a tablespoon of water to an empty area of the pan. Be mindful of steam and splattering.
5. Rest.
Transfer the cooked medallions to a clean plate and rest for 5 minutes. Cover loosely with foil if needed.
6. Sauce and serve.
Gently rewarm the sauce without boiling it vigorously. Spoon over or alongside the rested medallions and add parsley if using.
Serve with mashed potatoes, roasted vegetables, or steamed green beans.
Tips for Beginners
- Use backstrap, not an unspecified venison cut. Tougher cuts require different cooking methods.
- Keep the honey out of the searing pan. Making the sauce separately helps prevent burning.
- Check smaller pieces first. Similar thickness helps, but individual medallions may still cook at different speeds.
- Taste before adding vinegar. Dijon brands vary in sharpness and saltiness, so the extra acidity may not be needed.
Storage
Refrigerate leftovers in covered containers within two hours of cooking. Use within 3–4 days.
Reheat the meat and sauce gently, covered, until they reach 165°F (74°C). A splash of stock or water can loosen the sauce and help limit drying.
Allergens: Contains mustard and milk from butter. Check the stock for wheat, celery, or other allergens.
Recipe note: This recipe was developed with AI assistance and has not been independently kitchen-tested for this article. Cooking times and yields are estimates; use a food thermometer to check doneness.
A Final Note from Adam
As someone who is still building confidence in the kitchen, I appreciate knowing what to check at each stage. An unfamiliar ingredient can feel less intimidating when the instructions explain how to prepare it, when to lower the heat, and how to tell when it is ready.
That is the approach behind these Deer Backstrap Recipes. Whether you choose garlic herb butter, mushroom and onion sauce, or honey mustard, give yourself time to read the steps and prepare everything before you start cooking. Keep your thermometer nearby so you can check the meat without guessing.
Your slices may not be perfectly even, and your sauce may look different from the illustrations. There is no need to chase a restaurant-style presentation. Focus on handling the meat safely, following the cooking guidance, and serving a meal you can enjoy at your own table.
I hope these recipes make trying something unfamiliar feel a little more manageable—and leave you with a few useful skills for the next meal, too.
Recipe and image note: These recipes were developed with AI assistance and have not been independently kitchen-tested for this article. Cooking times and yields are estimates. The images are AI-generated illustrations, not photographs of tested dishes. Actual appearance may vary; use a food thermometer rather than the images or meat color to check doneness.