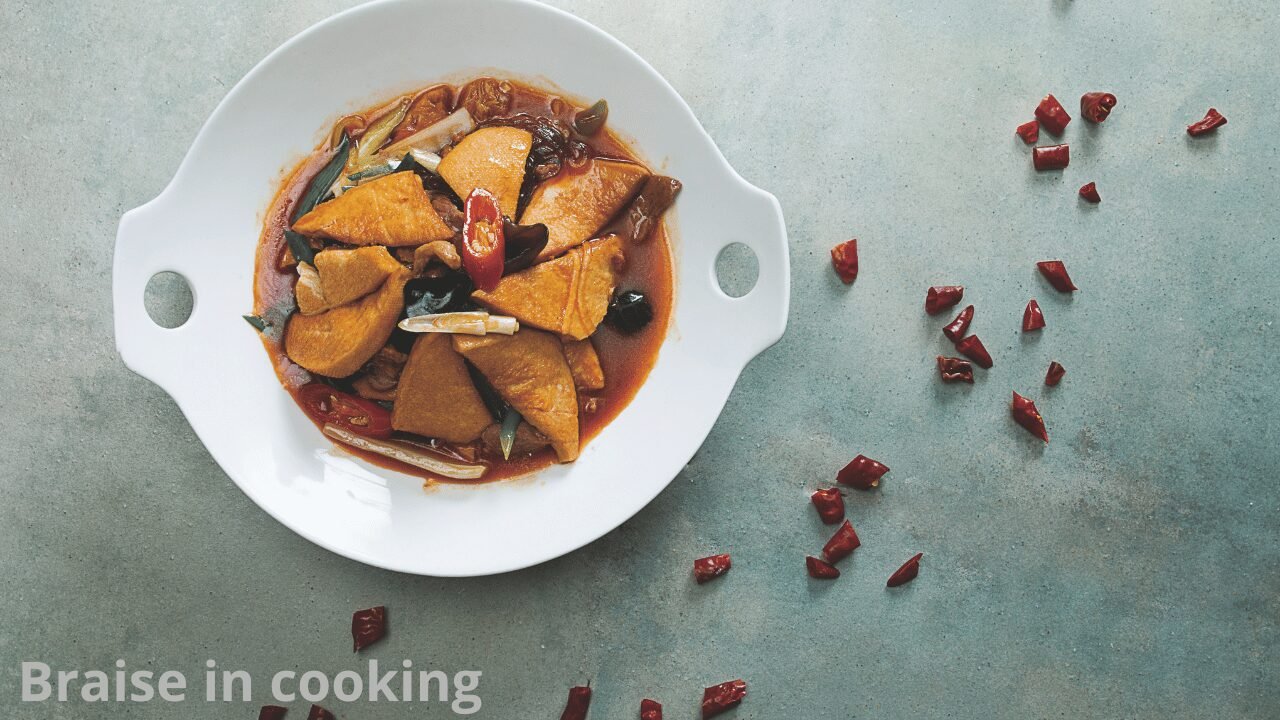
To braise means to cook food gently with a modest amount of liquid, usually in a covered pot. Many recipes begin by browning the ingredients, followed by a slower cooking stage on the stovetop or in the oven.
Pot roast is a familiar example: a larger piece of beef cooks gradually until tender, with the cooking liquid providing the foundation for a sauce. However, braising also works with chicken and vegetables. The ingredients determine how long the process takes.
Why Braising Makes Tough Meat Tender
Some cuts contain substantial connective tissue, including collagen. During sufficiently long, moist cooking, collagen changes into gelatin, helping tough cuts become easier to eat.
This is why a cut suited to braising can feel firm early in cooking but become tender later. However, “longer is always better” is not a reliable rule. Muscle fibers also change during cooking, and meat can eventually become dry or stringy.
Browning has a separate purpose: it develops flavor and color. Searing does not seal juices inside the meat, and a browned surface will generally soften during covered cooking. Exploratorium
Which Ingredients Work Well?
For a first beef braise, choose a recipe written for a suitable cut, such as chuck roast or brisket. These are established choices for this method. beefitswhatsfordinner.com
Pork shoulder and lamb shanks are other common options. Chicken thighs can also be braised, but they require a different cooking schedule from a large beef roast.
Vegetables such as cabbage, fennel, and leeks can be cooked this way too. Their goal is tenderness without losing more structure than the dish calls for.
Avoid swapping ingredients while keeping the original cooking time unchanged. A recipe for brisket is not a suitable timing guide for chicken breast or sliced vegetables.
How to Braise: The Basic Process
1. Choose a suitable pot
Use a sturdy pot with a well-fitting lid. If it will go into the oven, check that the pot, handles, lid, and knob are all suitable for the recipe’s temperature.
Choose a size that holds the ingredients comfortably. An unnecessarily wide pot can spread the liquid into a shallow layer that evaporates more quickly.
2. Brown the ingredients if directed
Pat meat dry before browning. Cook in batches when necessary, leaving enough room to turn the pieces.
You want a brown surface, not blackened patches. Browning is common in braising recipes, but it is not compulsory for every dish.
3. Build the cooking liquid
If the recipe includes onions or other aromatics, cook them as directed. Add the specified liquid and loosen the browned residue from the bottom of the pot.
Stock, water, wine, or a combination may be used. Burnt residue can make the dish bitter, so do not scrape blackened deposits into the sauce.
4. Cover and cook gently
Return the ingredients to the pot, add the remaining liquid, and cover. Follow the recipe’s stovetop setting or oven temperature.
For a typical meat braise, the liquid should simmer gently rather than boil vigorously. beefitswhatsfordinner.com
How Much Liquid Should You Add?
Braising generally uses liquid that comes partway up the main ingredient. Unlike a typical stew, the food does not necessarily sit completely beneath the liquid.
There is no single cup measurement that works for every pot and ingredient. A snug casserole needs less liquid to reach the same depth than a wide pan.
Use the recipe’s quantity and depth instructions together. During cooking, check occasionally that the pot has not become dry. If needed, add a little hot water or the liquid specified in the recipe.
Do not automatically fill the pot to the top of the meat. That changes the cooking environment and may leave you with considerably more sauce than intended. Williams Sonoma
How Do You Know When It Is Done?
For a tough cut of meat, check whether a fork or skewer enters with little resistance. Depending on the dish, the finished meat may need to hold together for slicing or separate easily for shredding.
Tenderness and food safety are different checks. Use a food thermometer to confirm the appropriate safe minimum temperature.
FoodSafety.gov lists 145°F (63°C), followed by a three-minute rest, for whole cuts of beef, pork, and lamb. Poultry must reach 165°F (74°C). A tough beef roast may meet its safety minimum well before it becomes tender enough for a braised dish. FoodSafety.gov
Common Braising Problems
| Problem | What to check |
|---|---|
| Meat is still firm | A suitable tough cut may need more time. Check the heat and remaining liquid before continuing. |
| Liquid disappears quickly | Check for excessive heat, a loose lid, or a pot that is too wide. |
| Meat is dry and stringy | The cut may be too lean, or cooking may have continued beyond its best texture. |
| Sauce is watery | Remove the cooked ingredients before reducing the liquid separately. |
| Sauce becomes too salty | Reduction concentrates seasoning. Taste before reducing further or adding salt. |
These adjustments address different problems: adding more liquid alone will not reverse overcooked meat, and turning up the heat is not a dependable shortcut to tenderness.
A Comfortable Place to Start
Choose one straightforward recipe, use the specified cut, and allow time to check the texture near the end. You do not need an elaborate marinade or expensive stock to begin learning the method.
Once you recognize a gentle simmer and know what tenderness feels like, braising becomes much easier to judge. The recipe provides the starting instructions; the food in your pot tells you when it is ready.