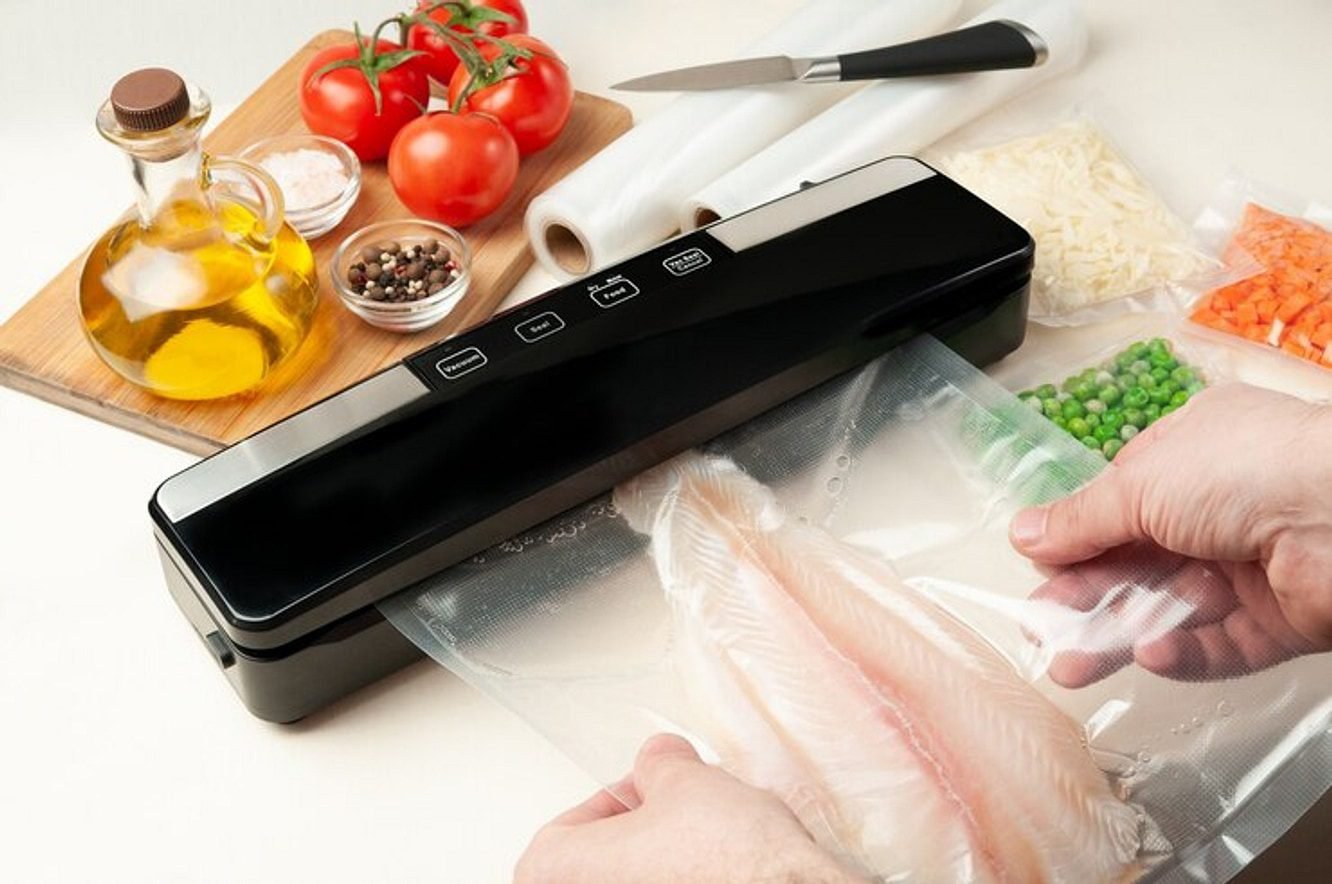
A vacuum sealer can make it easier to divide groceries into useful portions, organize a freezer, and protect food quality during storage. But removing air from a package does not make every food safe to keep in a cupboard.
Food that needs refrigeration or freezing before vacuum sealing still needs it afterward. Vacuum sealing is a packaging method—not sterilization or a replacement for canning.
This vacuum sealer guide explains what the machine does, which features are useful, and how to build safe storage habits around it.
What Does a Vacuum Sealer Do?
A vacuum sealer removes air from a suitable bag or container and closes the package to limit air getting back in.
Reducing oxygen exposure can help protect food against oxidation and reduce freezer burn. It also allows you to package ingredients in portions that fit the meals you actually cook.
For example, separating a large pack of chicken into dinner-sized portions can make your freezer easier to use. You can take out the amount you need instead of thawing the entire purchase.
The machine does not cook the food, remove every microorganism, or reverse spoilage. Start with properly handled ingredients and decide where the finished packages will be stored before you begin.
What Vacuum Sealing Can—and Cannot—Do
| Useful purpose | Important limitation |
|---|---|
| Package food in convenient portions | Portioning does not change its safe storage requirements. |
| Reduce exposure to air during frozen storage | Freezing and suitable packaging still need to be maintained. |
| Reduce bulky packaging | Bags can still leak or become punctured. |
| Help protect the quality of suitable dry foods | Moist or perishable foods cannot automatically be treated the same way. |
| Make freezer contents easier to organize | You still need labels, dates, and a plan for using the food. |
Avoid assuming that every vacuum-sealed food lasts a fixed number of times longer. Storage life depends on the food, its previous handling, temperature, packaging, and other conditions.
Why Temperature Control Still Matters
Removing oxygen changes the environment inside a package. Some harmful microorganisms can survive or grow under low-oxygen conditions.
That means a tight-looking bag is not proof that its contents are safe. Food can also be unsafe without an obvious unpleasant smell or visible change.
N.C. Cooperative Extension’s vacuum-packing guidance emphasizes that perishable foods must remain refrigerated or frozen after sealing.
For home storage, keep the refrigerator at 40°F / 4°C or below and the freezer at 0°F / −18°C or below. Use appliance thermometers to check the temperatures.
Keep packaging sessions manageable. Take out only the amount of perishable food you can prepare promptly, then return the sealed portions to cold storage.
Features to Compare Before Buying
Choose a machine around the jobs you expect to do. Before buying, read its manual or product specifications to check the following.
| Feature | What to check |
|---|---|
| Bag compatibility | Which bags or rolls the machine requires, their cost, and how easily you can replace them |
| Maximum sealing width | Whether the machine accommodates your usual portions |
| Manual or pulse control | Whether you can stop suction before delicate food is crushed |
| Moist-food instructions | How the machine handles foods that release liquid |
| Removable drip tray | Whether spills can be cleaned without reaching electrical components |
| Accessory connection | Whether compatible containers or jar attachments are supported |
| Operating limits | Whether the machine requires pauses between sealing cycles |
| Replacement parts | Availability of seals, gaskets, or other user-replaceable components |
A setting labeled “moist” does not necessarily mean a machine can vacuum-pack a bag full of soup. Check the specific instructions.
Likewise, an accessory that fits one brand or model may not work with another. Confirm compatibility before buying additional equipment.
How to Vacuum Seal Food: A Practical Routine
1. Decide how you will store it
Before opening the bag, decide whether the food belongs in the refrigerator, freezer, or dry-food cupboard.
Do not use the vacuum seal itself as the reason to move a perishable food into room-temperature storage.
2. Prepare a clean workspace
Wash your hands and use clean utensils and work surfaces. Keep raw meat, poultry, and seafood separate from ready-to-eat foods.
Clean equipment between tasks so juices from one food do not contaminate another.
3. Divide food into useful portions
Think about how much you normally cook or serve. Portions that fit your routine are easier to label, store, and use.
For cooked food, cool it promptly using appropriate food-safety methods before packaging as directed by your machine. Do not leave a large pot on the counter for hours while waiting for it to cool.
4. Use suitable bags
Follow the machine’s requirements for bag material and size. Leave the amount of empty space at the opening specified in the instructions.
Keep the sealing area free from food, grease, and moisture. Wrinkles or trapped food can interfere with the seal.
5. Run the appropriate cycle
Position the bag as instructed and select the appropriate setting. Watch for liquid moving toward the machine, particularly with an external-suction model.
Stop and follow the manual’s troubleshooting instructions if the machine is drawing in liquid or failing to seal.
6. Inspect, label, and store
Check the seam for gaps, folds, or contamination. Label the package with the food name and relevant preparation or freezing date.
Move perishable food promptly to its intended cold-storage location.
Handling Different Types of Food
Raw meat and poultry
Package these foods cold and keep them refrigerated or frozen. Vacuum sealing does not replace the usual handling and cooking requirements.
Avoid treating the sealing date as a fresh start for food that has already spent time in the refrigerator.
Cooked meals
Divide large batches into smaller, shallow portions for rapid cooling. Once appropriately cooled, package them using a method suitable for both the food and your machine.
The USDA’s leftovers guidance recommends using refrigerated leftovers within three to four days. Do not extend that period simply because you have vacuum sealed them.
Freeze portions you will not use within the recommended refrigerated storage period.
Dry pantry foods
Suitable dry foods can be useful candidates for vacuum packaging. Keep them dry and follow their storage instructions.
A bag of dry rice and a portion of cooked rice have very different storage requirements. Removing air does not erase that distinction.
Fresh vegetables
Preparation depends on the vegetable and the intended storage method. Do not assume that washing, cutting, and vacuum sealing makes every fresh vegetable suitable for extended refrigerated storage.
For freezing, follow a reliable vegetable-specific preparation guide, including blanching where recommended.
Soups and other liquids
Check whether your machine is designed for liquids. Some external-suction machines require a different approach, such as freezing the portion first, while other equipment handles liquids differently.
Follow the manufacturer’s method. A “moist” setting alone is not enough information.
A Special Rule for Vacuum-Packaged Fish
Vacuum-packaged fish needs particular care during thawing.
Michigan State University Extension explains that certain bacteria associated with fish can present a hazard in a sealed, low-oxygen package, including under refrigerated conditions.
Remove vacuum-packaged fish from its packaging before thawing it in the refrigerator, and follow the product’s thawing instructions. Place it in a clean container that will catch drips and keep it separate from ready-to-eat foods.
Do not leave the sealed packet on the counter to thaw.
The original packaging instructions are important, so retain them or copy the relevant directions when organizing your freezer.
Does Vacuum Sealing a Jar Replace Canning?
No. A vacuum-sealed lid does not establish that food inside a jar has received the processing needed for safe shelf storage.
Jar attachments may remove air and hold a lid in place, but they do not perform a boiling-water or pressure-canning process.
The University of Minnesota Extension’s guidance on jar vacuum sealers specifically distinguishes these devices from research-based canning methods.
Do not place homemade soup, cooked meat, or other perishable foods in the cupboard simply because a jar attachment has created a seal. Use an appropriate tested preservation method or keep the food refrigerated or frozen as required.
Troubleshooting Common Problems
The bag will not seal properly.
Check for moisture, crumbs, folds, incorrect positioning, or incompatible material. Follow the manual before repeating the cycle.
Liquid moves toward the machine.
Stop the process and consult the instructions for moist foods or liquids. Do not allow food liquid into parts that are not designed to receive it.
The food becomes crushed.
Check whether the machine has a suitable manual-control option or a compatible rigid container.
A package loses its vacuum.
Inspect it for punctures and seal problems. Before repackaging, consider the food’s storage history. A new bag cannot make improperly stored food safe.
You cannot remember when the food was prepared.
Do not use the appearance of the package as a substitute for that information. Clear labeling helps prevent this problem.
Cleaning and Caring for the Machine
Unplug the machine before cleaning, and follow its manual. Remove and clean washable trays or accessories as directed.
Keep the sealing area free from food residue. Check user-serviceable gaskets and other parts for wear, and replace them according to the manufacturer’s recommendations.
Do not immerse electrical equipment or use cleaning methods that the instructions prohibit. Let cleaned components dry before reassembly where required.
Keep the Routine Simple
I prefer kitchen tools that make everyday meals easier to manage. A vacuum sealer can be useful when it helps you portion ingredients sensibly and keep track of what is already in the freezer.
Start with one clear task, such as dividing a bulk purchase into meal-sized portions. Label each package, store it correctly, and plan how you will thaw and use it.
The most useful habit is to think beyond making a neat seal. Safe handling before packaging and appropriate storage afterward are what make the whole routine work.
Sources and Food-Safety Note
This guide provides general information for home kitchens. Follow the food’s label, the vacuum sealer manufacturer’s instructions, and reliable food-specific preservation guidance.