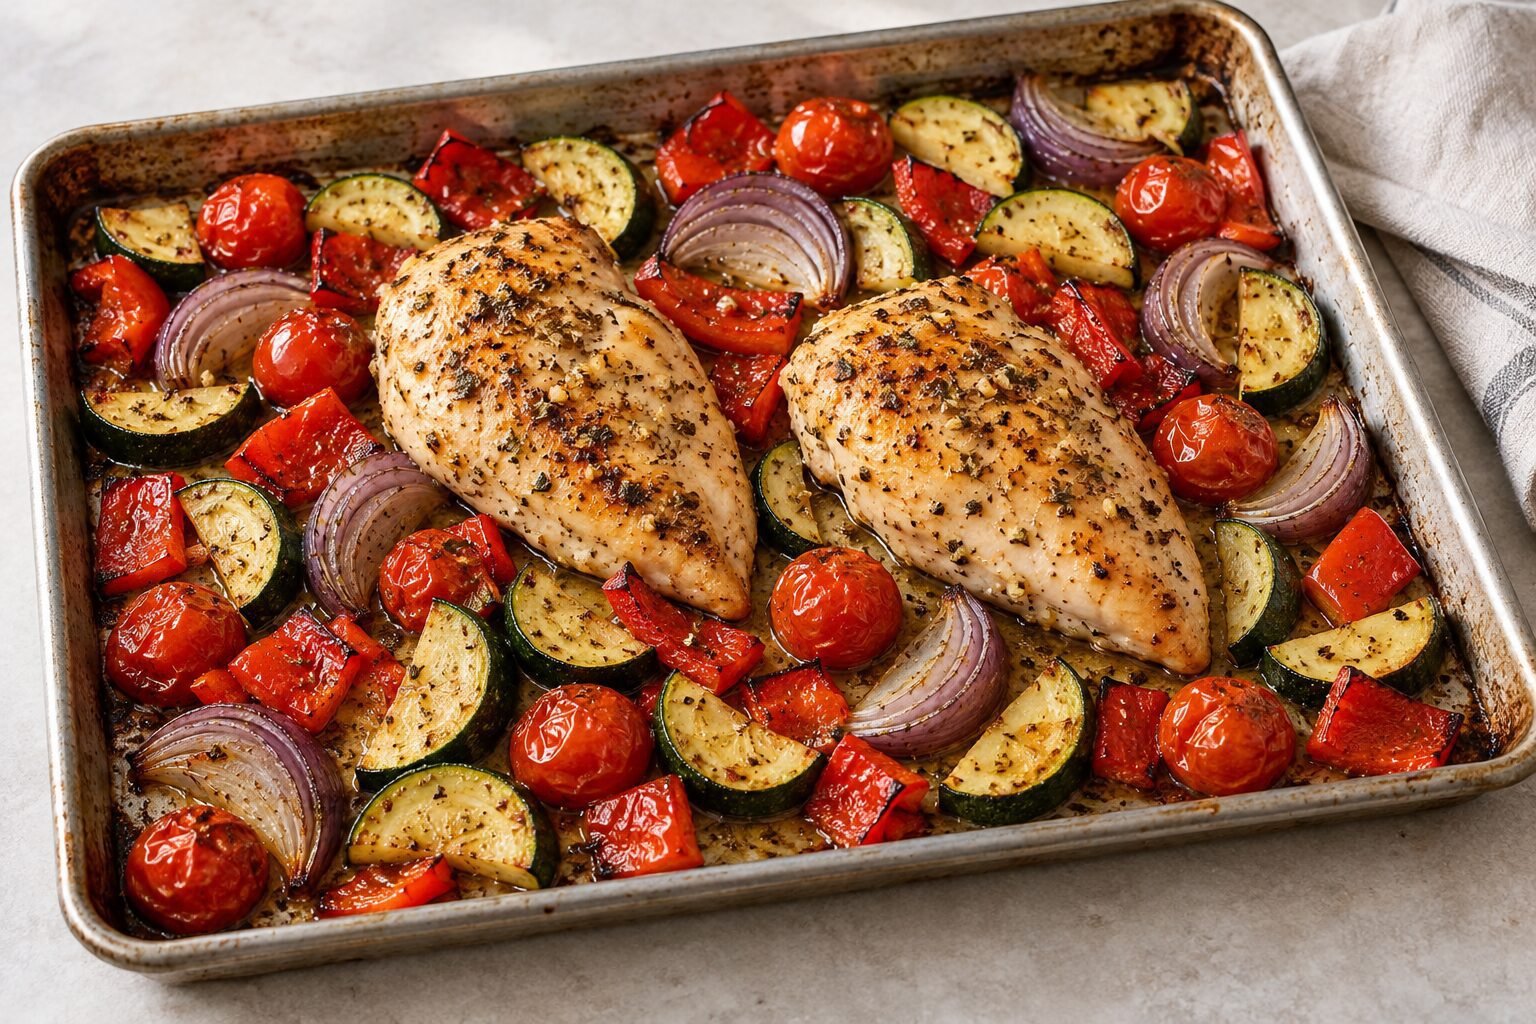
Getting started with Mediterranean-style cooking can be as simple as choosing a few familiar ingredients and learning three meals you can comfortably make on a busy day. You don’t need a cupboard full of specialty products or complicated cooking techniques.
This collection of Mediterranean Diet Recipes begins with a Mediterranean chickpea salad, a no-cook option made with canned chickpeas, crisp vegetables, and a lemon–olive oil dressing. Next comes one-pan lemon herb chicken with vegetables, which brings the main dish and its vegetable sides together on a single baking tray. The third recipe, roasted vegetable whole-wheat pasta, turns everyday vegetables into a meat-free meal.
The recipes share several ingredients, including olive oil, lemon, garlic, and vegetables, so you can build a short shopping list instead of buying a different set of ingredients for every dish. Start with whichever suits your day: the salad when you want to skip cooking, the chicken when you need an oven meal, or the pasta when you have vegetables to use up.
Each recipe below includes ingredient quantities, serving sizes, step-by-step instructions, and practical tips to help you get started.
1. Mediterranean Chickpea Salad
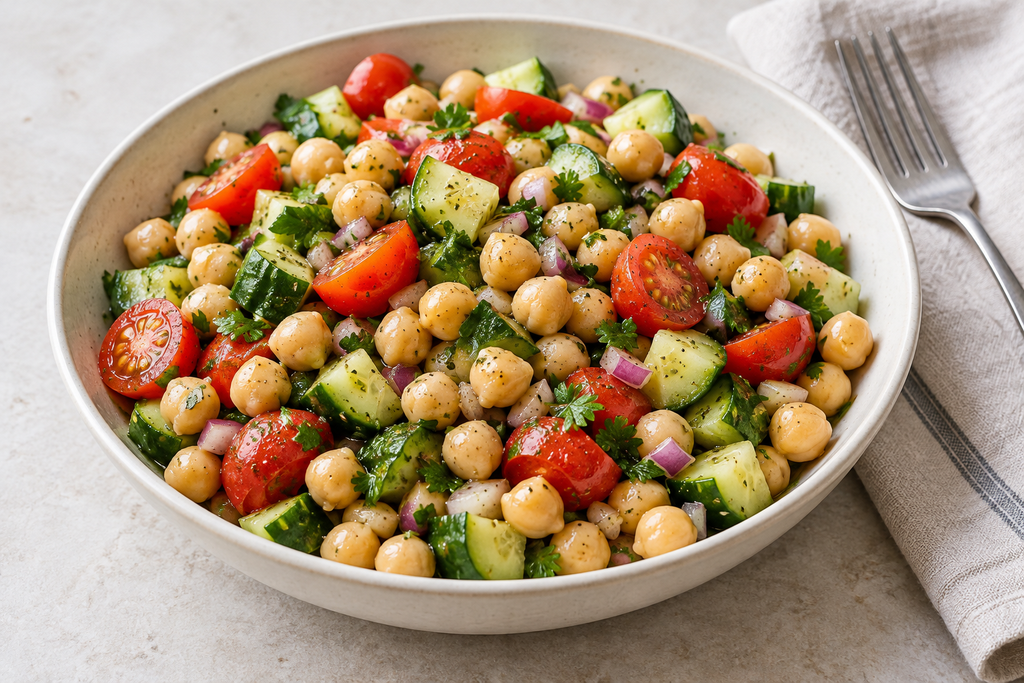
This no-cook chickpea salad is a practical starting point if you’re new to Mediterranean-style cooking. Canned chickpeas provide the base, cucumber and cherry tomatoes add freshness, and a lemon–olive oil dressing brings everything together. There’s no oven to preheat: you only need a chopping board, a knife, and a mixing bowl.
Prep time: approximately 15 minutes
Cooking time: none
Servings: 2 light lunches or 4 side portions
Ingredients
- 1 × 400 g can chickpeas, drained and rinsed (approximately 240 g drained weight)
- 150 g cucumber, diced
- 150 g cherry tomatoes, halved
- 30 g red onion, finely diced
- 2 tablespoons chopped fresh flat-leaf parsley
For the dressing:
- 2 tablespoons extra-virgin olive oil
- 1½ tablespoons freshly squeezed lemon juice
- ½ teaspoon dried oregano
- ⅛ teaspoon salt, plus more to taste
- ⅛ teaspoon freshly ground black pepper
Instructions
- Prepare the chickpeas. Tip them into a sieve, rinse under cold running water, and drain thoroughly. Shake off excess water so it doesn’t dilute the dressing. Canned chickpeas are already cooked and ready to use; dried chickpeas cannot be substituted without cooking them first.
- Chop the vegetables. Cut the cucumber into small, bite-sized pieces and halve the cherry tomatoes. Finely dice the onion so its flavor spreads evenly throughout the salad. If your cucumber has a particularly watery center, scoop out the loose seeds before chopping.
- Mix the dressing. In a large bowl, whisk together the olive oil, lemon juice, oregano, salt, and pepper until combined.
- Assemble the salad. Add the drained chickpeas, cucumber, tomatoes, onion, and parsley. Toss gently until the ingredients are lightly coated, reaching down to the bottom of the bowl to distribute the dressing.
- Taste and finish. Try a spoonful containing both chickpeas and vegetables. Add a little more lemon juice if you prefer a sharper dressing, or a small pinch of salt if needed. Serve immediately, or refrigerate while you prepare the rest of your meal.
Tips for Beginners
Prefer a milder onion flavor? Soak the diced onion in cold water for five to ten minutes while you prepare the other ingredients, then drain well before adding it.
Avoid a watery salad. Drain the chickpeas carefully and dry the washed vegetables before chopping. These small steps help the dressing cling to the ingredients.
Preparing it ahead? Keep the dressing separate in the refrigerator and toss with the salad shortly before serving for a crisper texture.
Serving Ideas
Serve as a light lunch with whole-wheat pita, or use smaller portions alongside the lemon herb chicken in the next recipe. For a simple variation, replace the parsley with fresh mint or use a mixture of both.
2. One-Pan Lemon Herb Chicken With Vegetables
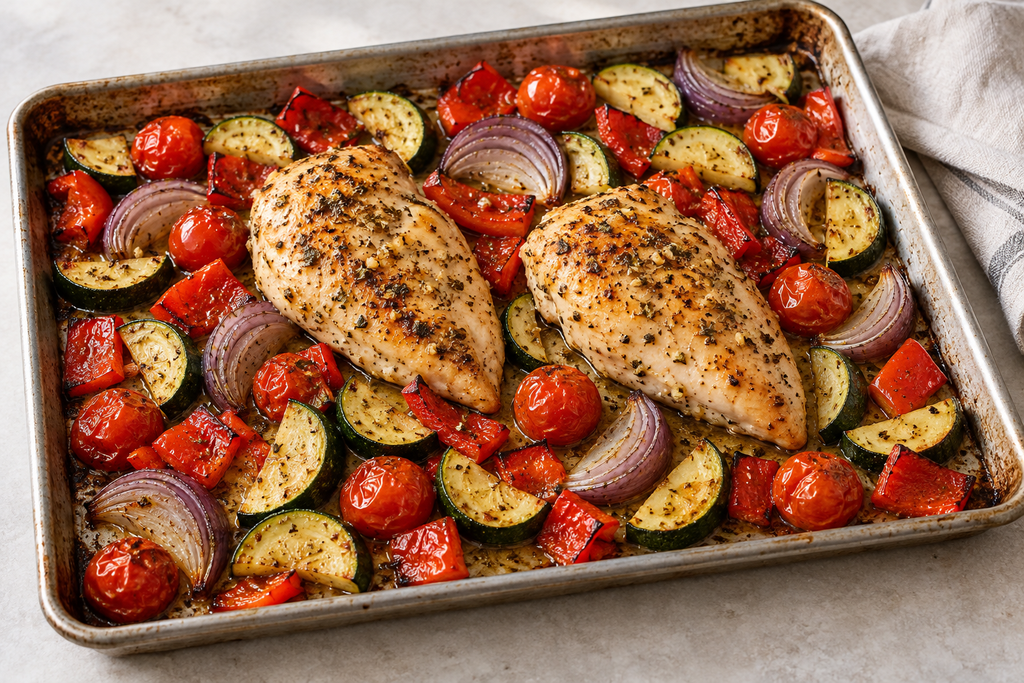
This oven-baked dish brings chicken and vegetables together on one tray, with lemon, garlic, and oregano providing the seasoning. Zucchini, bell pepper, red onion, and cherry tomatoes add different textures without requiring separate pans. The main trick is to keep the chicken breasts an even thickness and give the vegetables enough space to roast.
Prep time: approximately 15 minutes
Cooking time: approximately 25–30 minutes
Resting time: 5 minutes
Servings: 2
Ingredients
- 2 boneless, skinless chicken breasts, approximately 170 g each
- 1 medium zucchini, approximately 200 g
- 1 red bell pepper, approximately 150 g
- 1 small red onion, approximately 100 g
- 150 g cherry tomatoes
- 2 tablespoons extra-virgin olive oil, divided
- 2 tablespoons freshly squeezed lemon juice
- 2 garlic cloves, finely minced
- 1 teaspoon dried oregano, divided
- ½ teaspoon salt, divided, or to taste
- ¼ teaspoon freshly ground black pepper, divided
Instructions
- Heat the oven. Preheat to 200°C conventional / 180°C fan / approximately 400°F. Set out a large, shallow, rimmed baking tray, approximately 30 × 40 cm.
- Prepare the vegetables. Cut the zucchini into 1 cm-thick half-moons, the pepper into bite-sized pieces, and the onion into narrow wedges. Leave the cherry tomatoes whole. Toss everything on the tray with 1 tablespoon olive oil, half the oregano, and half the salt and pepper.
- Even out the chicken. On a separate board, gently pound the thicker ends of the chicken breasts to an even thickness of approximately 2 cm. This helps them cook more evenly. Wash your hands and clean any equipment that touched raw chicken before handling other food.
- Season and arrange. Mix the remaining olive oil, oregano, salt, and pepper with the lemon juice and garlic. Coat the chicken with this mixture. Make two spaces among the vegetables and place the breasts directly on the tray. Spread the vegetables into a single layer around them.
- Roast and check. Bake for approximately 25–30 minutes, gently turning the vegetables halfway through. Start checking the chicken after 20 minutes. A food thermometer inserted into the thickest part of each breast must reach 74°C / 165°F; cooking time alone does not establish doneness.
- Rest and serve. Transfer the cooked chicken to clean plates and rest for five minutes. If the vegetables need longer, return the tray to the oven until tender. Divide them between the plates and serve alongside the chicken.
Tips for Beginners
Avoid overcrowding. Vegetables release moisture as they cook. Spread them out rather than piling them beneath the chicken; a crowded tray produces softer vegetables with less browning.
Check both breasts. Even similar-looking pieces can finish at different times. Remove each one when it reaches the required temperature rather than leaving it in until the other catches up.
Serving Ideas
Serve as it is, or add cooked bulgur or whole-wheat couscous for a more substantial meal. Prepare the grain separately according to its package instructions while the tray is in the oven.
3. Roasted Vegetable Whole-Wheat Pasta
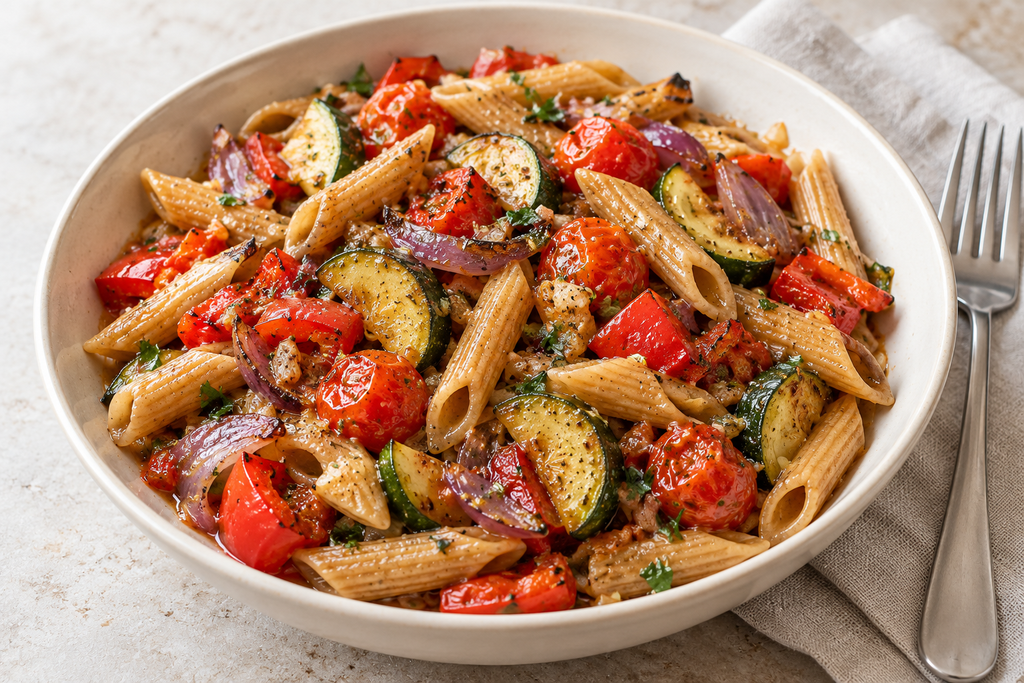
Roasting gives zucchini, bell pepper, and red onion lightly browned edges, while cherry tomatoes soften and release their juices. Tossed with whole-wheat pasta, olive oil, and a little pasta cooking water, those juices become a light sauce without cream or a separate jar of pasta sauce.
This recipe uses many of the same vegetables as the chicken dish above, making it a practical choice when planning your shopping.
Prep time: approximately 15 minutes
Cooking time: approximately 25–30 minutes, with the pasta cooked alongside
Servings: 2
Ingredients
- 160 g dried whole-wheat penne
- 1 medium zucchini, approximately 200 g
- 1 red bell pepper, approximately 150 g
- 1 small red onion, approximately 100 g
- 200 g cherry tomatoes
- 2 tablespoons extra-virgin olive oil, divided
- 2 garlic cloves, finely minced
- ½ teaspoon dried oregano
- ¼ teaspoon salt, plus salt for the pasta water
- ¼ teaspoon freshly ground black pepper
- 1 tablespoon freshly squeezed lemon juice
- 2 tablespoons chopped fresh flat-leaf parsley
- Approximately 60–120 ml reserved pasta cooking water, as needed
Instructions
- Preheat the oven. Heat to 200°C conventional / 180°C fan / approximately 400°F. Set out a large, shallow, rimmed baking tray.
- Prepare the vegetables. Cut the zucchini into 1 cm-thick half-moons, the pepper into approximately 2 cm pieces, and the onion into narrow wedges. Place them on the tray with the whole cherry tomatoes. Toss with 1½ tablespoons olive oil, the oregano, salt, and pepper. Spread into a single layer.
- Roast until tender. Roast for approximately 25–30 minutes, turning halfway through. Mix the minced garlic with the remaining ½ tablespoon olive oil and stir it through the vegetables for the final five minutes. The vegetables should be tender, with some browned edges, and the tomatoes should be soft enough to squash gently.
- Cook the pasta. While the vegetables roast, bring a saucepan of salted water to a boil. Time the pasta according to its package instructions so it finishes near the end of roasting. Before draining, carefully reserve a mugful of the cooking water.
- Bring everything together. Return the drained pasta to the saucepan, off the heat. Add the roasted vegetables and scrape in their cooking juices. Gently crush a few tomatoes with a spoon, then add the lemon juice and 60 ml reserved pasta water. Toss thoroughly, adding more water a tablespoon at a time if needed.
- Finish and serve. Stir in the parsley and taste before adding any extra seasoning. Divide between two bowls and serve while warm.
Tips for Beginners
Save the pasta water before draining. Its starch helps the vegetable juices and oil coat the pasta. Add it gradually: the finished dish should look lightly glossy, not soupy.
Check the texture early. Start tasting the pasta a minute before the package’s suggested cooking time. Aim for tender pasta with a little firmness at the center.
Simple Variation
Whole-wheat fusilli can replace penne in the same dry weight. Follow the cooking time on its packet, as different pasta shapes and brands vary.
A Beginner’s Final Thoughts
I’m an absolute beginner in the kitchen, so I know how intimidating even a short recipe can look when you’re still getting comfortable with cooking. Preparing several ingredients, watching the oven, and deciding whether the pasta is ready can feel like a lot to manage at once. That’s why approachable Mediterranean Diet Recipes appeal to me: they offer a way to start with familiar ingredients and build confidence one meal at a time.
The roasted vegetable whole-wheat pasta above is one example I actually managed to make myself. I’m not presenting that as a professional recipe test or claiming that every beginner will get exactly the same result. But being able to bring that dish together was encouraging, especially with so little experience in the kitchen.
If you’re also starting from scratch, give yourself permission to work slowly. Read the instructions before you begin, get your ingredients ready, and leave enough time to check each step without rushing. There’s no need to make all three dishes immediately. Choose the one that feels most manageable and begin there.
For me, exploring Mediterranean Diet Recipes is an opportunity to become more comfortable preparing everyday meals. A finished dish doesn’t need to look like a polished food photograph to be something you’re pleased to put on the table.
About the images: The pictures accompanying these recipes are AI-generated illustrations. They were created to reflect the listed ingredients and preparation methods, and reviewed for visible consistency with the recipes. They are not photographs of my cooking or proof of recipe testing. Your finished dish may differ in color, texture, and presentation.