Are you looking to learn how to freeze beef tenderloin? Whether it is for meal prepping, better storage options, or just wanting to save money and time on grocery trips, I’ve got you covered! Freezing beef tenderloin doesn’t have to be intimidating; with the right tips and techniques I will share in this post, it’s actually quite easy.
I’m a home chef who loves experimenting with different recipes, so trust me when I say that freezing beef tenderloin can be done in a flash! In this article we’ll discuss the best way to prepare your meat before freezing it and also explain the correct way of wrapping raw beef for long-term storage. We’ll even cover methods of defrosting your frozen stash properly too- by the end you will gain enough knowledge about this topic that you’ll feel completely confident tackling it yourself next time! So let’s jump straight into learning how to freeze beef tenderloin like a pro!
Read also: How long does it take to cook a beef tenderloin at 250 degrees?
how to freeze beef tenderloin
To freeze beef tenderloin, wrap the meat tightly in freezer-safe plastic wrap or aluminum foil. Place it in an airtight container or a heavy-duty resealable bag and label with the date. Store in the freezer for up to 6 months for optimal freshness. When ready to eat, thaw overnight in the refrigerator before cooking as desired.
Proper Preparation of Beef Tenderloin Before Freezing
Beef tenderloin is one of the more expensive cuts of beef, so it is important to prepare and store it properly. Proper preparation before freezing helps ensure that the beef will be as delicious and flavorful when thawed as it was when frozen. Here are a few steps for successful long-term storage:
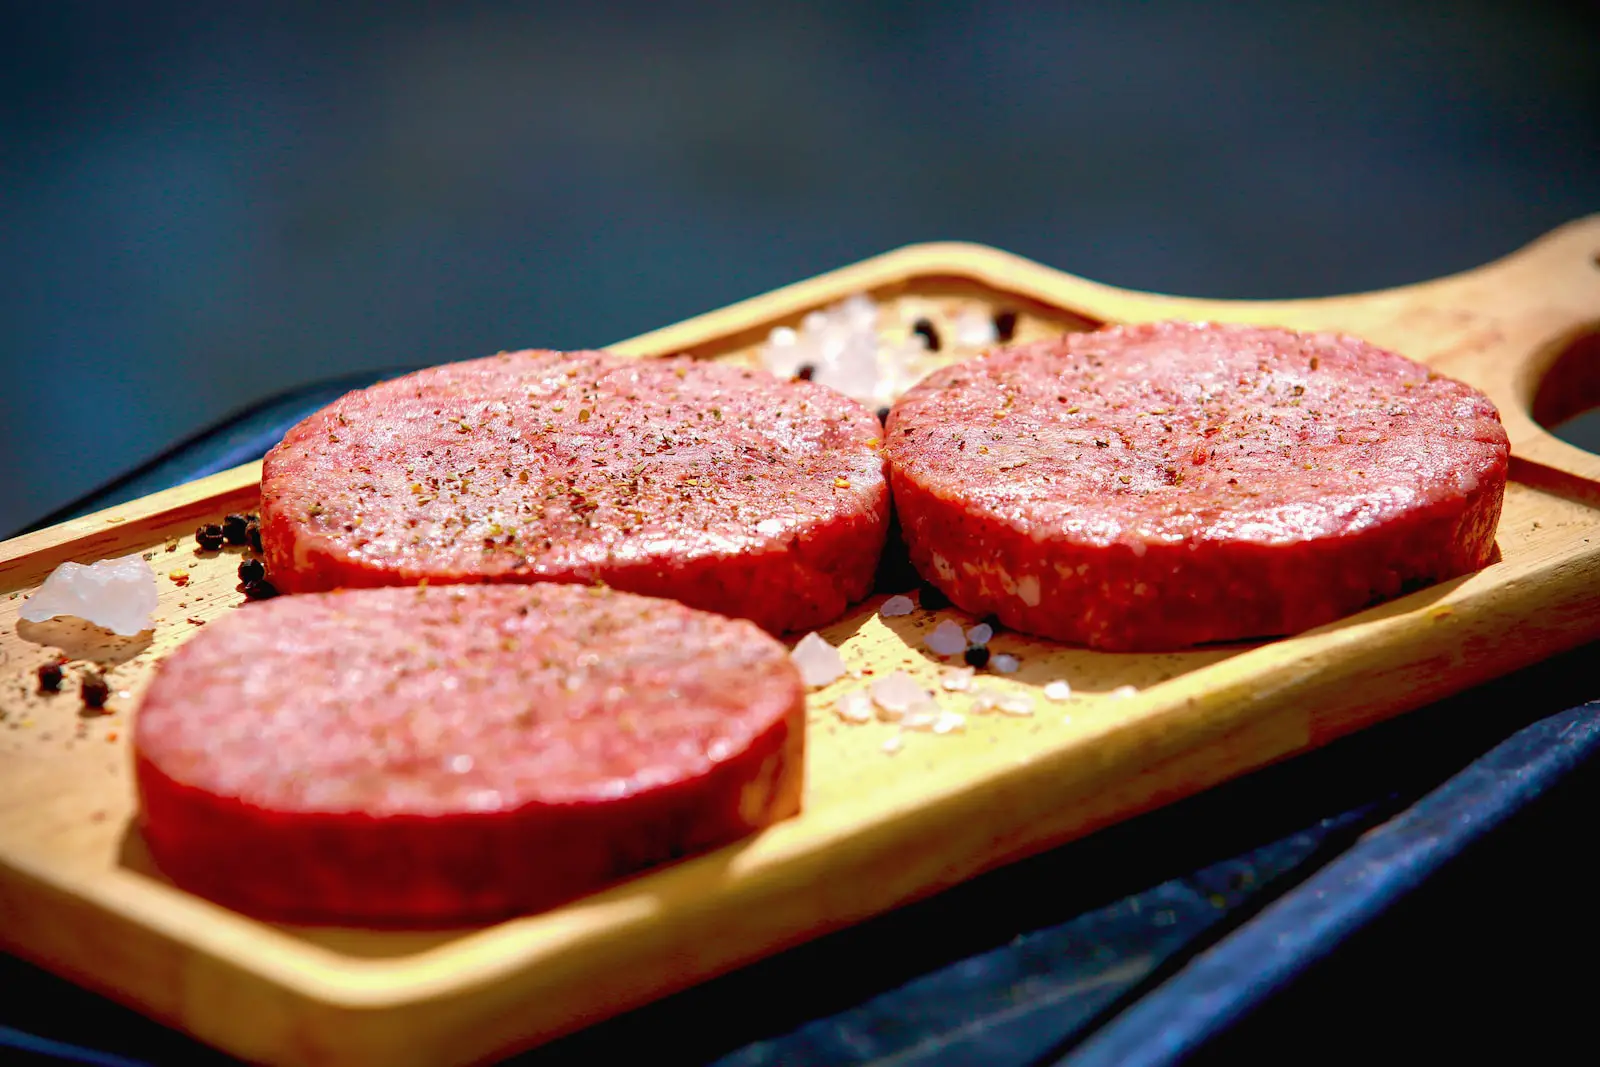
Step One: Trimming
The first step in preparing beef tenderloin for freezing is trimming any excess fat or tissue from its surface. This can both reduce cook time later on and help keep any unwanted flavors out of your food. You should also remove any silver skin—a thin membrane found on some cuts—which can make the meat chewy if cooked incorrectly. It’s best to do this with a sharp knife; using kitchen shears may damage the meat, compromising its texture and flavor.
Step Two: Vacuum Sealing
Once you have trimmed your beef tenderloin, you’ll want to vacuum seal it in order to preserve freshness during storage. Vacuum sealing slows down oxidation (the breakdown of proteins due to exposure to air) which would otherwise cause spoilage over time. In addition, vacuum sealing prevents freezer burn by creating an airtight environment around the food item.
Step Three: Labeling & Storing
Finally, once your beef tenderloin has been successfully sealed and frozen, you should clearly label each package with its contents (such as “Beef Tenderloin – 10/20/21”). Doing this will help you keep track of how long each piece has been stored for future reference without having to open every package individually while searching through your freezer inventory! Additionally, once labeled appropriately, be sure to store them flat in a cool part of your refrigerator or freezer for optimal preservation results.
.
Read also: vegetarian laksa recipe
How to Freeze Beef Tenderloin Correctly: Step-by-Step Guide
Step 1: Choose the Right Cut of Beef Tenderloin
When it comes to freezing beef tenderloin, having the right cut is key. Look for one with a thick layer of fat, as this helps keep the meat juicy when it’s defrosted later. It should also look bright red and feel firm but not hard. If there’s any sign of discoloration or off-smelling odors, avoid it and find another option instead. Another good tip is to check that all pieces are roughly the same thickness — this will make cooking more even and evenly distribute heat throughout.
Step 2: Preparing Your Beef for Freezing
Once you have your perfect piece of beef, you’ll want to prepare it correctly before freezing so that none of its natural flavor is lost in the process. Start by cutting away any excess fat on either side using a sharp knife. Next, season your tenderloin liberally with salt and pepper — this will help enhance its flavor once it’s cooked later on down the line. Finally, wrap up each individual piece tightly in plastic wrap so that no air gets in; if left exposed to air too long, your meat could dry out quickly.
Step 3: Freezing Your Beef Tenderloin Correctly
The last step involves actually getting your beef ready for storage in the freezer! To do this properly, place each individually wrapped portion into an appropriately sized food bag labeled with its contents and date frozen – this way you won’t forget what’s been stashed away or how long ago it was placed there! Then pop them into a single layer inside your freezer at 0°F (or below) — try to freeze small amounts at once as that will reduce thawing time when needed – making sure they don’t come into contact with other items already stored there.
- Choose right cut
- Prepare before freezing
- Freeze correctly
Safe and Effective Methods for Defrosting Frozen Beef Tenderloin
Thawing in the Fridge
The most reliable and safe way to defrost a frozen beef tenderloin is to thaw it in your refrigerator. This will take a minimum of two days, or up to three days depending on the size of the roast. Start by placing it on a plate with edges slightly raised so that any liquid from thawing can safely drain off. You’ll need to leave enough space around it for air circulation. Place the plate inside your fridge at 40 degrees Fahrenheit or below, as this temperature will prevent bacteria growth while still allowing gradual thawing without drying out your meat too much.
Quick Thawing
If you’re short on time but still want to ensure food safety, there’s an option known as quick-thawing that you can use with beef tenderloin. To do this, put the vacuum-sealed package containing the frozen roast into cold water and let sit until fully thawed – about 30 minutes per pound – changing out fresh cold water every 30 minutes if needed; never use warm or hot water for this process and don’t leave it sitting in standing water either! Once done, cook immediately; preferably within 2 hours after being removed from its original packaging; discard any unused portions not cooked right away.
Microwave Defrost
You can also try microwave defrost mode for quicker results than traditional methods like fridge thawing allow; however microwaving should only be used for small roasts (1 pound) due to uneven heat distribution which could lead to undercooked areas inside larger cuts of meat – plus larger pieces may end up cooking instead of just defrosted when using power levels beyond 10%. For smaller one-pound roasts set your microwave on its “defrost” setting at 50% power level and follow manufacturer guidelines regarding how many minutes per pound should be used based upon their wattage rating listed in user manual documentation (often times something like 10 mins/lb). Be sure once again that all parts get thoroughly cooked before consuming!
Read also: cubed steak vs ground beef