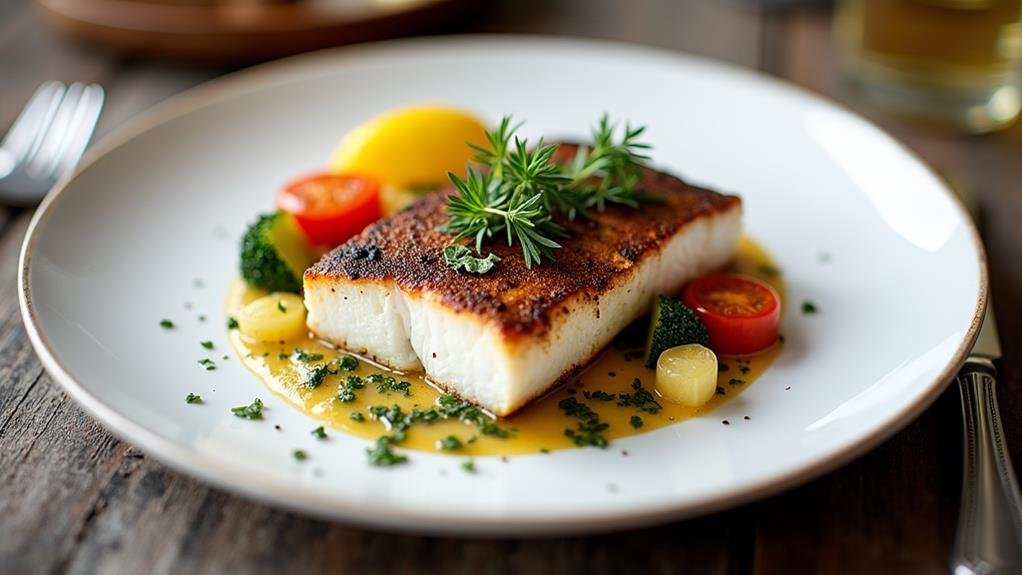
Blackened Swai is a scrumptious dish that combines the light, mild flavors of swai fish, also known as pangasius, with a bold, smoky seasoning. It’s all about the blackening technique from Southern cuisine. The fish is generously coated in a savory herb and spice mix, then cooked at high heat to create a dark, flavorful crust. A tang of lemon and hint of fresh parsley heighten the overall taste. Despite the sophisticated flavors, the method is simple with a fast cooking time. Sticking around will show you the full allure and ease of this Southern culinary gem.
Cooking Steps
Now that we’ve got our ingredients ready, let’s get started on cooking our Blackened Swai.
We’ll begin by heating up the skillet and adding oil, then move on to seasoning our swai fillets.
Once coated, we’ll place the fillets in the hot skillet and carefully monitor each side for a crispy finish.
Step 1. Heating Skillet and Adding Oil
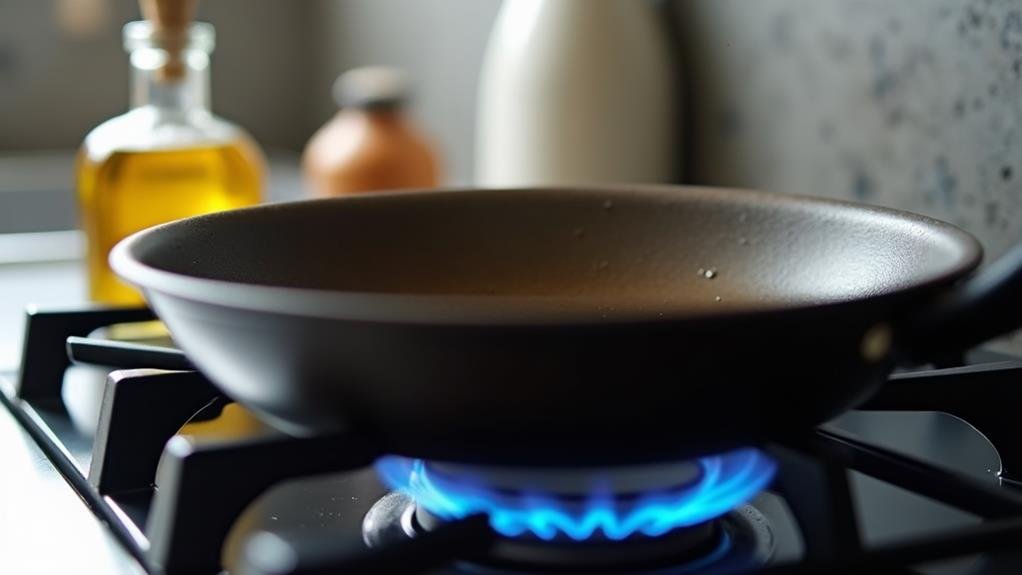
Let’s heat up our skillet and get started! You’ll want a sturdy non-stick skillet for this. Place it on your stove over medium-high heat.
It’s important to get the skillet nice and hot before we add our oil. This ensures that our swai fillets will sear properly, locking in all their natural juices and flavor.
Once your skillet is heated, it’s time to add your oil. I prefer using olive oil due to its health benefits and flavor profile, but you can use any high-smoke-point oil you like.
Pour about a tablespoon of oil into the skillet. Tilt the pan around a bit to evenly distribute the oil, covering the entire surface of the skillet.
Wait for the oil to heat up. You’ll know it’s ready when it starts shimmering. This is the perfect temperature for blackening our swai fillets.
Be careful not to let the oil start smoking; if it does, it’s too hot and can burn the fish.
There we go! Our skillet is hot, our oil is shimmering, and we’re ready to move on to the next step: seasoning our swai fillets. Let’s dive in!
Step 2. Seasoning Swai Fillets
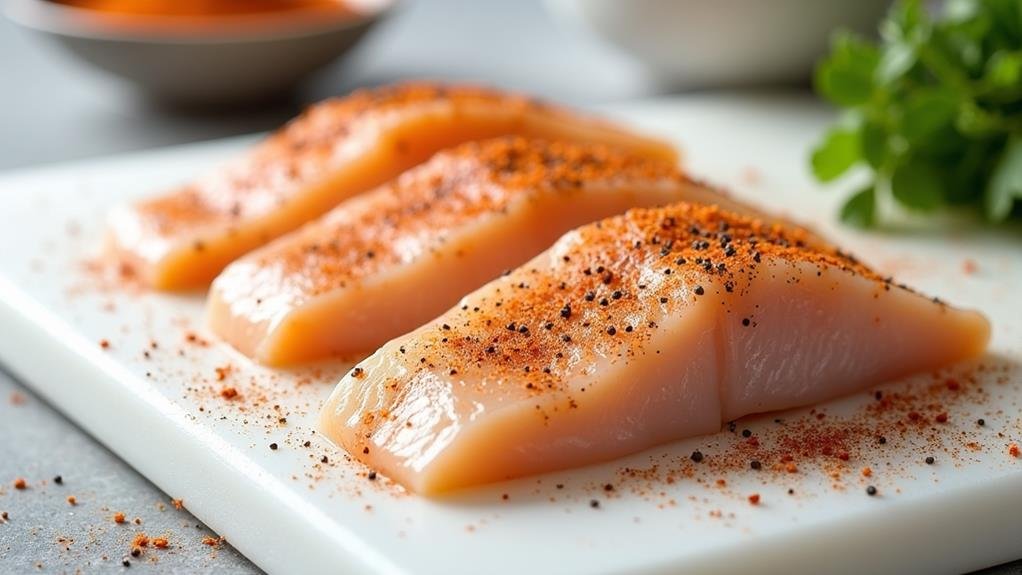
Ready to give those swai fillets a kick of flavor? Let’s dive right into seasoning them. You’ll need about two tablespoons of blackening seasoning for our four fillets. This seasoning is a blend of various spices such as paprika, cayenne pepper, thyme, onion powder, and more. It’s what’ll give our swai its characteristic smoky and spicy flavor.
Now, you’re going to generously coat each fillet with the blackening seasoning. Don’t be shy about it! It’s important to press the seasoning onto the fish. This ensures it sticks well and creates a delicious crust when we cook it.
While seasoning, remember to get both sides of the fillet. You want every bite to be bursting with that bold blackened flavor.
You might wonder, “Won’t all this spice make the fish too hot?” Don’t worry! The heat of the spice will be balanced by the mildness of the swai.
And, we’ll be serving it with a squeeze of fresh lemon juice, which adds a refreshing zest while also cutting through the spiciness.
With your fillets seasoned and ready, we’re all set for the next step!
Step 3. Placing Seasoned Fillets in Skillet
Once your fillets are seasoned to perfection, grab your skillet and let’s heat things up.
You’ll want to use a non-stick skillet to ensure your fish doesn’t stick and tear during cooking. Set it over medium-high heat and give it a few minutes to get nice and hot.
While it’s heating, let’s talk about the oil. I recommend using a tablespoon of olive oil. It’s not just about preventing sticking, it also contributes to the overall flavor of the dish.
Once the skillet is hot, add your olive oil and allow it to heat up as well.
Now, the moment of truth. It’s time to introduce your seasoned swai fillets to the skillet. Carefully place each fillet in the hot oil, making sure they aren’t overlapping.
The sizzle you’ll hear is music to a cook’s ears and a sign that you’re on the right track. This step is all about placement, ensuring each fillet has enough room to cook evenly.
There you have it! Your blackened swai fillets are now in the skillet, and we’re ready for the next step: cooking them to crispy, blackened perfection.
But that’s a subject for our next subtopic.
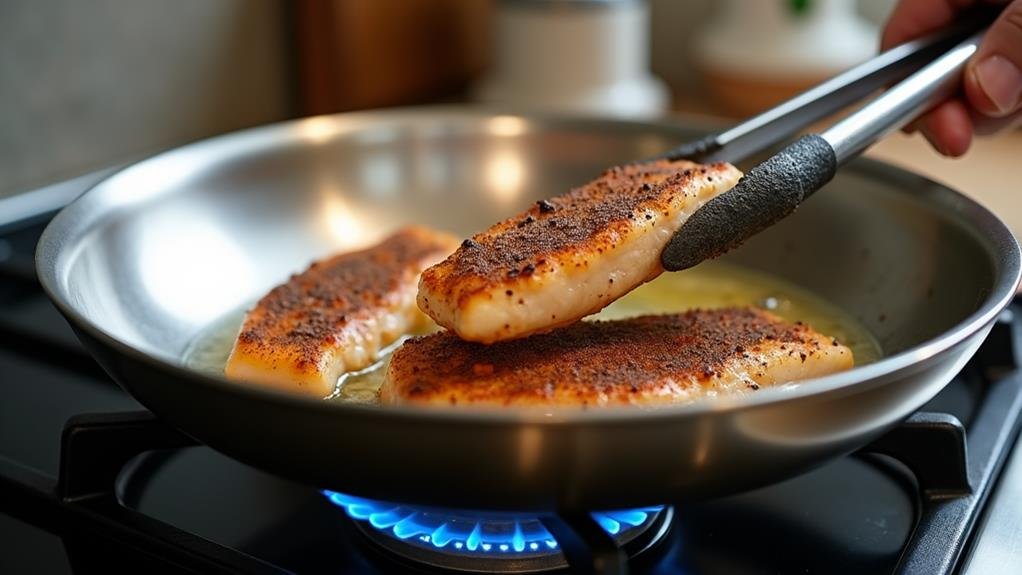
Step 4. Cooking Fillets on Each Side
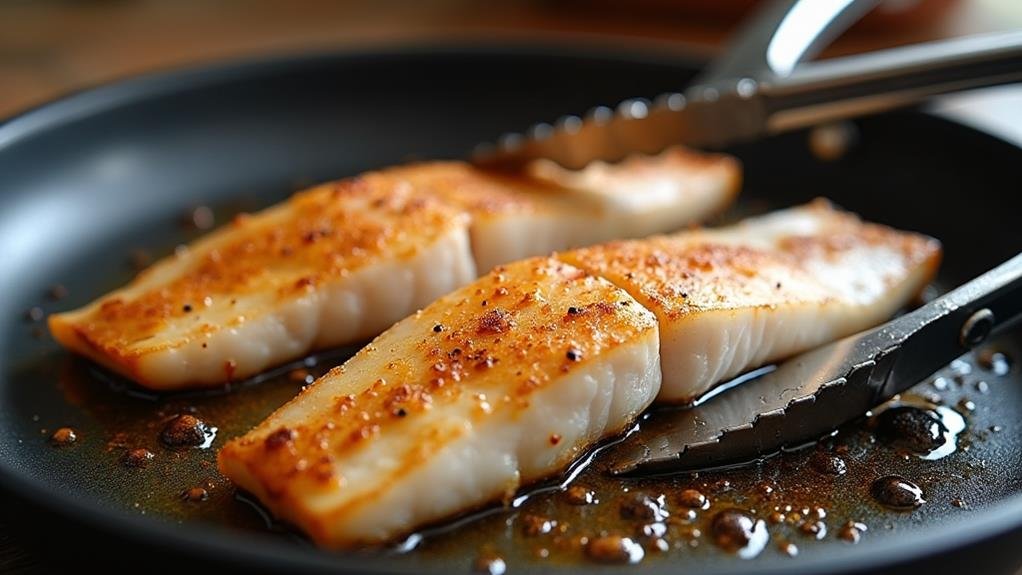
Now that your seasoned swai fillets are in the skillet, it’s time to cook them to perfection. Remember, the key to achieving that beautiful blackened exterior is to let them sear nicely on each side without moving them around too much. This allows the spices to create a crisp, flavorful crust that’s simply irresistible.
You’ll want to cook the fillets for about 3-4 minutes on each side. But remember, this isn’t a hard and fast rule. The actual cooking time could vary based on the thickness of your fillets. If they’re on the thinner side, you might need a little less time. If they’re thicker, you might need a bit more.
As they cook, your kitchen will fill with the savory aroma of spices toasting and fish sizzling. Just be sure to have your ventilation going strong, as this process can create a bit of smoke.
Once you’ve cooked the fillets on both sides, they should look dark and crispy. Resist the temptation to dig in right away. We still have to check for doneness, which we’ll cover in the next section.
Step 5. Checking Fish for Doneness
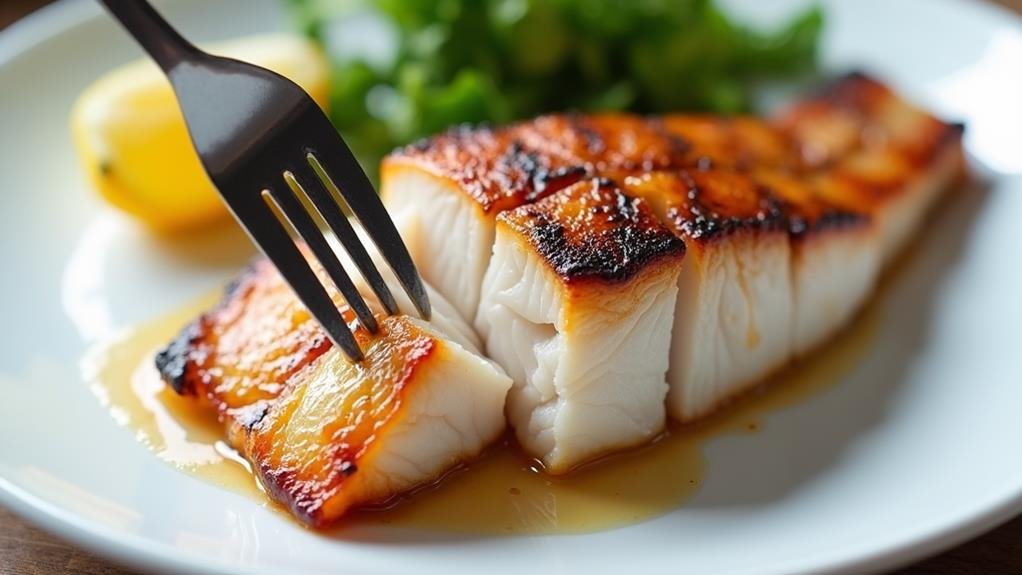
When it comes to knowing if your swai fillets are done, there’s a simple test you can perform. Just take a fork and gently flake a portion of the fish. If it flakes easily and is opaque in color, then you’re good to go. If the fish is still translucent and resists flaking, it needs a bit more time in the skillet.
Remember, fish continues to cook even after it’s removed from the heat. So, it’s better to err on the side of under-cooking than overcooking. Nobody likes a dry, overcooked fillet!
A digital instant-read thermometer can also be handy. When the internal temperature of your fillet reads 145°F, it’s perfectly cooked. However, I’ve found that the flake test is usually sufficient and doesn’t require any special tools.
Don’t feel intimidated by the task of checking doneness. Trust your instincts and these simple guidelines, and you’ll master the art of cooking swai to perfection.
And when you do, that blackened crust will give way to moist, flaky fish that’s packed with flavor. It’s definitely worth the effort!
Brief history of this recipe
In the realm of Southern American cooking, blackened dishes like our Blackened Swai hold a special place. This culinary trend was popularized in the 1980s by Louisiana chef Paul Prudhomme, who initially used redfish for his iconic dish. As the demand for ‘blackened’ dishes increased, other fish like swai began to appear on Southern menus.
Swai, also known as pangasius, is native to Southeast Asia. It gained popularity in America due to its affordability and mild flavor, which made it an ideal canvas for the bold, smoky flavors of blackening spices. This fusion of Southern American and Asian influences resulted in the creation of our beloved Blackened Swai.
Blackening is more than just a cooking method; it’s a celebration of flavor. The technique involves coating fish in a mixture of herbs and spices, then searing it in a hot skillet until a dark crust forms. This not only enhances the taste but also locks in the juices, ensuring the swai stays moist and succulent.
A squeeze of lemon and a sprinkle of parsley later, and you’ve got yourself a dish that’s a testament to culinary innovation and cross-cultural exchange.