I’ve got five delightful Indian potluck recipe ideas that’ll impress everyone! First, try Puff Pastry Samosa Pinwheels for a flaky twist on a classic. Then, there’s the spicy Chili Paneer with bell peppers that can be served dry or with gravy. Don’t forget the crowd-favorite Paneer Tikka Skewers, perfect for a grilled treat! For something heartier, Mutton Biryani brings rich flavors and aromatic spices that steal the show. Lastly, Shahi Paneer offers a creamy indulgence that pairs beautifully with naan. Trust me, your guests will be asking for seconds! Stick around, and I’ll share even more tips.
Puff Pastry Samosa Pinwheels

When I think of potluck gatherings, I often want to bring something that’s both delicious and easy to share. Puff Pastry Samosa Pinwheels have become one of my go-to recipes for these occasions. They combine the rich, spiced flavors of traditional samosas with the convenience of puff pastry, making them a unique and appealing appetizer. The first time I made these, I was pleasantly surprised at how quickly they came together, and how much everyone loved them!
The beauty of these pinwheels lies in their versatility. While I usually stick to a classic filling of spiced potatoes and peas, I enjoy experimenting with different ingredients depending on what I’ve on hand or my guests’ preferences. Whether I choose to include some seasoned minced meat or a gooey cheese blend, these pinwheels consistently deliver a satisfying crunch paired with aromatic flavors.
Ingredients:
- 1 sheet of puff pastry (thawed)
- 2 medium potatoes (boiled and mashed)
- 1/2 cup green peas (cooked)
- 1 teaspoon cumin seeds
- 1 teaspoon coriander powder
- 1 teaspoon garam masala
- 1/2 teaspoon red chili powder (optional)
- Salt to taste
- 1 egg (beaten, for egg wash)
- Fresh cilantro (chopped, for garnish)
To make the Puff Pastry Samosa Pinwheels, I start by preheating my oven to 400°F (200°C) and lining a baking sheet with parchment paper. In a bowl, I mix the mashed potatoes, cooked peas, cumin seeds, coriander powder, garam masala, red chili powder, and salt until well combined.
I then roll out the puff pastry on a lightly floured surface and cut it into rectangles. I place a spoonful of the filling on one end of each rectangle, roll it up tightly, and seal the edges with the beaten egg. I then slice the rolled pastry into pinwheels, arrange them on the prepared baking sheet, brush the tops with more egg wash, and bake for about 15-20 minutes, or until golden and flaky.
One tip I’ve found helpful is to ensure your puff pastry is cold before rolling it out, as this helps maintain its flaky texture. Additionally, you can prepare the filling ahead of time and refrigerate it, making the assembly process even quicker on the day of your potluck.
Don’t hesitate to play with the spices and fillings based on your taste preferences or dietary needs, as these pinwheels are incredibly adaptable and sure to impress your guests!
Chili Paneer With Bell Peppers
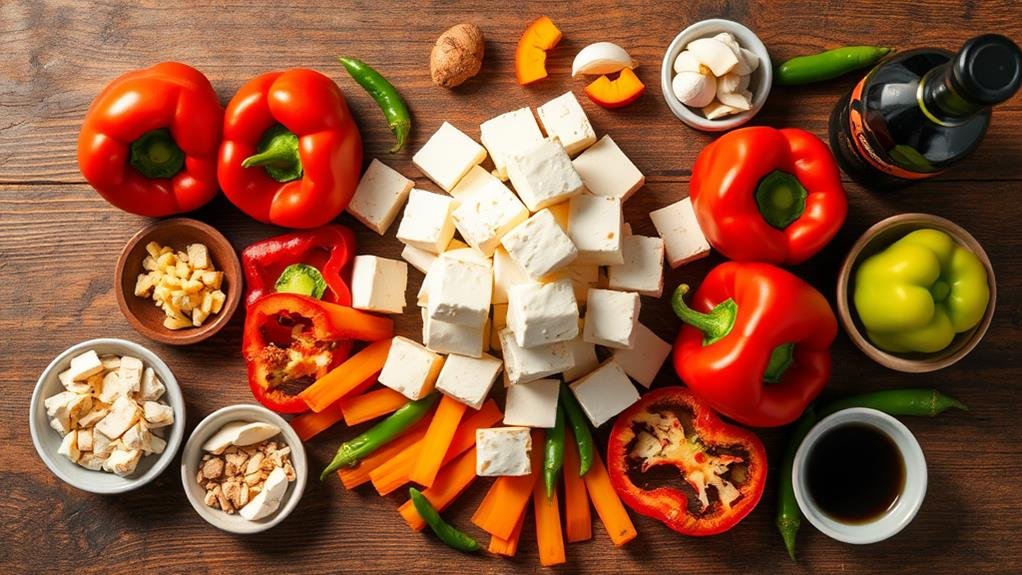
When it comes to potluck gatherings, I love to bring a dish that not only pleases the crowd but also showcases a fusion of flavors. One of my go-to recipes is Chili Paneer with Bell Peppers. This dish is a delightful combination of succulent paneer and vibrant bell peppers, all tossed together in a spicy chili sauce that packs a punch. It’s always a hit, and I enjoy watching my friends and family savor each bite.
What makes Chili Paneer so appealing is its versatility. I can prepare it dry for a finger-food style or with a thicker gravy that pairs perfectly with rice or naan. The bold flavors of soy sauce, garlic, ginger, and green chilies come together in a way that keeps everyone coming back for more. Plus, being vegetarian and high in protein, it’s an excellent option for those looking for meatless dishes at the potluck.
Ingredients:
- 200 grams paneer, cubed
- 1 cup bell peppers (red, green, yellow), sliced
- 2 tablespoons soy sauce
- 1 tablespoon chili sauce
- 1 teaspoon ginger, minced
- 1 teaspoon garlic, minced
- 2-3 green chilies, slit
- 1 tablespoon vegetable oil
- Salt to taste
- Chopped spring onions for garnish
- Sesame seeds for garnish
To prepare the Chili Paneer, I start by heating the vegetable oil in a pan over medium heat. Once the oil is hot, I add the minced garlic, ginger, and green chilies, sautéing them until fragrant.
Next, I toss in the cubed paneer and bell peppers, stirring well to combine. After a few minutes, I pour in the soy sauce and chili sauce, mixing everything together and allowing it to cook for another 5-7 minutes until the paneer and peppers are well-coated and cooked through.
Finally, I season with salt, garnish with chopped spring onions and sesame seeds, and serve it hot.
One tip I’ve found very helpful is to fry the paneer lightly before adding it to the dish. This step enhances its texture and prevents it from becoming too soft during cooking.
Additionally, feel free to adjust the level of spice by adding more or fewer green chilies, depending on your guests’ preferences. I always keep some extra chili sauce on hand for those who love a little extra heat!
Paneer Tikka Skewers
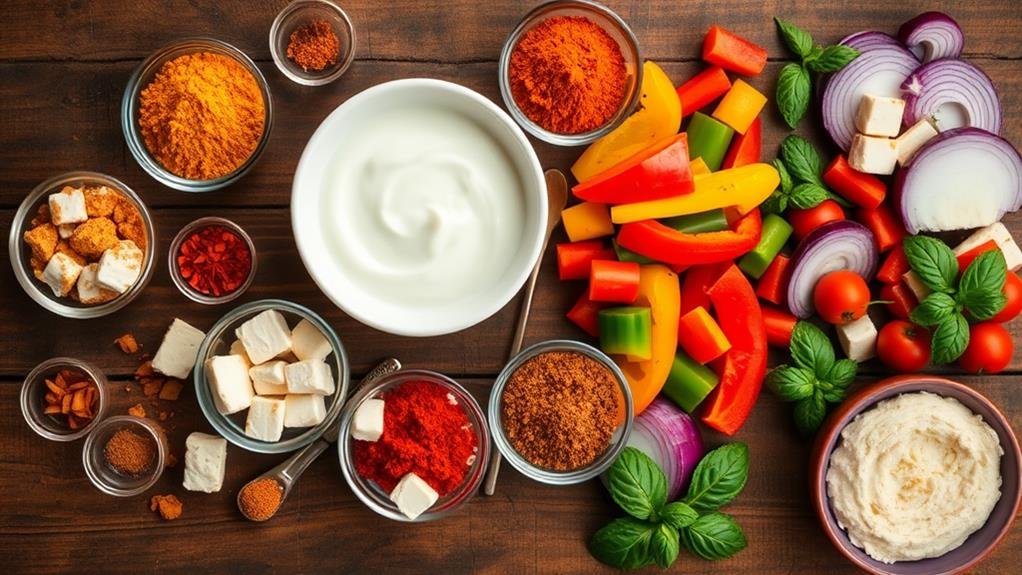
Paneer Tikka Skewers are one of my all-time favorite appetizers for any gathering, especially potlucks. The vibrant colors of the bell peppers and onions, combined with the rich flavors of the marinated paneer, create an irresistible dish that pleases a crowd.
What I love most about this dish is how easy it’s to prepare in large batches, making it perfect for sharing with both vegetarian and non-vegetarian guests. The smoky, slightly charred exterior from grilling or baking gives it that authentic Indian street food vibe that everyone enjoys.
As I dive into making these skewers, I always ensure to give the paneer enough time to soak up all the delicious spices from the marinade. The addition of a refreshing mint chutney or yogurt dip takes the experience to another level, perfectly balancing the spicy flavors of the tikka.
Trust me, these skewers will be the star of your potluck!
Ingredients:
- 400g paneer, cut into cubes
- 1 cup plain yogurt
- 1 tablespoon cumin powder
- 1 tablespoon coriander powder
- 1 tablespoon garam masala
- 1 teaspoon red chili powder
- 1 tablespoon lemon juice
- Salt, to taste
- 1 bell pepper, cut into chunks
- 1 onion, cut into chunks
- Skewers (wooden or metal)
- Mint chutney or yogurt dip, for serving
To prepare the Paneer Tikka Skewers, I start by mixing the yogurt, spices, lemon juice, and salt in a bowl to create a marinade. I then add the paneer cubes, bell pepper chunks, and onion pieces, ensuring everything is well-coated.
After covering the bowl, I let it marinate in the refrigerator for at least 30 minutes (or up to overnight for deeper flavor). Once marinated, I thread the paneer and vegetables onto the skewers and either grill or bake them until they’re lightly charred and cooked through, usually about 15-20 minutes.
When making Paneer Tikka Skewers, I find it’s essential to soak wooden skewers in water for at least 30 minutes before using them, which prevents them from burning on the grill.
Additionally, experimenting with different vegetables like zucchini or cherry tomatoes can add variety to the skewers. Lastly, don’t be shy with the marinade; the longer the paneer sits, the more flavorful it becomes!
Mutton Biryani With Aromatic Spices

Mutton Biryani is one of my favorite dishes to prepare, especially for potluck gatherings. The combination of tender marinated mutton layered with fragrant basmati rice and aromatic spices creates a dish that isn’t only visually appealing but also an explosion of flavors. I love how the spices come alive during the cooking process, filling my kitchen with a mouthwatering aroma that makes everyone eager to dig in. The “dum” method of cooking allows the ingredients to meld together beautifully, resulting in a meal that’s simply irresistible.
To achieve the best results, I always marinate the mutton for several hours or even overnight. This step is crucial as it allows the meat to absorb all the rich flavors from the spices and yogurt, ensuring that each bite is tender and bursting with taste. Paired with a cooling side of raita or a fresh salad, Mutton Biryani becomes the star of any potluck. Here’s how I prepare this delightful dish.
Ingredients:
- 500g mutton, cut into pieces
- 2 cups basmati rice
- 1 cup yogurt
- 2 large onions, thinly sliced
- 4-5 green chilies, slit
- 1 tablespoon ginger-garlic paste
- 1/2 teaspoon turmeric powder
- 1 teaspoon red chili powder
- 2-3 cardamom pods
- 3-4 cloves
- 2-3 bay leaves
- 1/4 cup chopped mint leaves
- 1/4 cup chopped coriander leaves
- 1/2 cup cooking oil or ghee
- Salt to taste
- Saffron strands (optional)
- Water, as needed
To prepare the Mutton Biryani, I start by marinating the mutton with yogurt, ginger-garlic paste, turmeric, red chili powder, and salt. I let it sit in the refrigerator for a few hours, but overnight is even better.
Meanwhile, I soak the basmati rice in water for about 30 minutes, then drain it. In a large pot, I heat the oil or ghee and fry the sliced onions until golden brown. I then add the marinated mutton and cook until the meat is browned.
Next, I layer the soaked rice over the mutton along with the cardamom, cloves, bay leaves, and fresh herbs. I pour in enough water to cover the rice, sprinkle saffron (if using), and cover the pot with dough to seal. After cooking on low heat for about 30-40 minutes, I turn off the heat and let it rest for a few minutes before serving.
When cooking Mutton Biryani, one tip I always keep in mind is to ensure that the pot is sealed tightly for the “dum” cooking process. This preserves the steam and helps the flavors meld together beautifully.
Also, be careful not to stir the biryani too much once it’s cooked, as this can break the rice grains. Lastly, serving the biryani with a side of cooling raita not only enhances the meal but also balances the rich spices, making it a delightful experience for everyone at the potluck!
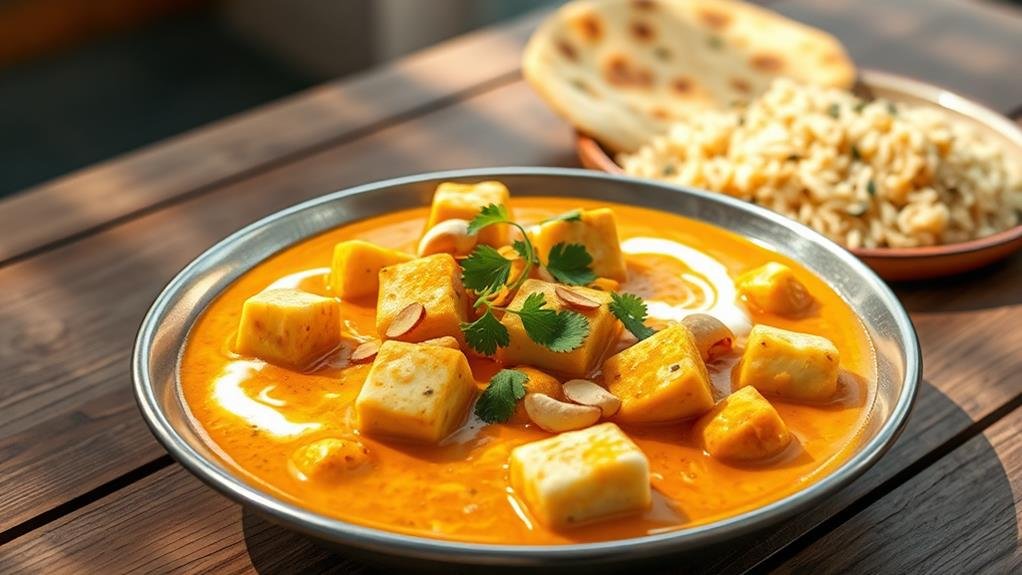
Shahi Paneer With Creamy Sauce
Shahi Paneer is one of my absolute favorite dishes to prepare for potlucks or family gatherings. The rich and creamy sauce, combined with the soft paneer, creates a mouthwatering experience that’s hard to resist. What I love most about this dish is how it balances the richness of nuts with the tanginess of yogurt and cream, making it a comforting yet elegant addition to any meal.
Plus, it’s relatively quick to make—perfect for when I’m short on time but still want to impress my guests.
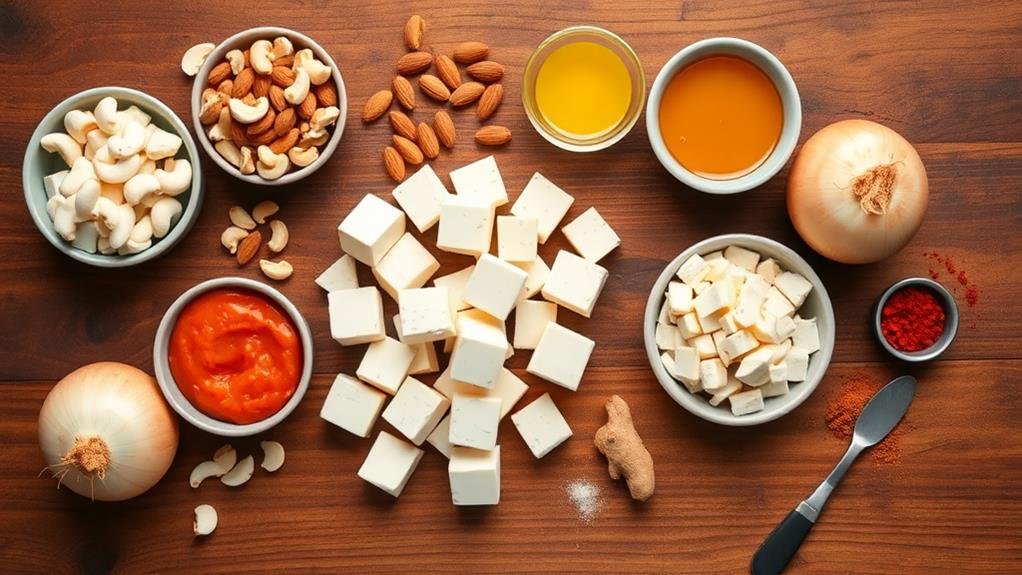
To get started, I gather all the ingredients to ensure a smooth cooking process. The combination of aromatic spices, nuts, and creamy components creates a beautiful dish that not only tastes amazing but also looks stunning when garnished with fresh coriander and slivers of nuts.
I often serve it with naan or jeera rice, which complements the flavors of the dish beautifully.
Ingredients:
- 250 grams paneer, cubed
- 1 cup cashews, soaked in warm water
- 1/2 cup almonds, soaked in warm water
- 1 medium onion, finely chopped
- 2 tomatoes, pureed
- 1/2 cup heavy cream
- 1/4 cup yogurt
- 2 tablespoons ghee or oil
- 1 teaspoon ginger-garlic paste
- 1 teaspoon garam masala
- 1/2 teaspoon cardamom powder
- Salt, to taste
- Fresh coriander leaves, for garnish
- Slivers of almonds or cashews, for garnish
To prepare Shahi Paneer, I start by blending the soaked cashews and almonds into a smooth paste, adding a bit of water if necessary.
In a large pan, I heat ghee or oil over medium heat and sauté the chopped onions until they turn golden brown. I then add the ginger-garlic paste and cook for a minute before pouring in the tomato puree.
After cooking the mixture until the oil separates, I stir in the nut paste, followed by the heavy cream and yogurt. I let it simmer for a few minutes, adding garam masala, cardamom powder, and salt to taste.
Finally, I add the paneer cubes and let them soak in the creamy sauce for a few more minutes before serving.
One tip I’ve learned while making Shahi Paneer is to not overcook the paneer, as it can become rubbery.
I also like to adjust the spice levels according to my guests’ preferences, which makes it a versatile dish. If you want to make it even more special, consider adding a touch of saffron soaked in warm milk for an added layer of richness and color.
Enjoy cooking this delightful dish!