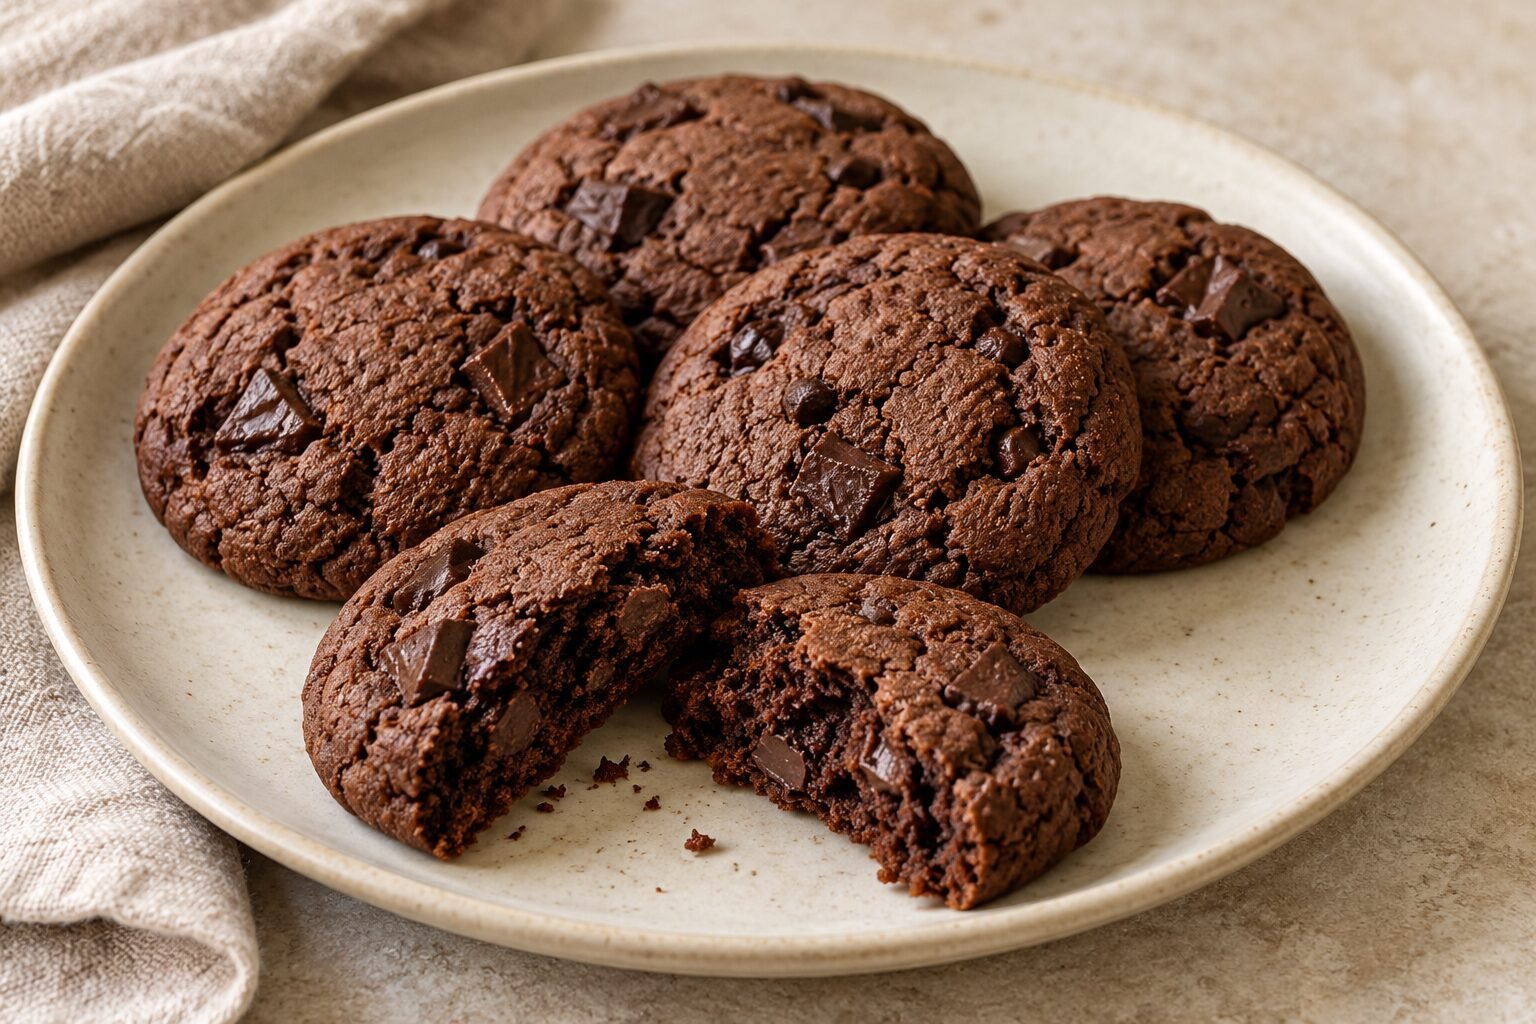
A plate of homemade cookies can be a welcoming addition to a gathering, especially when there are a few different flavors to choose from. These three Cinco de Mayo cookies offer cinnamon sugar, chocolate with cinnamon, and fresh lime in approachable recipes designed around everyday baking ingredients.
Cinco de Mayo commemorates the Mexican victory over French forces at the Battle of Puebla on May 5, 1862. You can read more about its background in the Smithsonian National Postal Museum’s overview.
The cookies below are modern baking ideas for the occasion, rather than a collection of traditional holiday recipes. The cinnamon sugar version takes inspiration from the familiar coating on churros. The chocolate cookies pair cocoa with cinnamon and an optional touch of chili, while the lime cookies bring a citrus flavor to the plate.
You can make just one batch or choose a couple of varieties to share. Each recipe includes ingredient weights, portion sizes, and signs to look for during baking, with extra guidance for anyone still finding their confidence in the kitchen.
Before You Start Baking
Read the whole recipe before measuring the ingredients, including any chilling and cooling time. A short spell in the oven does not always mean a batch is ready to serve in twenty minutes.
Use a kitchen scale for the flour, sugar, and butter where possible. Flour can pack into a measuring cup differently each time, so weighing it makes the quantities easier to follow.
When a recipe calls for softened butter, it should yield to gentle finger pressure while still holding its shape. Melted or oily butter behaves differently and should only be used when the instructions specify it.
Small Details That Help
Portion the dough evenly so that the cookies bake at a similar rate. Leave the stated space between them, and let a used baking sheet cool before adding another batch of dough.
Treat baking times as a guide. Check the edges and surface as described in each recipe, rather than waiting for every cookie to turn deeply golden. Chocolate dough is especially difficult to judge by color alone.
Allow the cookies to rest on the baking sheet for the specified time before moving them to a rack. They may be fragile when they first come out of the oven and will become firmer as they cool.
1. Cinnamon Sugar Cookies
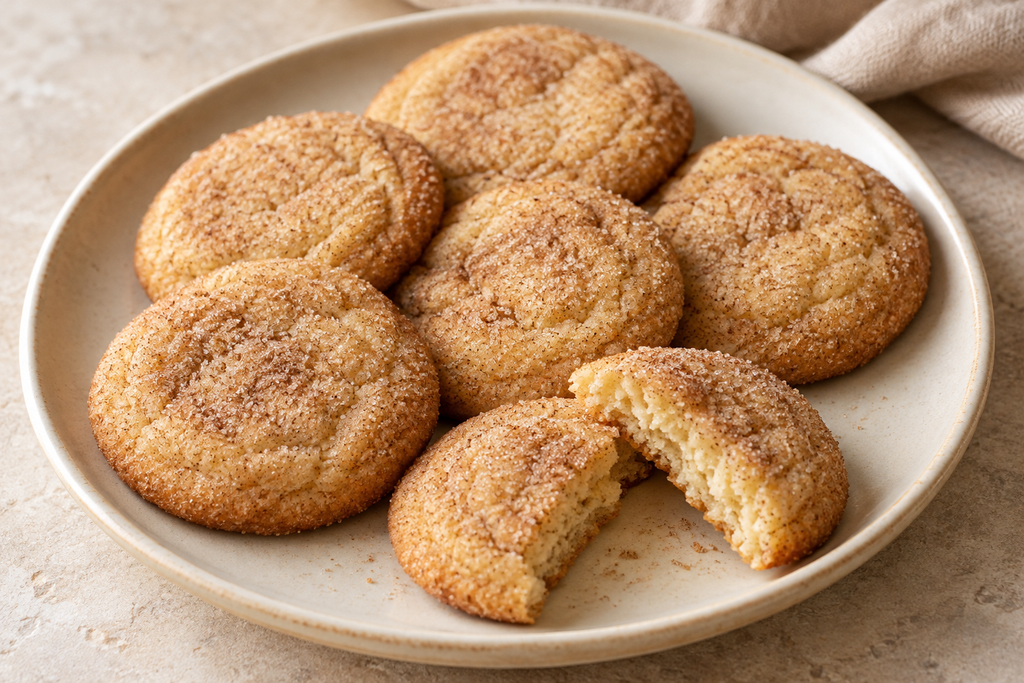
These cinnamon sugar cookies have lightly crisp edges and a tender center. A coating of cinnamon and sugar adds flavor and a gently textured surface without requiring frosting or decoration.
Inspired by the cinnamon sugar coating often used on churros, they are a simple starting point for this collection of Cinco de Mayo cookies.
Yield: Approximately 20 cookies
Preparation time: Approximately 20 minutes
Chilling time: 30 minutes
Baking time: Approximately 10–12 minutes per batch
Cooling time: At least 20 minutes
Equipment: Kitchen scale, mixing bowls, electric hand mixer, baking sheets, baking paper, and cooling rack
Ingredients
For the dough:
- 115 g unsalted butter, softened but not melted
- 140 g granulated sugar
- 1 large egg, approximately 50 g without the shell
- 1 teaspoon vanilla extract
- 220 g all-purpose flour
- 1 teaspoon baking powder
- ½ teaspoon ground cinnamon
- ¼ teaspoon fine salt
For the coating:
- 30 g granulated sugar
- 1 teaspoon ground cinnamon
Instructions
1. Combine the dry ingredients.
Whisk the flour, baking powder, ½ teaspoon cinnamon, and salt together in a bowl. Set aside.
2. Cream the butter and sugar.
In a separate bowl, beat the softened butter and 140 g sugar with an electric mixer on medium speed for approximately 2–3 minutes, until lighter in color and creamy.
Scrape down the sides and bottom of the bowl. The butter should remain soft and creamy rather than looking melted or oily.
3. Add the egg and vanilla.
Beat in the egg and vanilla until combined, scraping the bowl again if necessary.
Add the dry ingredients and mix on low speed just until no dry flour remains. Finish with a spatula if needed. Avoid continuing to beat once the dough comes together.
4. Chill the dough.
Cover and refrigerate for 30 minutes. The dough should become firm enough to roll without heavily sticking to your hands. If it still feels very soft, chill for another 10–15 minutes.
Meanwhile, preheat the oven to 350°F (180°C), or 320°F (160°C) fan. Line two baking sheets with baking paper.
5. Portion and coat.
Mix the coating sugar and cinnamon in a small bowl.
Divide the dough into approximately 20 portions, each weighing about 27 g. Roll gently into balls, then coat each one in cinnamon sugar.
Place on the prepared sheets, leaving approximately 3 inches (7–8 cm) between their centers. Gently flatten each ball into a disc about 1 cm thick. Bake in additional batches if your trays are small.
6. Bake.
Bake one sheet at a time on the middle shelf for approximately 10–12 minutes, checking from 10 minutes onward.
The edges should be set and just beginning to color. The tops should look dry rather than wet or glossy, while the centers may still feel soft. Do not wait for the whole cookie to become dark brown.
If the centers still look wet, continue baking in short increments.
7. Cool.
Leave the cookies on the baking sheet for 5 minutes before transferring them carefully to a cooling rack.
Allow them to cool for at least another 15 minutes. Their structure will firm up as they cool.
Tips for Beginners
- Weigh the flour. Too much can make the dough dry and reduce spreading.
- Keep the portions similar. Smaller cookies may overbake while larger ones are still cooking.
- Use a cool baking sheet. A hot tray can start melting the dough before it reaches the oven.
- Bake one test cookie if unsure. This lets you check spreading and timing before baking the rest of the batch.
Storage
Once completely cool, store in an airtight container at room temperature for approximately 3–4 days for best quality. Keep away from heat and moisture.
Allergens: Contains wheat, milk, and eggs.
Recipe note: This recipe was developed with AI assistance and has not been independently kitchen-tested for this article. Baking times and yields are estimates; results will vary with your oven, ingredients, and portion size.
2. Chocolate Cinnamon Cookies
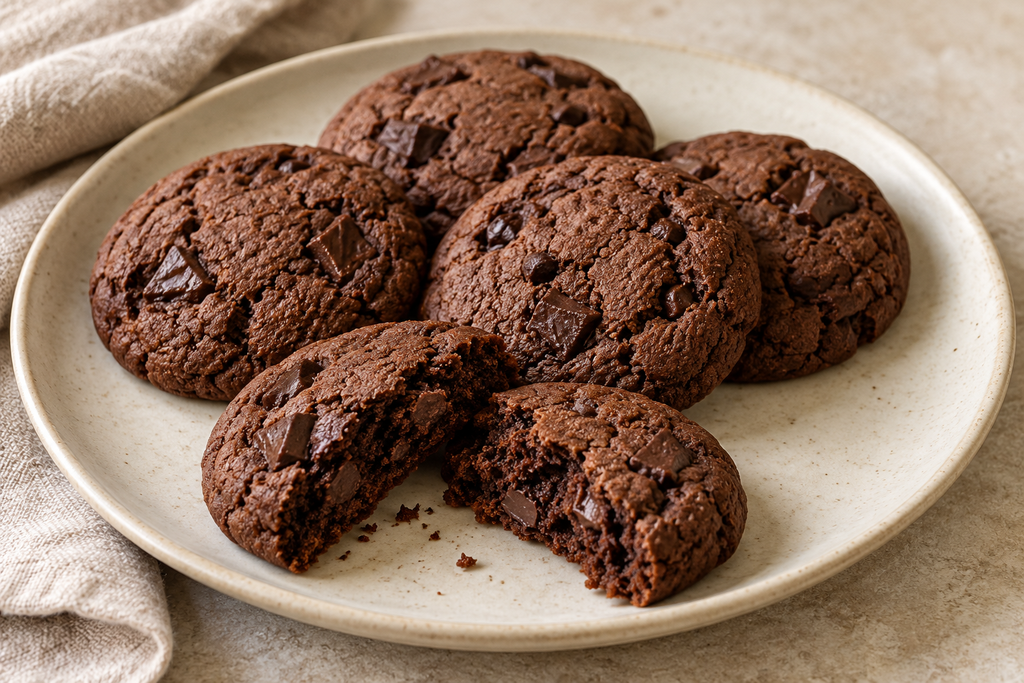
Cocoa and dark chocolate give these cookies a rich flavor, while cinnamon adds warmth. A small pinch of cayenne is optional: leave it out for a chocolate-and-cinnamon version without chili heat.
These modern, chocolate-forward cookies bring variety to a plate of Cinco de Mayo cookies. They have set edges and a tender center, with small pieces of chocolate throughout.
Yield: Approximately 20 cookies
Preparation time: Approximately 20 minutes
Chilling time: 30 minutes
Baking time: Approximately 10–12 minutes per batch
Cooling time: At least 20 minutes
Equipment: Kitchen scale, mixing bowls, electric hand mixer, baking sheets, baking paper, and cooling rack
Ingredients
- 115 g unsalted butter, softened but not melted
- 100 g light brown sugar
- 60 g granulated sugar
- 1 large egg, approximately 50 g without the shell
- 1 teaspoon vanilla extract
- 160 g all-purpose flour
- 30 g unsweetened natural cocoa powder
- 1 teaspoon ground cinnamon
- ½ teaspoon baking soda
- ¼ teaspoon fine salt
- A small pinch of cayenne pepper, approximately ¹⁄₁₆ teaspoon, optional
- 80 g dark chocolate, chopped into small pieces
Use unsweetened cocoa powder rather than sweetened drinking chocolate. This recipe is written for natural cocoa powder.
Instructions
1. Combine the dry ingredients.
Whisk together the flour, cocoa powder, cinnamon, baking soda, salt, and optional cayenne.
Break up any cocoa lumps with the whisk, or sift the mixture if necessary. Distributing the spices thoroughly helps avoid concentrated pockets of heat.
2. Cream the butter and sugars.
In a separate bowl, beat the softened butter, brown sugar, and granulated sugar on medium speed for approximately 2–3 minutes, until creamy and slightly lighter.
Scrape down the sides and bottom of the bowl.
3. Add the egg and vanilla.
Beat in the egg and vanilla until combined.
Add the dry ingredients and mix on low speed just until the flour disappears. Fold in the chopped chocolate with a spatula. The dough should be soft but thick.
4. Chill.
Cover and refrigerate for 30 minutes, or until firm enough to portion and roll. If the dough remains very sticky, chill for another 10–15 minutes.
Meanwhile, preheat the oven to 350°F (180°C), or 320°F (160°C) fan. Line two baking sheets with baking paper.
5. Portion the dough.
Divide into approximately 20 portions, each weighing about 31 g. Roll gently into balls and place on the prepared sheets, leaving approximately 3 inches (7–8 cm) between their centers.
Flatten each ball lightly into a disc approximately 1 cm thick. Keep any dough waiting for the next batch refrigerated.
6. Bake.
Bake one sheet at a time on the middle shelf for approximately 10–12 minutes, checking from 10 minutes onward.
Look for set edges and a surface that has lost its wet dough sheen. A few small cracks may appear. The centers can remain soft, but should not look like wet batter. Melted chocolate pieces may still look glossy.
Because the dough is dark, do not rely on browning alone. Continue baking in short increments if the dough still looks wet.
7. Cool.
Leave the cookies on the baking sheet for 5 minutes before carefully transferring them to a rack.
Allow at least another 15 minutes of cooling. The cookies will become firmer as they cool, while the chocolate may remain soft for longer.
Tips for Beginners
- Measure the cocoa carefully. Extra cocoa can make the dough dry and the flavor more bitter.
- Keep the cayenne modest. A small amount goes a long way; omit it if you are unsure of your guests’ preferences.
- Distinguish melted chocolate from raw dough. Chocolate pieces can look shiny even when the surrounding cookie is baked.
- Try one test cookie. Check its spread and cooled texture before baking the rest, especially with an unfamiliar oven.
Storage
Once completely cool, store in an airtight container at room temperature for approximately 3–4 days for best quality. Keep away from direct sunlight and heat, which can soften the chocolate.
Allergens: Contains wheat, milk, and eggs. Check the chocolate label for soy, nuts, or other allergens.
Recipe note: This recipe was developed with AI assistance and has not been independently kitchen-tested for this article. Baking times and yields are estimates; results will vary with your oven, ingredients, and portion size.
3. Lime Sugar Cookies
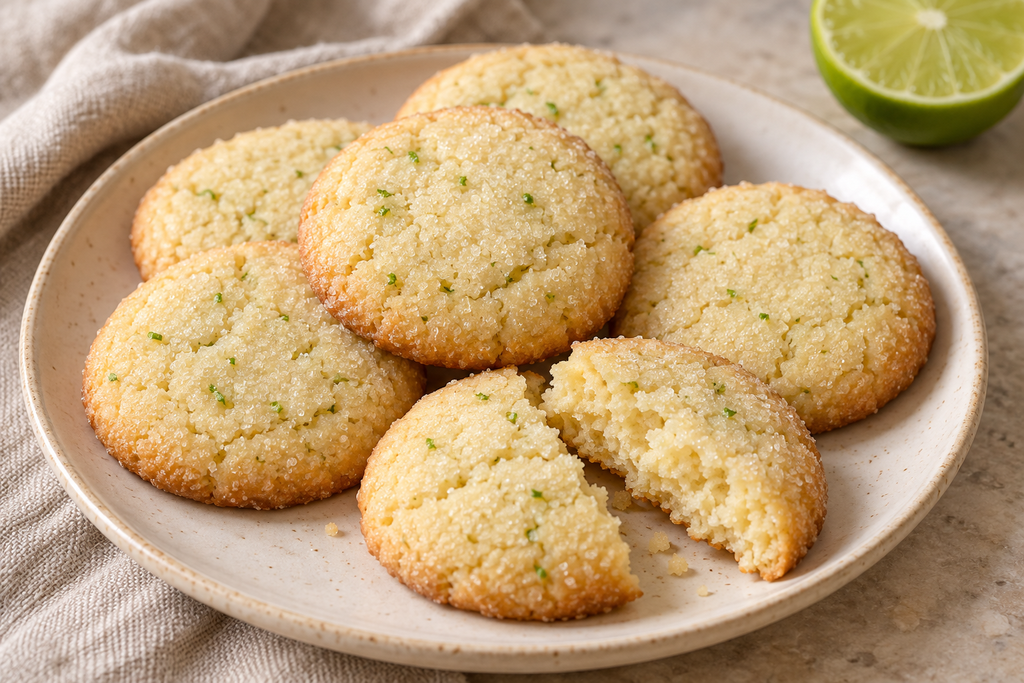
These lime sugar cookies bring a bright citrus flavor to the collection. Rubbing the zest into the sugar helps distribute its fragrant oils throughout the dough, while a light sugar coating gives the finished cookies a gently textured surface.
They need no frosting or glaze. Their pale golden edges and small flecks of lime zest make a simple finish alongside the cinnamon and chocolate varieties.
Yield: Approximately 20 cookies
Preparation time: Approximately 20 minutes
Chilling time: 30 minutes
Baking time: Approximately 10–12 minutes per batch
Cooling time: At least 20 minutes
Equipment: Kitchen scale, fine grater, mixing bowls, electric hand mixer, baking sheets, baking paper, and cooling rack
Ingredients
For the dough:
- 140 g granulated sugar
- 2 teaspoons finely grated lime zest, from approximately 2 limes
- 115 g unsalted butter, softened but not melted
- 1 large egg, approximately 50 g without the shell
- 1 tablespoon (15 ml) fresh lime juice
- ½ teaspoon vanilla extract
- 230 g all-purpose flour
- 1 teaspoon baking powder
- ¼ teaspoon fine salt
For the coating:
- 25 g granulated sugar
Instructions
1. Prepare the limes.
Wash and dry the limes before zesting. Finely grate only the green outer layer, avoiding the bitter white pith underneath.
Measure 2 teaspoons of zest, then squeeze and measure the lime juice. Zesting before juicing makes the fruit easier to handle.
2. Rub the zest into the sugar.
Place the 140 g sugar and lime zest in a mixing bowl. Rub together with clean fingertips for approximately 30 seconds, until the sugar smells fragrant and the zest is evenly distributed.
3. Cream the butter and flavored sugar.
Add the softened butter. Beat on medium speed for approximately 2–3 minutes, until creamy and slightly lighter in color.
Scrape down the sides and bottom of the bowl.
4. Finish the dough.
Beat in the egg, followed by the measured lime juice and vanilla.
In a separate bowl, whisk together the flour, baking powder, and salt. Add to the butter mixture and mix on low speed just until no dry flour remains. Finish combining with a spatula if needed.
Do not add extra lime juice to strengthen the flavor, as additional liquid will change the dough.
5. Chill.
Cover and refrigerate for 30 minutes, until firm enough to roll. If the dough remains very soft or sticky, chill for another 10–15 minutes.
Meanwhile, preheat the oven to 350°F (180°C), or 320°F (160°C) fan. Line two baking sheets with baking paper.
6. Shape and coat.
Place the coating sugar in a small bowl.
Divide the dough into approximately 20 portions, each weighing about 28 g. Roll gently into balls, then roll lightly in sugar.
Arrange on the prepared sheets with approximately 3 inches (7–8 cm) between their centers. Flatten each ball into a disc approximately 1 cm thick. Keep any dough waiting for the next batch refrigerated.
7. Bake.
Bake one sheet at a time on the middle shelf for approximately 10–12 minutes, checking from 10 minutes onward.
The edges should be set and just beginning to turn pale golden. The tops should look dry, while the centers may still feel soft. Do not wait for the entire surface to brown.
If the centers still look wet, continue baking in short increments.
8. Cool.
Leave the cookies on the baking sheet for 5 minutes, then transfer carefully to a cooling rack.
Allow at least another 15 minutes of cooling before serving. The cookies will firm up as they cool.
Tips for Beginners
- Measure the juice. Lime size and juiciness vary, so use a tablespoon rather than an estimated fraction of a fruit.
- Avoid the white pith. Gentle grating gives you the fragrant green zest without unnecessary bitterness.
- Expect a subtle color. The cookies will be pale with small green flecks, rather than bright green.
- Try one test cookie. Check its spread and cooled texture before baking the rest of the dough.
Storage
Once completely cool, store in an airtight container at room temperature for approximately 3–4 days for best quality. Store separately from strongly spiced cookies if you want to preserve their distinct lime aroma.
Allergens: Contains wheat, milk, and eggs.
Recipe note: This recipe was developed with AI assistance and has not been independently kitchen-tested for this article. Baking times and yields are estimates; results will vary with your oven, ingredients, and portion size.
A Final Note from Adam
I’m still learning my way around the kitchen, so I appreciate baking projects that feel manageable. A short ingredient list, clear instructions, and time to work at my own pace make the idea of preparing something to share much more inviting.
Whether you choose cinnamon, chocolate, or lime, I hope these Cinco de Mayo cookies bring a little homemade warmth to your gathering. You do not need to make all three varieties or arrange them perfectly. One batch, served on a favorite plate, is a lovely contribution.
Give yourself time to measure, let the dough chill, and allow the cookies to cool before moving them. If a few come out slightly uneven, there is still room for them on the plate. Learning includes noticing what worked and what you might adjust next time.
Most of all, enjoy the chance to sit down and share something with the people around you. The cookies are only part of the occasion; the conversation and company matter too.
Recipe and image note: These recipes were developed with AI assistance and have not been independently kitchen-tested for this article. Baking times and yields are estimates. The images are AI-generated illustrations, not photographs of tested batches; actual results may vary.